 CN Sweaters
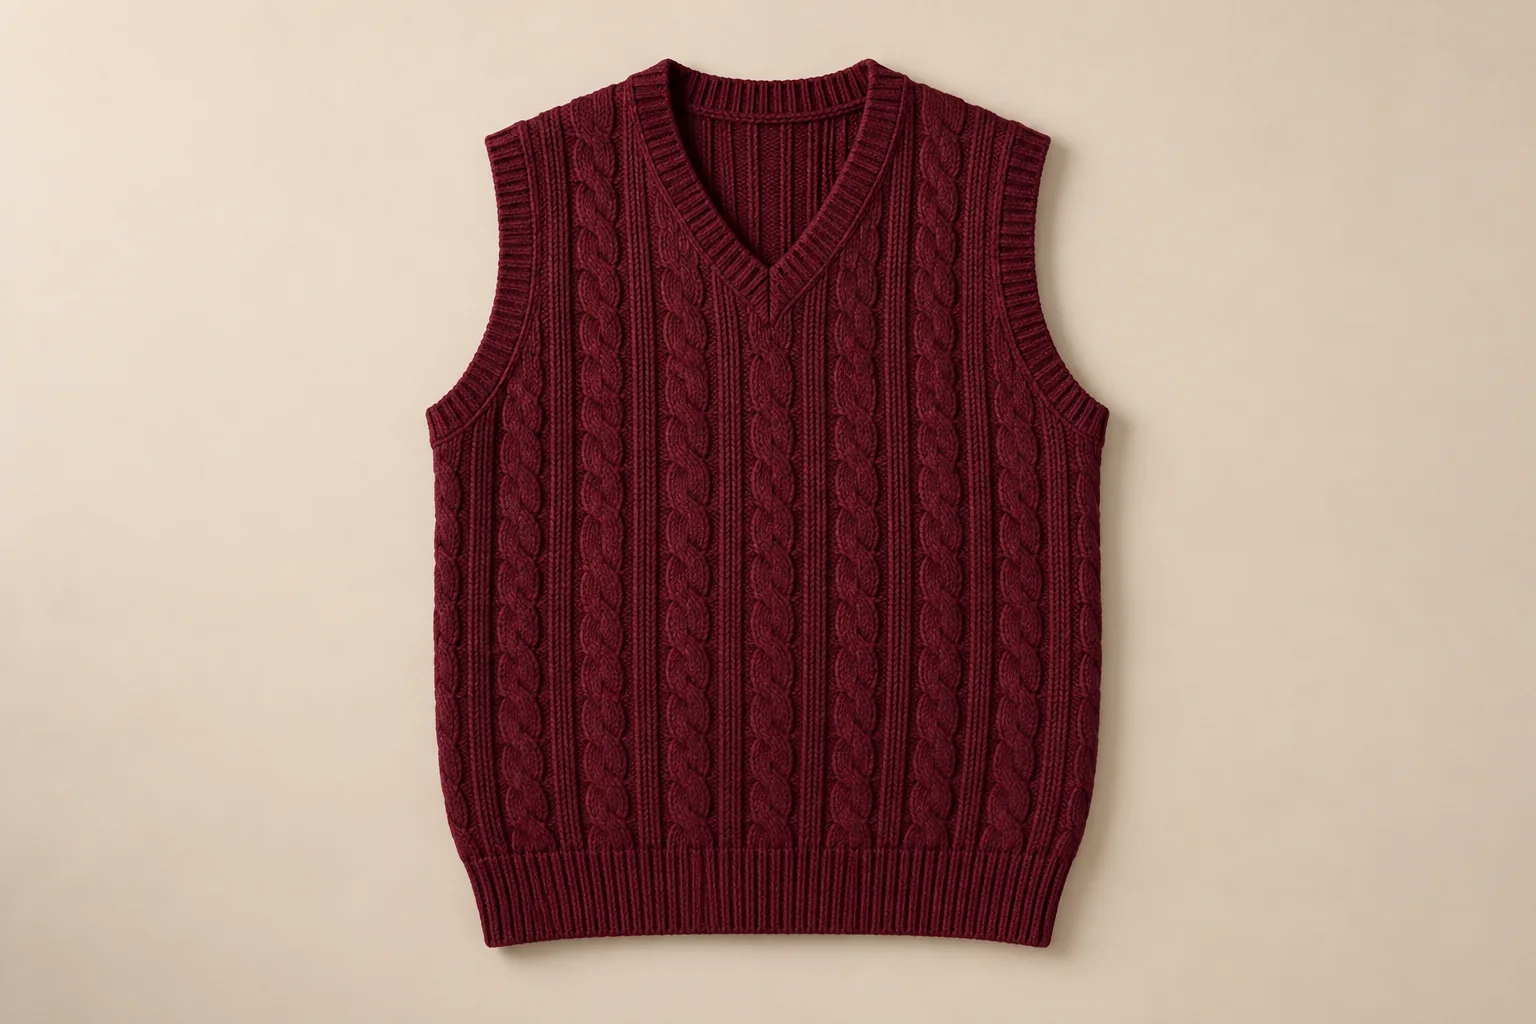
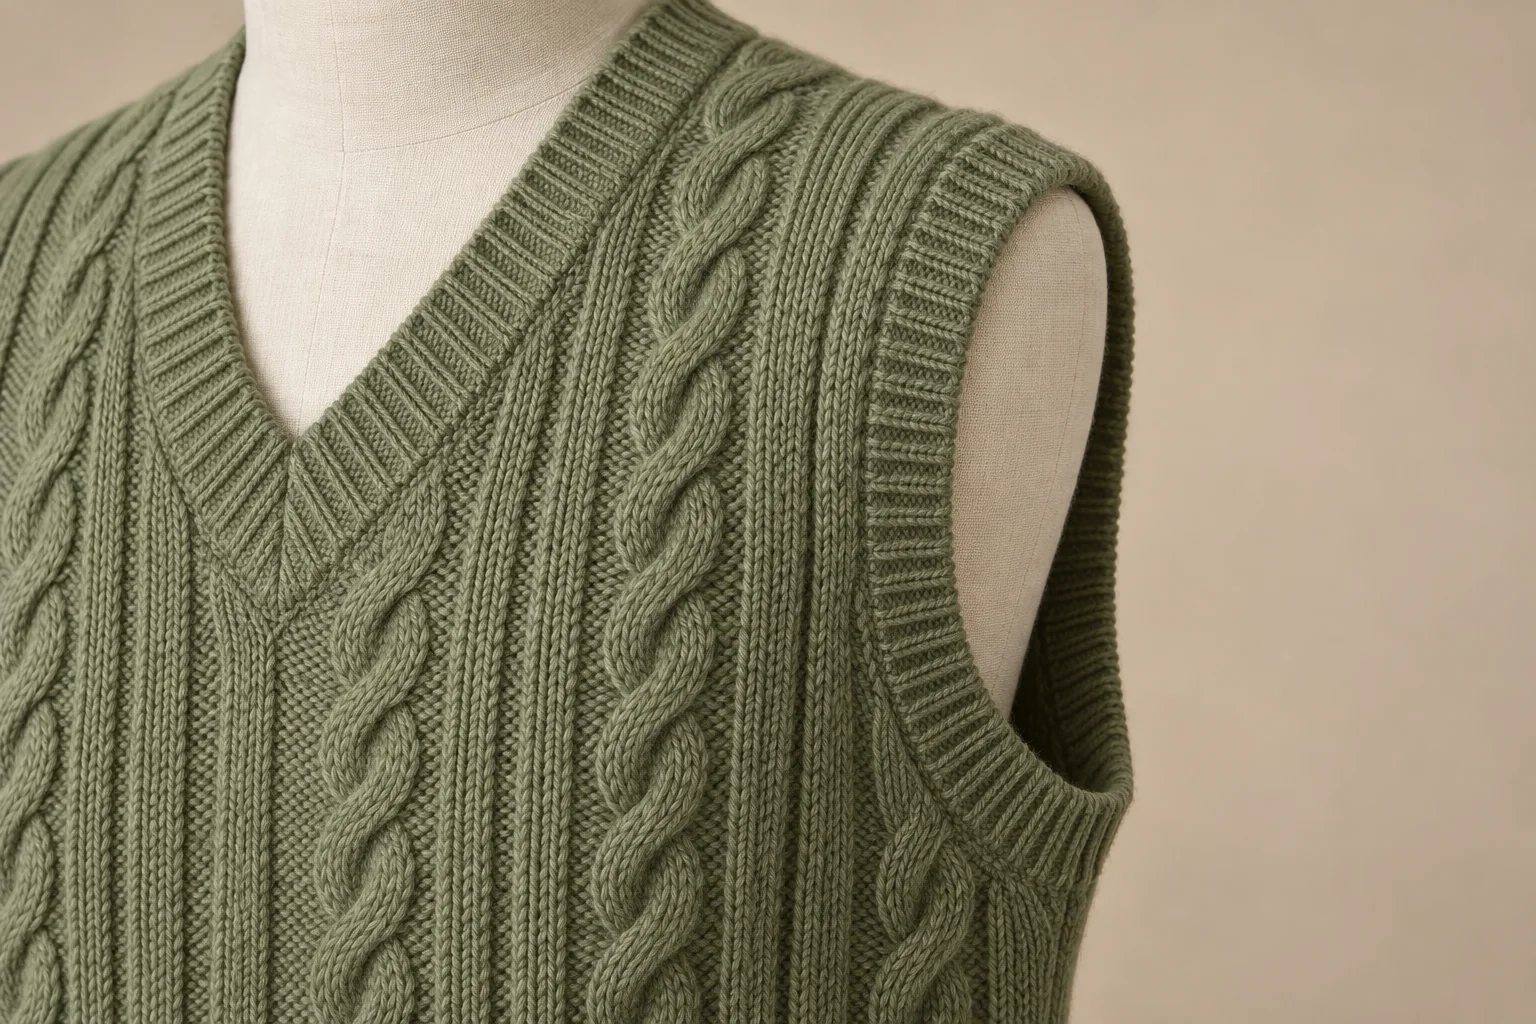
Armhole shaping can remove the last crossing from a cable knit vest or place it beneath rib trim. A raised crossing near a join can also add bulk. Mark the final visible crossing against the neckline and armhole in each size where the programme changes, then compare the finished edge.
Which cable knit vest edge must the motif respect?
Identify the motif and opening
Draw the cable sequence across the front panel before shaping cuts into it. Mark the dominant cable, supporting texture, neck shape and armhole path on the same sketch. Note whether the cable must remain whole, taper, terminate or intentionally be cropped at each edge. An attractive central repeat cannot settle a border decision. The buyer needs to know what visual interruption is acceptable on this product, rather than assuming the knitting program will resolve it invisibly.
Define what the trim is meant to show
A neckline or armhole trim can frame a cable, cover part of it, or sit in a plain background zone. Decide the visible relationship before sampling. If the cable disappears under a wide rib, determine whether that is intentional. If it terminates close to the trim, ask how many clean stitches or what visual buffer the designer expects. A universal numerical distance would be misleading because cable width, gauge and edge method differ by design.
The general sweater vest fit guide supplies the base opening and layering context. Here the buyer must approve the cable’s visual endpoint against that opening. Keep an untrimmed component view and a finished garment view if the trim conceals a junction. Those views answer different questions. A close crop may show neat stitches while a whole front exposes that the left and right cables stop at visibly different heights.
Drawing the repeat and shaping path
Record the repeat and shaping path
Give each cable a name or program reference, its starting position and the direction in which its repeat runs. Mark where neckline or armhole shaping removes stitches and where the background pattern changes. Show the front panel’s centre line and side or shoulder joining paths. A technician should be able to locate a desired cable end without guessing from a styled photograph. If a pattern repeats on the back, include the back relationship without assuming the front’s edge solution is automatically suitable there.
Keep the cable artwork and actual knitting-route identity in the knitwear tech-pack guide. Mark the visual endpoint chosen by the designer and any technical constraint that still needs a physical comparison.
| Motif landmark | Record to supply | What it lets the team compare | Choice owner |
|---|---|---|---|
| Dominant cable | Repeat identity and centre path | Main motif position | Designer approves artwork |
| Supporting ground | Stitch field around the cable | Clear background at opening | Technician proposes route |
| Neck shape | Edge path and trim width | Cable termination at neck | Buyer chooses visible finish |
| Armhole shape | Shaping path and edge route | Clearance around the arm | Fit team approves opening |
| Sample identity | Yarn, gauge, finish and revision | Physical option comparison | Sample room records version |
| Size transitions | Program and repeat exceptions | Graded motif-to-edge result | Buyer selects review sizes |
Keep garment geometry and artwork linked
A panel artwork map without finished garment dimensions may place a cable well on the machine and poorly on the body. Mark vest shoulder width, neck depth, armhole position and the size basis next to the motif. ISO 18890 describes garment measurement points and allows additional agreed ones. It does not approve the cable repeat or an edge clearance number. Agree the extra points needed to locate the motif and measure them in the same finished state as the sample photograph.
How should the motif meet the neckline?
Compare the complete and partial repeat
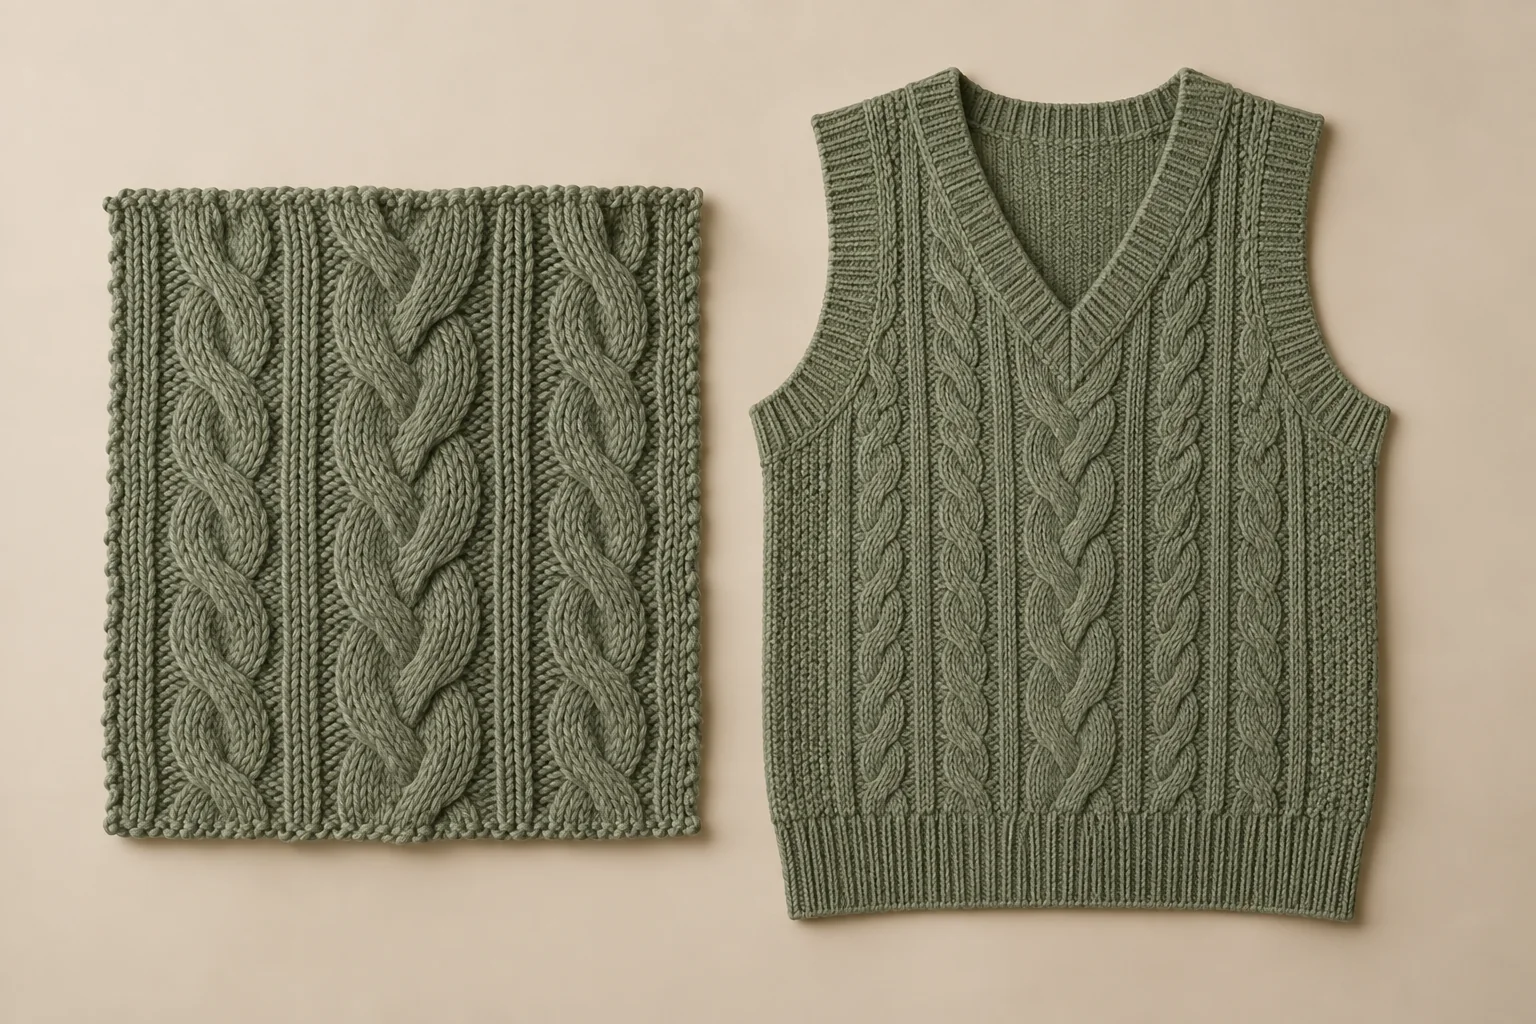
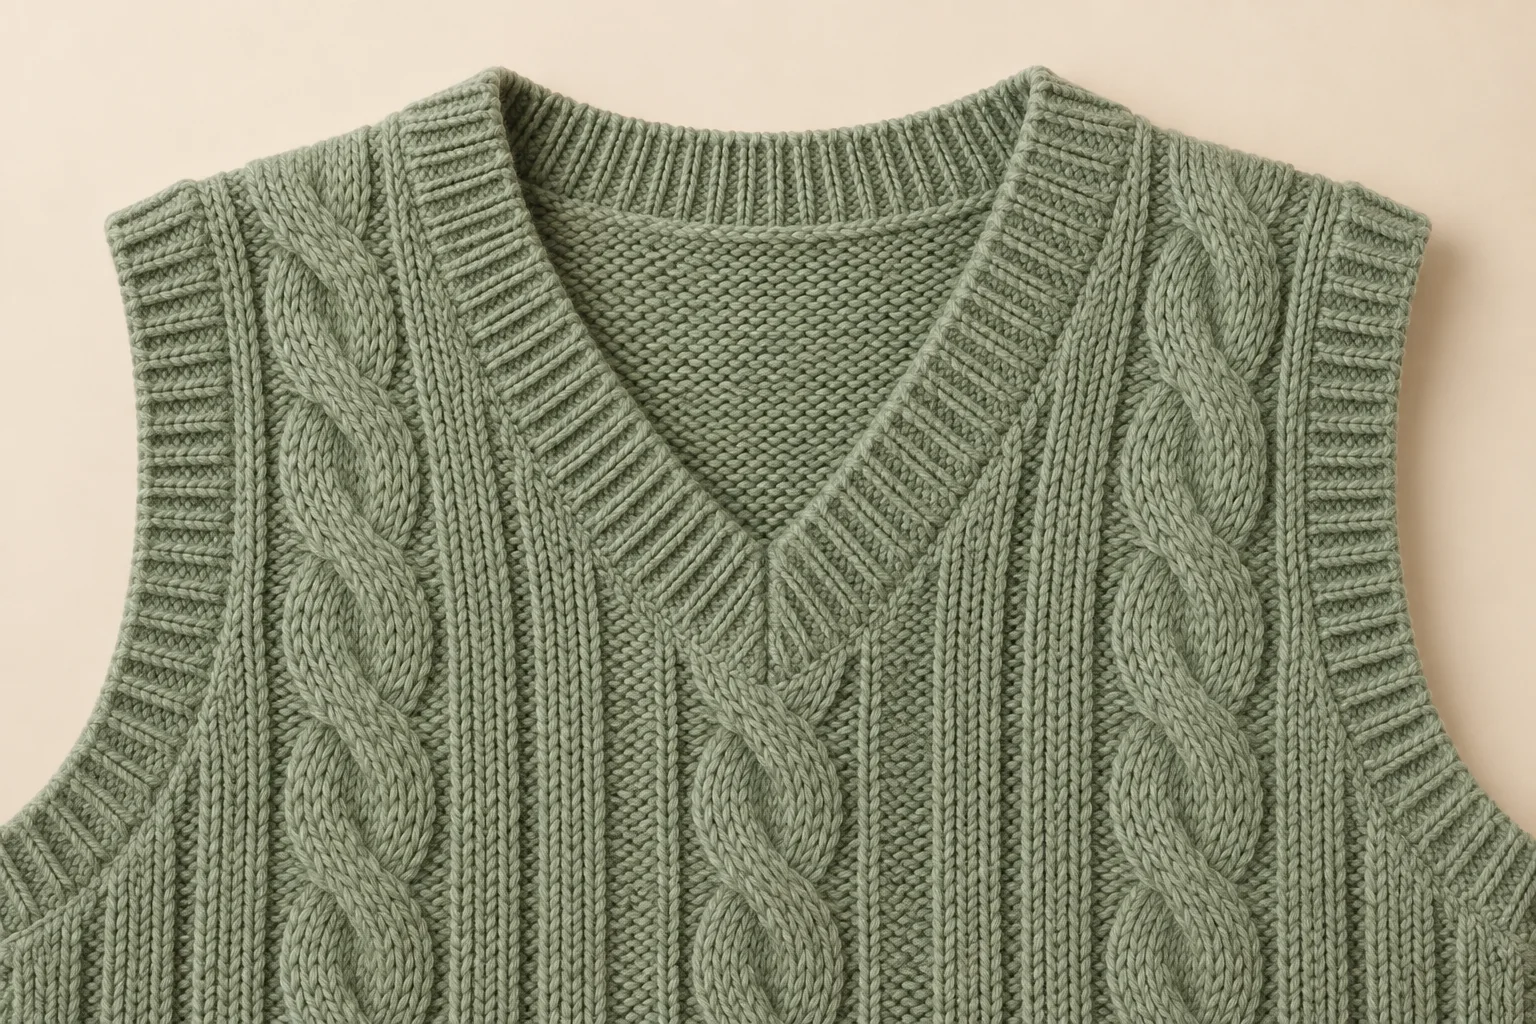
At a V neck, round neck or other shaped opening, the cable may approach the trim at different angles and heights. Decide whether a repeat should be completed before the edge or whether a controlled partial crossing is part of the design. Draw both alternatives on the actual panel shape. A small swatch can show the texture, but the finished neck cut and attached trim decide whether the end looks deliberate. Review the whole front first and then enlarge the junction.
Ask the technician to show what happens to adjacent ground stitches when the cable is stopped or moved. Changing only the cable can alter panel width or move the visual centre. Compare the new programme, panel width and finished opening together.
Check the left and right sides after assembly
A symmetric drawing can yield an uneven appearance if its left and right ends are attached or finished differently. Compare the two neckline arms on the finished vest at rest and over the named underlayer. Mark the collar or trim path and the last visible crossing on each side. If one side looks thicker, inspect the reverse and the shoulder connection before deciding the cable itself is wrong.
The sample-feedback guide helps name the exact junction in a revision note. “V neck uneven” is not enough. State the side, sample version, last visible repeat and whether the difference appears on the flat garment, the wearer or both. A technician can then compare a revised end phase or edge route without rebuilding the entire pattern unnecessarily. Keep the original photograph as the point of comparison.
Armhole clearance beside raised cables
Inspect the shaped opening over the intended layer
A cable near the armhole may create a thicker border, displace the rib trim or appear to run into the opening. On the approved sample, show the armhole from front, side and back with the named shirt or tee beneath it. Check the visible cable end and the actual opening clearance together. A flatter swatch or hanger view may conceal where the edge meets an underlayer sleeve.
Do not assume moving the cable inward is harmless. It may improve trim clearance while narrowing the plain zone at centre front or changing the balance of other repeats. Propose a specific new motif map and review the whole panel. The sleeveless jumper versus vest guide helps the buyer keep the sleeveless wearing job visible. The cable placement decision should preserve the intended armhole fit, not quietly redefine the vest as a tight standalone top.
Separate a thick seam from a distorted motif
If an armhole junction looks bulky, inspect the inside. The problem may be a cable crossing too close to the shaped edge, a thick trim join, a shoulder seam or a combination. Photograph the visible face and reverse with the component identities noted. Ask the technician for an option that changes the offending relationship, then compare the revised vest on the same wearer. A generic request to “make the cable smaller” can remove a desired design feature while leaving a seam stack unchanged.
Size and material changes to artwork
Grade a repeat by phase, not merely by width
When the body panel widens across sizes, the cable repeat may have to stay centred, shift relative to shaping, or add a background field. Decide which relationship the design should preserve. Review lower, base and upper sizes, adding a transition where a program, panel count or edge method changes. A fixed repeat count may leave a cable crowding the armhole in one size. A proportional redraw may distort the original motif. Physical size samples reveal where the chosen rule works.
The custom knitwear size-grading guide offers the wider size-system context. Here, the buyer approves motif position against neck and armhole landmarks for each relevant size group. Give the technician a size-specific exception map where needed. Do not use a generous garment-measurement tolerance to excuse an artwork end that the brand never approved. The visual and dimension decisions should sit side by side in the retained size-set record.
Before confirming a grade, put the size drawings in one row and mark the last complete cable at each shaped edge. A repeated measurement of neck width alone will not show whether the motif’s visible endpoint changed. Ask for a component sample at a program transition and a completed vest if trim or linking could conceal the endpoint. Photograph each risk size from the same front and side angle. Keep the central motif, ground field and edge decision named separately in the comment so a technician knows which part the brand wants preserved.
Recheck a changed material or finished state
A new yarn or finishing route may alter the raised appearance of a cable, the width of the ground zone or the way a rib edge lies beside it. Keep the sample’s material and care condition identified. AATCC TM150 addresses dimensional change of applicable garments after home laundering, with limitations for certain stretch fabrics. It does not determine an acceptable cable endpoint or prove a visual inspection was performed. Record paired views and dimensions only for the actual procedure used.
If the motif still looks balanced after a material change, record that result on the new sample. If a partial repeat becomes conspicuous, reopen the artwork or edge choice rather than applying an old approval label. The yarn-substitution guide provides the wider principle of identifying replacement materials. Keep the accepted former version available, so the technician can distinguish a desirable colour or hand change from an unintended motif-to-edge shift.
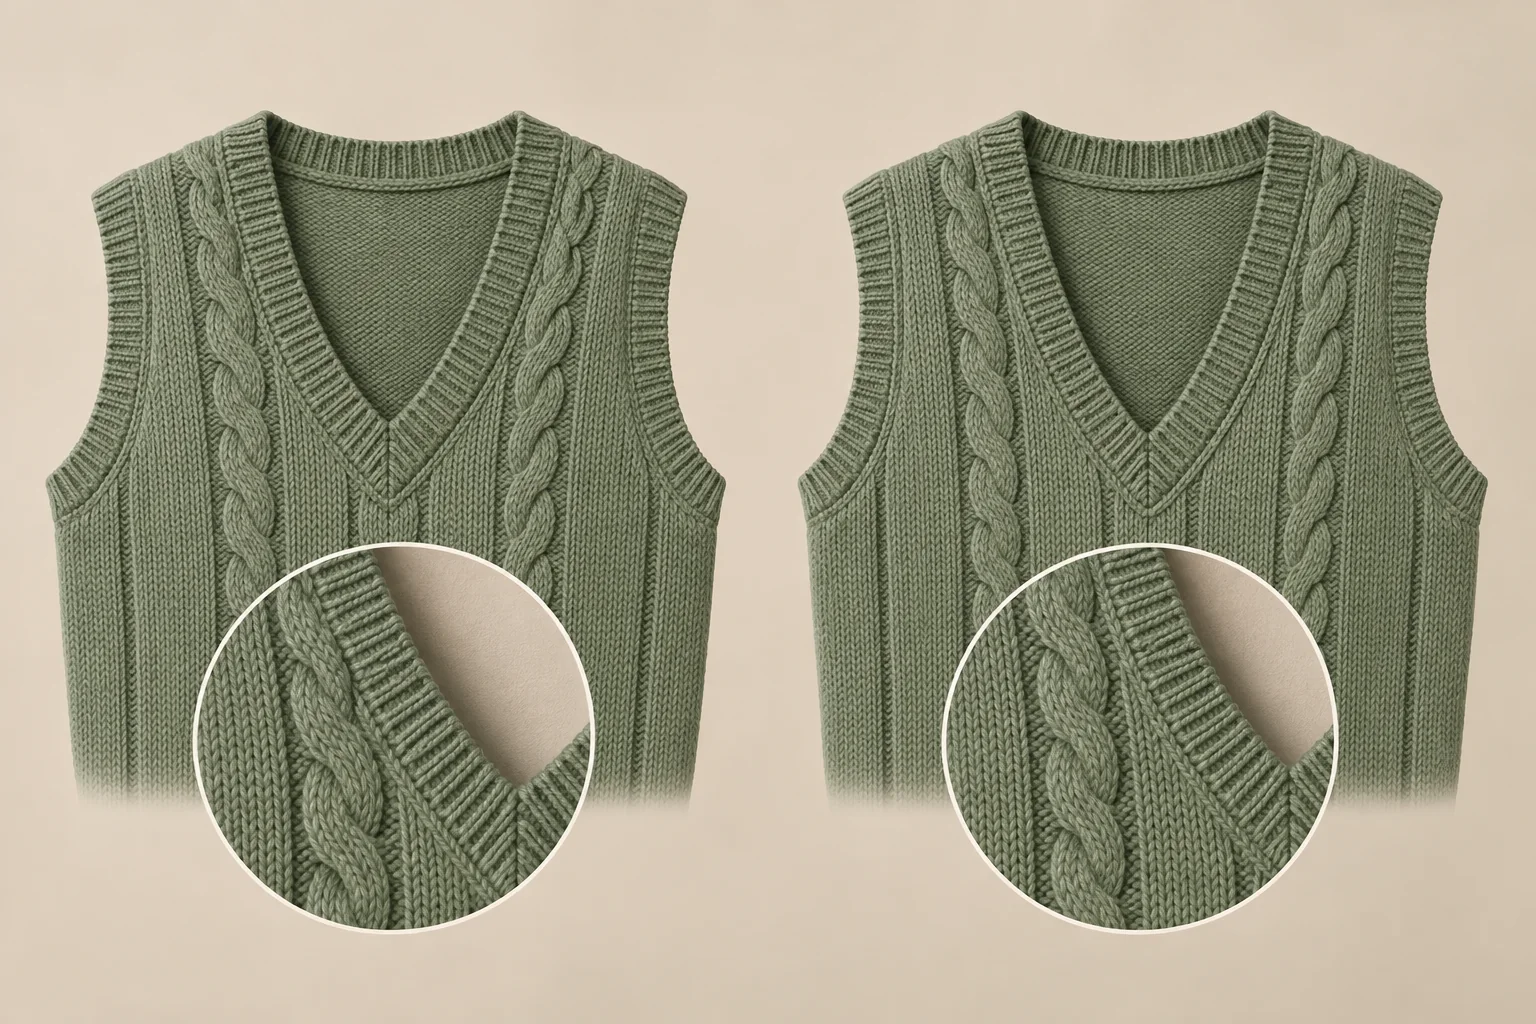
Which junction should the next trial change?
Make the correction as narrow as the observation
| Pattern-to-edge conflict | Relationship to investigate | Buyer decision | Closing evidence |
|---|---|---|---|
| Neck trim covers cable end | Trim width and repeat phase | Trial a defined endpoint | Flat and worn close views |
| Left and right ends differ | Assembly or artwork symmetry | Hold neckline approval | Paired side and inside views |
| Armhole edge bulges | Cable, seam and trim stack | Compare component alternatives | Reverse and worn side views |
| Grade crowds one armhole | Repeat against shape rule | Revise that size map | Size-specific panel and sample |
| Material changes cable relief | Yarn and finish response | Reopen affected version | Identified before/after views |
| Whole front loses balance | Motif spacing and body width | Review artwork with fit team | Full front and dimension map |
Keep the selected motif map with the neckline and armhole paths, yarn identity and finished reference. Retain an untrimmed view where a band conceals the cable endpoint. Identify the sizes where the programme changes.
A later neck-shape, armhole-finish or material change needs another comparison of the affected junction. State whether it should preserve the cable phase or introduce a new one.
Frequently Asked Questions
Can the cable end under the neckline trim?
Yes, if that is the intended visual result and the assembly remains acceptable. Record how much is hidden and show the finished junction, not only the untrimmed panel.
Does a cable swatch approve its placement?
No. It shows the texture, while the shaped vest and attached trim show the motif’s actual end relative to neck and armhole openings.
Must the left and right cables have identical knit instructions?
They must meet the design’s visible relationship. Some shaping routes may require different instructions; identify the component and judge the assembled result.
Can one base-size motif map cover every size?
Only after risk sizes and program transitions have been checked. A repeated cable may move relative to a neckline or armhole as the panel grade changes.
What if a new yarn changes cable relief?
Keep the old and new sample identities, then review the affected edge and motif views. A material label alone does not establish visual equivalence.
Keep the last visible cable crossing, rib boundary and panel width together in each risk size. If the designer moves an endpoint, ask what happens to ground stitches and the shoulder line before approving the chart. The CNSweaters motif review request should include that marked edge map and the sample version whose appearance the brand chose.