 CN Sweaters
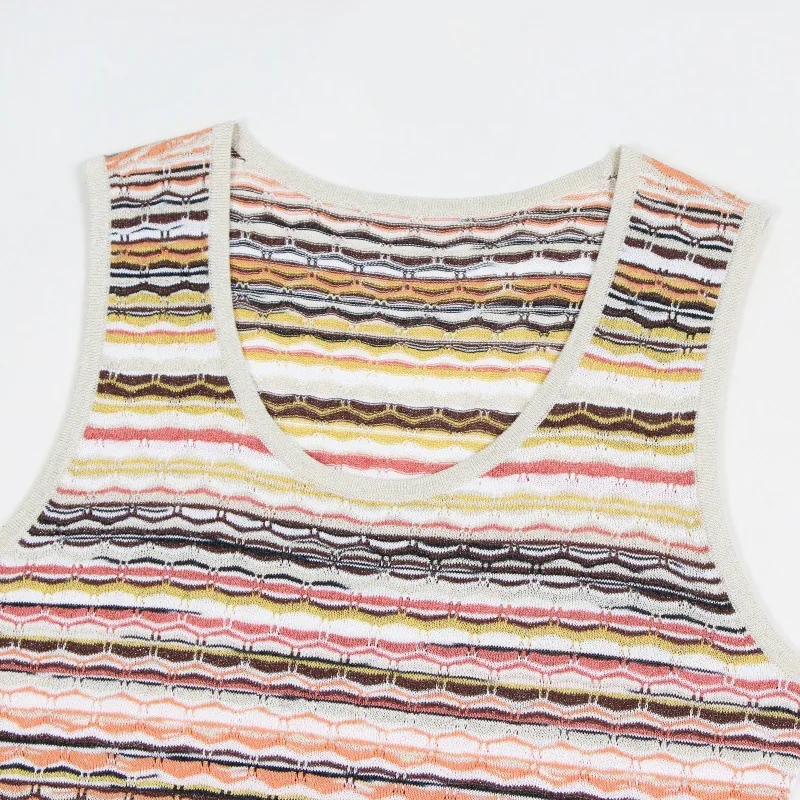
A knitted sweater vest succeeds or fails on three decisions made before the first sample is cut: gauge, neckline geometry, and how the armhole opens for layering. From a factory perspective, most rejected vest samples we see are not failures of style, they are failures of these three structural choices being made from runway images rather than from technical reasoning. Buyers who treat the vest as a “simplified sweater” usually end up with unstable shoulders, distorted hems, and inconsistent fits across the size run.
This guide is written to fix that. A vest and sleeveless knitwear style is a deceptively complex garment because it has no sleeves to absorb shoulder error, no cuffs to anchor the body, and no closure to hide neckline distortion. Every structural decision is exposed. Wholesalers building a preppy capsule, private-label teams developing a layering program, or boutique buyers planning a v neck sweater vest for fall delivery all run into the same recurring issues: armholes that gap over a shirt, ribs that flare after wash, gauges that feel right on the sample but wrong in bulk, and size grading that breaks down at XL and above.
The wrong gauge or neckline choice is rarely caught at sampling. It surfaces in bulk reorders, in fit complaints from end consumers, and in size-run returns that erode margin. Buyers need to judge a sweater vest not by how it photographs flat, but by how it behaves when layered over a button-down shirt, a long-sleeve tee, or worn alone in transitional weather. The sections below walk through gauge, neckline, shoulder line, armhole shape, rib hem, and layering fit, with the trade-offs we routinely discuss during development with brand buyers and product developers.
Which Gauge Works Best for a Knitted Sweater Vest?
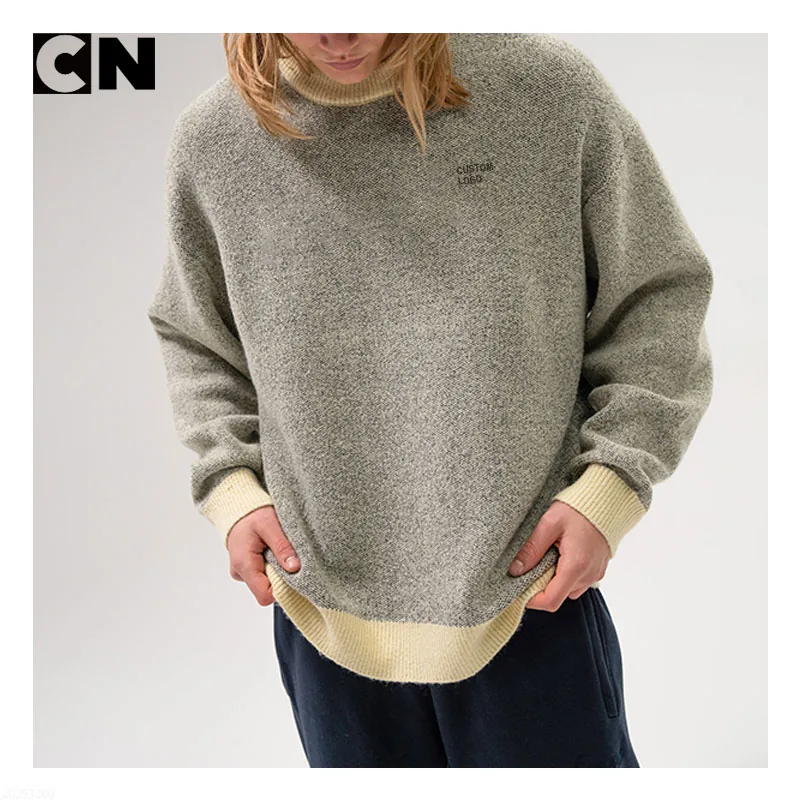
For most commercial sweater vest programs we recommend 7GG to 12GG, with 7GG–9GG handling autumn and transitional layering, and 12GG covering spring, summer, and lightweight indoor styling. The reason is simple: a vest is worn against the body or directly over a shirt, so the fabric must hold its shape without adding bulk at the armhole or neckline. Chunky 3GG–5GG vests look striking in editorial photography, but the dense fabric stiffens the armhole, restricts arm rotation when layered, and adds 200–400g per piece, which affects shipping cost and seasonal sell-through.
Gauge directly controls stitch density, weight, and drape. According to Cotton Incorporated’s knit fundamentals, stitch length and needle density jointly determine the fabric’s stretch and dimensional stability. A finer gauge produces more stitches per inch, which gives a smoother surface and better neckline definition but uses more yarn time per piece. A coarser gauge knits faster but is less forgiving on shoulder and armhole edges.
Below is a quick reference we use during gauge consultation with sweater development clients:
| Gauge | Typical Weight | Best Use | Layering Behavior | Trade-off |
|---|---|---|---|---|
| 3GG–5GG | 450–700g | Chunky outerwear vest, oversized fit | Difficult over shirts, works solo | Stiff armhole, high yarn cost |
| 7GG | 320–420g | Cable or argyle preppy vest | Good over heavy shirts | Slightly bulky at neckline |
| 9GG | 260–340g | Classic v neck sweater vest | Strong all-rounder | Balanced cost and structure |
| 12GG | 200–270g | Fine v neck sleeveless sweater | Excellent over button-downs | Requires careful tension control |
| 14GG+ | 160–220g | Lightweight summer vest, women’s tailored | Best for slim shirts and tees | Longer lead time, tighter tolerance |
The takeaway for buyers: choose gauge based on the layering scenario your end consumer actually wears, not the editorial mood board. A 9GG vest is usually the safest first sample for a new program because it gives room to adjust up or down once fit feedback arrives.
How Neckline Shape Affects a V Neck Sweater Vest
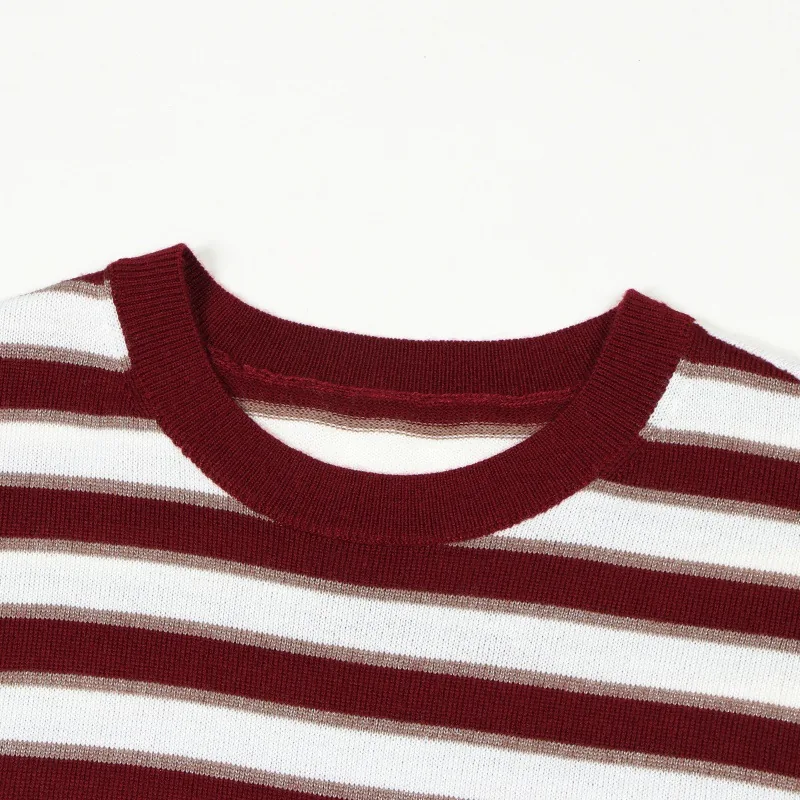
The neckline is where a sweater vest gains or loses its character, and the v neck is the most commercially proven shape for a reason. A correctly engineered v neck sweater vest frames a collared shirt cleanly, gives visual length to the torso, and distributes neckline tension symmetrically so the front does not roll or sag after wash. From a factory perspective, the v depth, v angle, and rib-band finish are three separate decisions, and getting any one wrong will undermine the others.
A shallow v (10–12 cm from shoulder seam) reads conservative and suits formal layering over dress shirts. A deeper v (14–17 cm) opens the chest for casual styling but exposes more of the layered garment underneath, which means the inner shirt or tee becomes part of the silhouette and must be styled deliberately. We see buyers underestimate this when developing a knitted v neck vest for younger consumers who layer over t-shirts rather than collared shirts.
The v-band finish matters as much as the depth. Three common methods, with different cost and stability profiles:
- Mitered v-band (linked): Two rib strips joined at a clean point. Most premium, most stable, slightly higher labor cost. Standard for fully-fashioned pullovers and crewnecks and preferred for v neck programs.
- Overlapped v-band: One rib crosses the other at the point. Cost-effective, but the overlap can twist after multiple washes if tension is not balanced.
- Cut-and-sewn v-band: Used only on low-MOQ or fast-fashion runs. Not recommended for premium private label.
Crewneck and mock-neck vests are valid alternatives, especially for layered knitwear collections targeting streetwear or workwear consumers, but they place more weight on the front rib and require careful tension matching to avoid the neckline pulling forward when the garment is worn over a hood or thick collar. For first samples, we usually recommend buyers approve neckline depth on a fit model wearing the actual target inner shirt, not on a flat lay.
Why Shoulder Width and Slope Decide the Final Fit
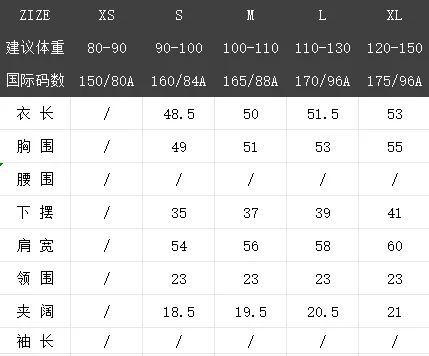
Shoulder width is the single most common reason a sweater vest looks “off” in fit photos, and it is rarely caught until the second sample. Because a vest has no sleeve to extend or shorten, the shoulder line sits exposed on the wearer’s natural shoulder, and even a 1.5 cm error becomes visible. From a factory perspective, the shoulder must be specified in three values: total shoulder width, shoulder slope angle, and seam construction (fully-fashioned versus linked versus cut-and-sewn).
A drop-shoulder vest, where the seam falls 2–4 cm below the natural shoulder, is forgiving on grading and works for relaxed-fit programs. However, it changes the armhole geometry significantly: the armhole opens wider, lower, and rounder, which alters how the vest sits over a shirt. A set-in shoulder vest, where the seam aligns with the natural shoulder bone, gives a tailored look but demands tighter grading control across the size run, because the shoulder-to-armhole ratio must scale proportionally rather than just expand horizontally.
The shoulder slope also affects neckline behavior. A flatter slope (used for boxy or unisex fits) makes the neckline sit higher and tighter; a steeper slope (used for women’s tailored vests) drops the front rib slightly and can soften the v point. We recommend buyers specify the slope explicitly in the tech pack rather than leaving it to the factory default, because default values vary between manufacturers and lead to fit inconsistency when reorders move between suppliers.
For private-label teams building a multi-size run, fully-fashioned shoulder construction gives the most stable result. Panels are shaped on the knitting machine and linked along the natural fabric line, which preserves stitch direction across the seam. CottonWorks notes that fully-fashioned knit construction maintains better dimensional stability than cut-and-sewn equivalents, which matters more on a sleeveless garment because there is no sleeve weight to mask seam distortion. For buyers, this translates to fewer fit complaints and lower return rates on the size extremes.
How Does a Knitted Sweater Vest Armhole Control Layering?
The armhole is where layering fit is won or lost. A sleeveless knitted vest must accommodate a layered shirt sleeve, a button-down placket, and shoulder movement without binding, gapping, or exposing the inner garment in awkward ways. The armhole curve, depth, and rib-band width all need to match the intended layering scenario, and these are decisions that should be made before sampling, not adjusted afterward.
For a v neck sleeveless sweater intended to be worn over a long-sleeve button-down shirt, the armhole should sit 1.5–2.5 cm below the natural underarm and curve smoothly rather than dropping straight down. This gives the shirt sleeve room to bunch slightly at the armpit without creating visible bulk through the armhole opening. For a slim-fit vest worn over a fitted tee or alone, the armhole can sit tighter and higher, but the rib band must be narrower to avoid restricting arm movement.
Armhole rib width is a frequently overlooked detail:
- Narrow rib (1.5–2 cm): Clean, modern, good for tailored or women’s vests. Lower stretch reserve, so size tolerance must be tight.
- Standard rib (2.5–3 cm): Balanced for most preppy and unisex programs. Most forgiving across body types.
- Wide rib (3.5–5 cm): Sporty or vintage feel, used for varsity-style or layered athleisure vests. Adds weight at the shoulder and can flare if tension is uneven.
A common bulk problem we flag during pre-production: if the armhole rib is knitted at a different tension than the body, the armhole will pull inward or flare outward after wash. This is controlled by matching rib stitch length to body stitch length within a defined ratio, and by performing a wash test on the first sample before approval. Intertek’s apparel testing services cover dimensional stability and seam strength testing that can verify whether armhole behavior is stable across multiple wash cycles, which is worth requesting on first orders for new buyers.
What Rib Hem and Waistline Choices Mean for Bulk Stability
The rib hem on a sweater vest does more than finish the bottom edge. It anchors the entire garment, controls how the vest sits on the hip, and absorbs the dimensional movement that occurs between knitting, washing, and finishing. A poorly engineered hem is the most common reason a vest sample looks correct but bulk pieces arrive flared, twisted, or shorter than spec.
The standard options are 1×1 rib, 2×2 rib, and milano rib. 1×1 rib gives the cleanest line and is most common on fine-gauge vests, but it has the highest stretch recovery requirement, which means yarn elasticity and post-knit relaxation must be tightly controlled. 2×2 rib is slightly heavier, more visible, and more forgiving in production, making it the default for 7GG–9GG commercial vests. Milano rib is denser and flatter, and we use it when the brief calls for a structured, non-curling hem on heavier knit programs.
Hem depth typically ranges from 4 cm on fine-gauge women’s vests to 7 cm on chunky unisex styles. A shallow hem reads modern but provides less anchoring weight; a deeper hem grips the hip and helps the body panel hang straight. For brands using the same vest pattern in multiple gauges, hem depth should scale with gauge to maintain visual proportion across the range.
Side shaping is the other decision that affects waistline behavior. Straight side seams give a boxy silhouette and the simplest grading. Slight waist shaping (1.5–2.5 cm taken in at the natural waist) creates a more tailored women’s fit but requires fully-fashioned panel shaping to keep the rib hem from flaring outward. For vest and sleeveless knitwear development, we generally recommend buyers commit to either straight or shaped early in the process, because switching between them after first sampling typically requires a full pattern rework rather than a simple measurement adjustment, which adds 7–10 days to the development cycle.
How to Match Layering Fit to Target Customer and Season for a knitted sweater vest
For a knitted sweater vest, layering fit is the bridge between technical specification and consumer experience. A sweater vest that fits perfectly alone but cannot accommodate the layering pieces your customer actually wears will generate returns even if every measurement matches the tech pack. We recommend buyers define the layering scenario in writing during the brief stage, including the inner garment type, expected fabric weight, and season.
For a preppy or academic-style v neck sweater vest, the layering target is usually a woven button-down shirt of medium weight. This calls for a chest ease of 8–12 cm over body measurement, an armhole drop of 2 cm below natural underarm, and a v neck depth that clears the second shirt button. For a streetwear or oversized vest worn over a long-sleeve tee or hoodie, ease increases to 15–20 cm, the armhole drops further, and the neckline can sit higher because no collar needs to show.
Season affects gauge, fiber, and finish choices simultaneously. For autumn and winter layering, 7GG–9GG in wool, wool blends, or merino blends provides warmth without the bulk of a full sweater. For spring and summer layering or office wear, 12GG–14GG in cotton, cotton blends, or fine merino gives breathability and allows the vest to be worn alone in air-conditioned environments.
A practical layering checklist for buyers approving first samples:
- Try the sample on a fit model wearing the actual target inner shirt or tee
- Check armhole opening with arms raised, not just at rest
- Confirm hem sits flat over the shirt without flipping up
- Verify neckline does not push the shirt collar out of position
- Test side seam alignment when the wearer rotates the torso
These five checks catch most layering issues before bulk and are far cheaper to address at the sample stage than after production. For repeat programs, documenting the approved layering scenario in the tech pack ensures consistency when reorders move between seasons or when a sister style is added to the range.
Conclusion
A successful knitted sweater vest program comes from disciplined choices at gauge, neckline, shoulder, armhole, and hem, supported by a layering scenario defined before sampling rather than discovered after bulk. Buyers who specify these elements clearly tend to see faster sample approval, fewer fit revisions, and more stable size grading across reorders. The vest looks simple but rewards technical precision more than almost any other knit category, because there is nowhere to hide a structural error.
If you are planning a new vest development or rebuilding an existing program, share your reference, target gauge, neckline depth, size range, and layering scenario with our knitwear development team for tailored advice on construction, yarn, and timeline. Send your knitted sweater vest reference, neckline idea, target gauge, size range, and layering fit requirement for development advice.
FAQ
What is the MOQ for a knitted sweater vest development order? Our standard MOQ is 50 pieces per color per size, with flexibility on first development runs depending on yarn availability and gauge. Fine-gauge or specialty yarn programs may require higher MOQs because mills sell yarn in fixed lot sizes, which we confirm during the quotation stage.
How long does sampling take for a v neck sweater vest? A standard first sample runs 3–7 days from approved tech pack, depending on neckline complexity and yarn lead time. Fully-fashioned mitered v-band samples take longer than overlapped or cut v-bands. We recommend allowing two sample rounds for new programs to refine neckline depth, armhole shape, and hem behavior before bulk approval.
Can the same vest pattern be produced in multiple gauges for one collection? Yes, but the pattern must be re-graded for each gauge rather than simply rescaled, because stitch density affects ease, drape, and rib behavior differently at 7GG versus 12GG. We typically build a master tech pack and create gauge-specific variants during development to maintain visual consistency across the range.
What testing should buyers request on first orders of a sleeveless knitted vest? Dimensional stability after wash, pilling resistance, seam strength at shoulder and armhole, and color fastness are the core tests. These cover the most common bulk risks for sleeveless knit construction and can be performed by third-party labs such as Intertek or by our in-house QC team using equivalent standards.
How do reorders maintain consistency across seasons? We retain the approved sample, tech pack, yarn lot reference, and machine settings for each program, and we recommend buyers schedule reorders before the August–January peak season to lock in yarn pricing and avoid extended lead times. Reorder consistency is strongest when the same gauge, yarn supplier, and construction method are used.