 CN Sweaters
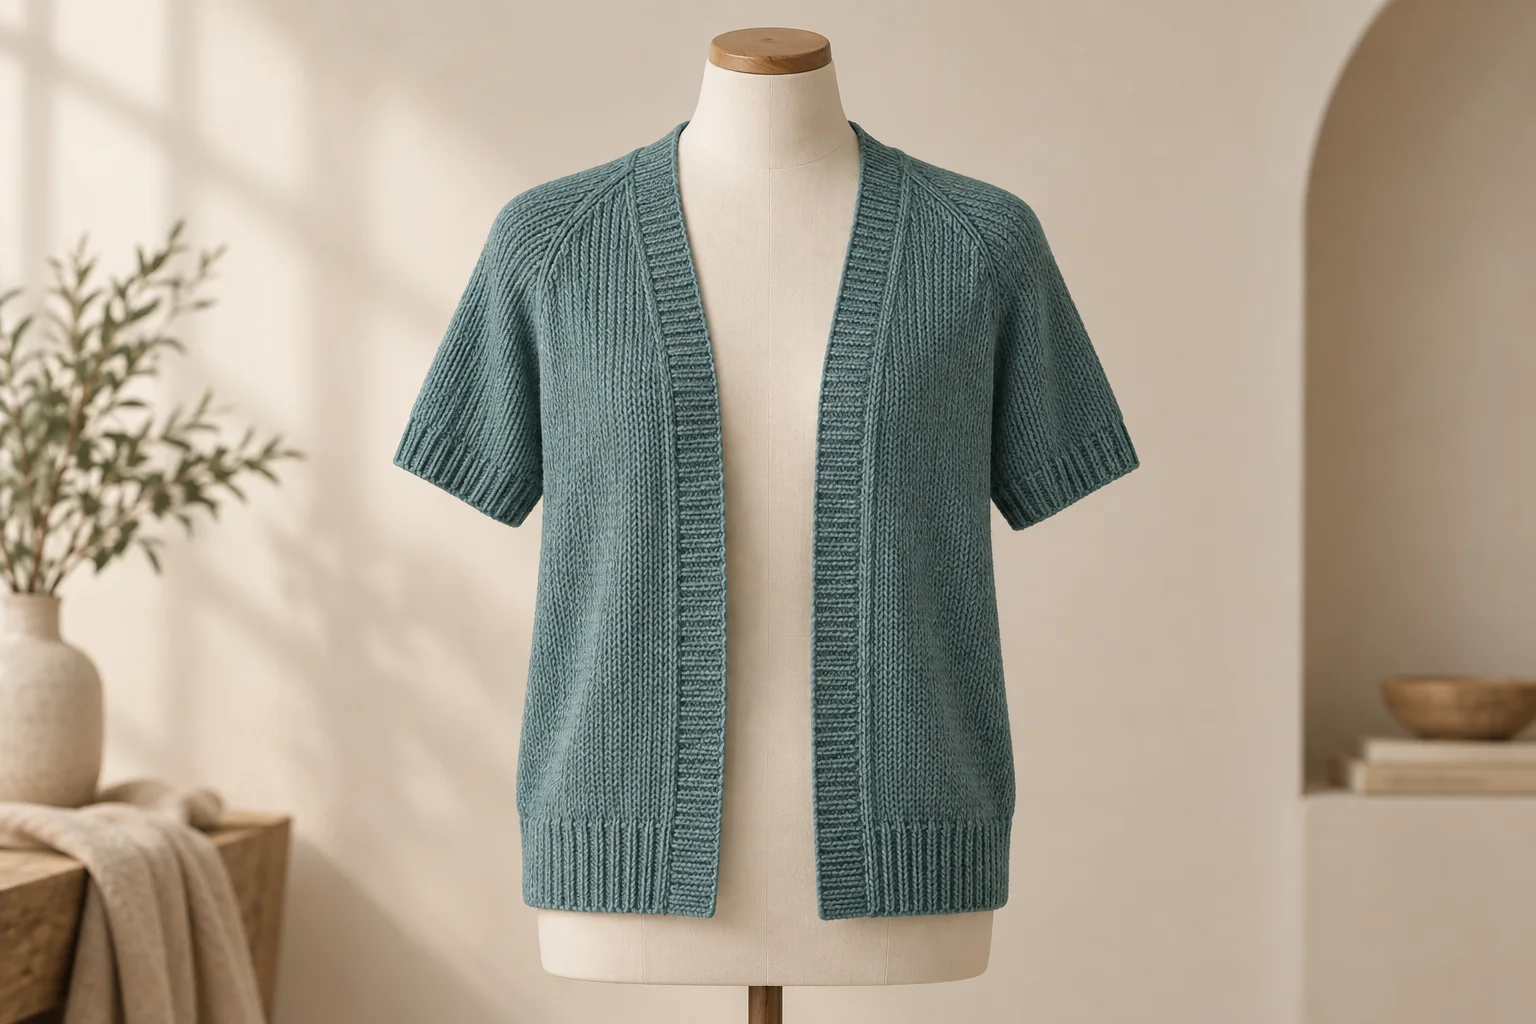
A short sleeve open front cardigan may hang level on a form, then flare at one front when the wearer raises an arm. Follow the sleeve opening, shoulder and unfastened edge in the same movement before deciding to stiffen a band or widen the body.
What product brief defines this short sleeve open front cardigan?
Choose the cardigan wearing arrangement
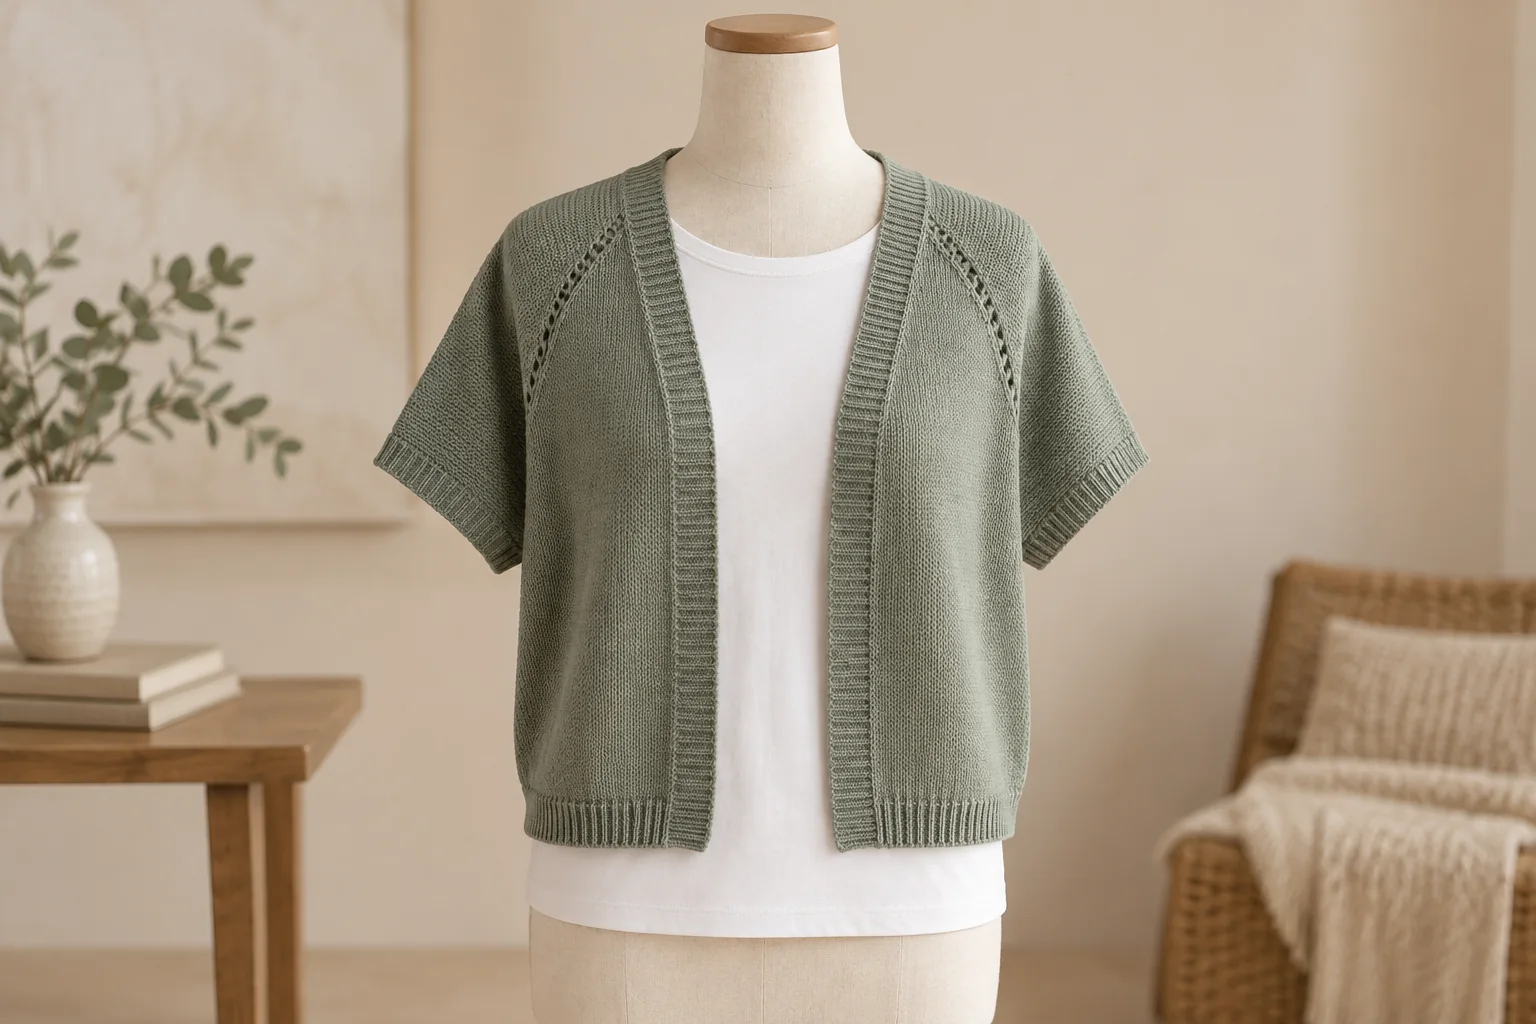
Decide whether the cardigan should remain open in every use state or simply has no fastener in the current design. Mark the natural gap between the fronts at the neck, bust, waist and hem on the approved wearer. A design may deliberately reveal an underlayer; the buyer should describe that exposure rather than request that the fronts always meet. Name the shirt, tee or knit that the sample must clear, because its thickness and sleeve shape affect both the upper opening and the short cardigan sleeve.
Mark the cardigan shoulder path
Short sleeve can mean an extended shoulder, a separately joined sleeve, or a more integrated shape. Those routes place the sleeve opening and shoulder seam differently. Choose the intended route before measuring sleeve length from a guessed shoulder point. A short sleeve that is too close may restrict the upper arm. A very wide opening may collapse against the front or make the upper body look longer than intended. The buyer needs a worn front, side and back view of the actual route.
Record which shoulder point is intended to sit on the body, whether it is dropped deliberately, and where the cuff should end at rest. The general size-grading guide explains why sleeve and shoulder paths need a marked rule. Here the approval question is whether they keep the unfastened front balanced during normal wear. Do not import a sleeve opening from a closed pullover that carries tension in a different way.
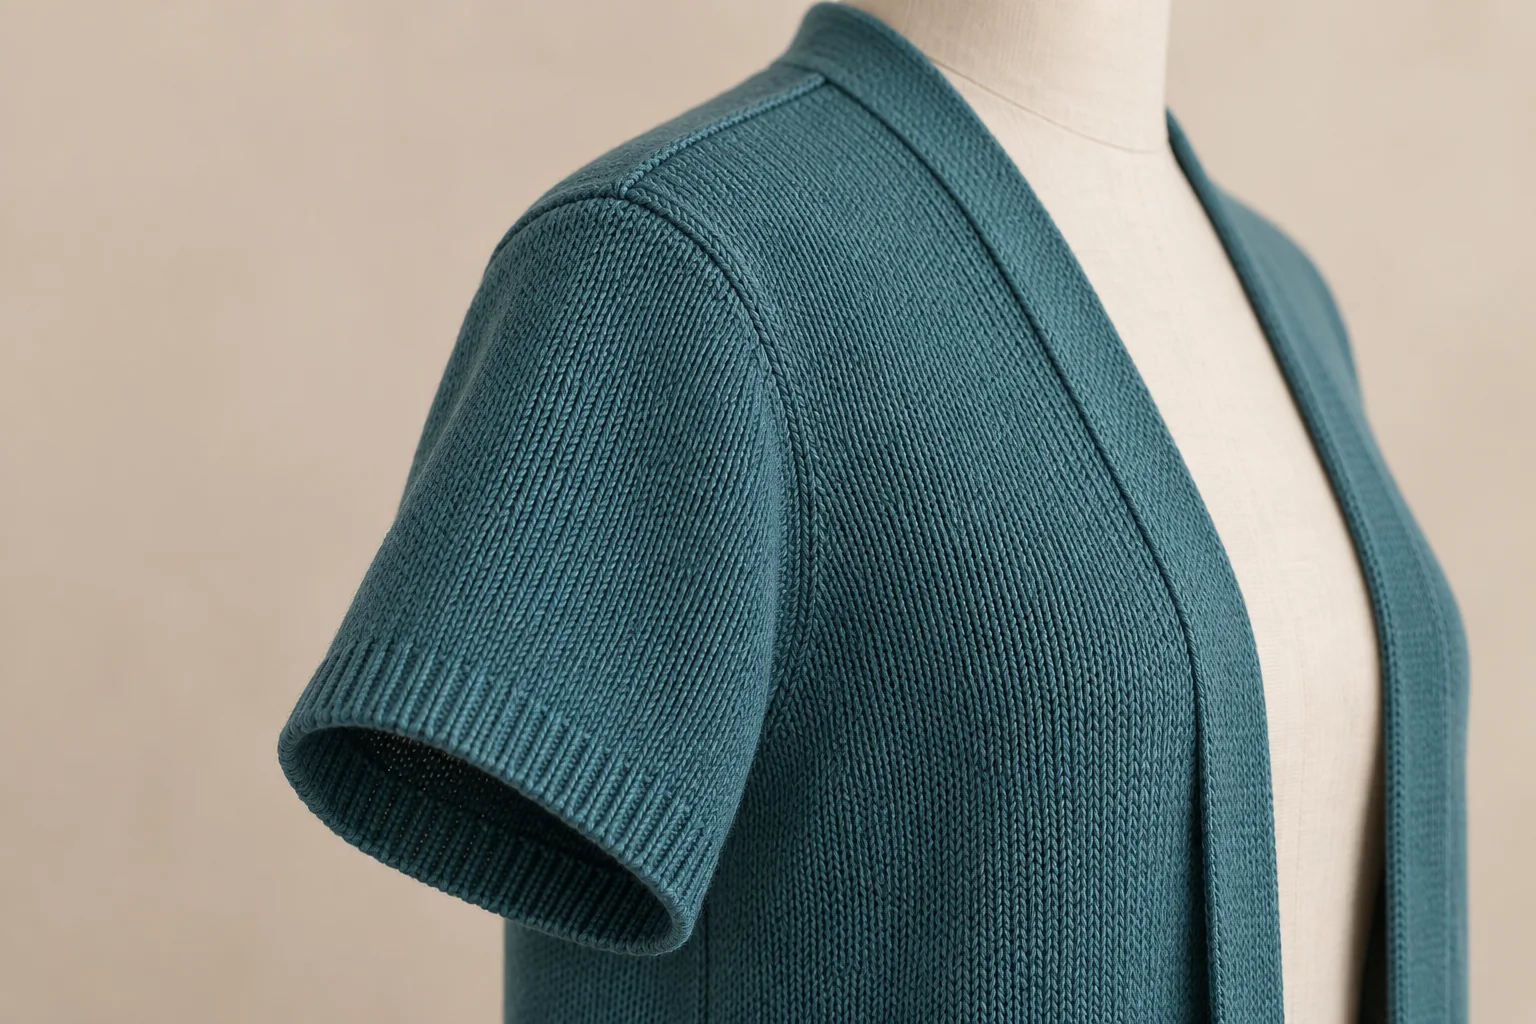
Drawing the sleeve and unfastened fronts
Mark the shoulder, armhole and sleeve path
Put the shoulder line, armhole shape, upper-arm opening and cuff edge on a drawing of the complete cardigan. Include the back shoulder and side seam. Measure the finished sample from named origins, then keep those values beside the worn photographs. ISO 18890 describes garment measurement points and allows parties to agree additional points. It does not prescribe the shoulder drop, armhole clearance or open-front gap for this design.
A sleeve length measured only from the outside seam can be misleading if the shoulder extends with grading. Add an agreed path from back neck or another stable reference to cuff when it captures total reach better. The knitwear tech-pack guide can hold the full specification. The drawing should identify the short-sleeve route, actual sample revision, underlayer and visible lines the buyer expects to retain.
| Balance input | Record to keep | Comparison enabled | Responsible choice |
|---|---|---|---|
| Wear brief | Underlayer, wearer and use states | Repeats the front gap | Brand defines presentation |
| Shoulder | Seam or extension and body landmark | Locates support line | Fit team marks reference |
| Armhole | Shape and edge points | Checks sleeve/body connection | Technician specifies route |
| Sleeve opening | Cuff path and upper-arm clearance | Assesses movement and exposure | Buyer approves intended outline |
| Front edges | Left/right edge, natural gap and hem | Detects swing or imbalance | Designer chooses visual target |
| Material state | Yarn, stitch, finish and revision | Separates material response | Sample room identifies trial |
Record both front edges, not a single width
A body chest measure can pass while one front curls or hangs lower. Mark the left and right edge paths separately and photograph the front with no hand adjustment. For an open style, a centre-front closure line may not exist as a physical seam. Define the intended meeting reference and the natural distance between edges in the approved state. Note whether the body should taper or fall straight below the short sleeve.
Which point moves first at the armhole?
Compare the first point that moves
Ask the wearer to stand naturally, reach forward and raise an arm within the product’s expected use. Photograph the front and side before the cardigan is re-arranged. Note whether the sleeve opening climbs, the shoulder seam moves, the front edge swings or the hem lifts. The first changed point can help a technician choose a focused trial. Do not assume that a front edge moving during reach needs a stiffer band; the armhole or body may be carrying the movement into it.
Inspect the opening on the chosen underlayer
A short cardigan sleeve can clear a thin tee and press against a fuller shirt sleeve. The underlayer also changes the position of the cardigan’s shoulder and front. State which outfit is the main product requirement, and record any alternatives separately. If the sleeve binds, locate the contact at cuff, upper arm or armhole. If the armhole opens away from the shirt, inspect the shoulder and side shape before making the body narrower throughout.
The sample-feedback guide helps name the exact sample state and visible conflict. “Sleeve looks wrong” leaves too many choices open. A useful comment identifies the side, action, wearer, underlayer and whether the front changed with the sleeve. A well-pinned styling image is useful for design discussion but should not replace the unadjusted movement record on which the fit decision rests.
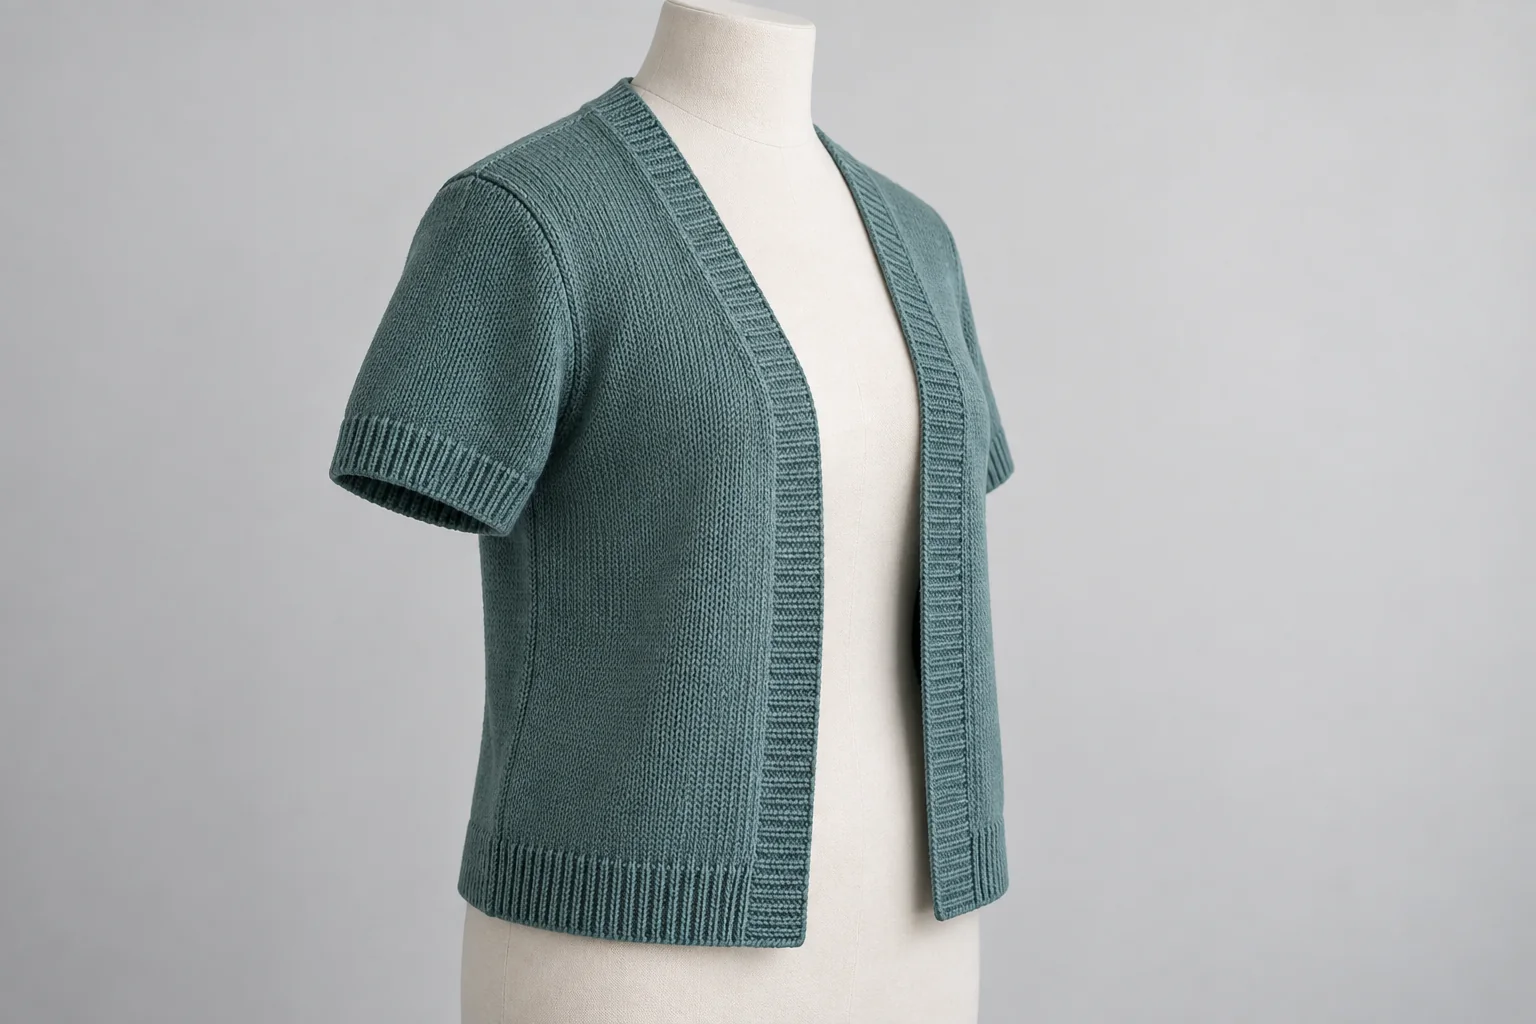
Comparing edge curling and whole-body balance
Compare body, edge and finish as separate variables
The front may curl because its stitch structure responds differently from the body, because its length or width differs from the planned edge, or because the sample was handled unevenly. Record the current edge construction, body knit, sample finish and resting state. Compare both sides of the same identified garment. If the technical team proposes another edge route, ask what else changes in the trial so an improved front line is not mistakenly credited to a new yarn or pressing method.
Compare proposed folded, linked, integral or other edges in the selected material. Inspect the inside and worn front together so a straighter line can be judged against added bulk and the intended drape.
Compare paired edge lengths from the same upper origin, then inspect the worn fronts. A local band, knitting-density or finishing revision can change thickness as well as curling. Tell the technician which gap, hem, narrow band or soft drape the next trial must preserve.
Check the hem and the fronts together
A level hem on a flat table does not guarantee that two open fronts hang at the same height. Photograph the front and side after normal dressing and again after sitting or walking if those actions matter to the product. Note whether one side twists, flares or moves forward. Check the side seam and back length in the same frame. If the front edge returns to its intended line after rest, record that state instead of treating a moving garment as permanently distorted.
Size and care changes in the connected fit
Select size samples around route changes
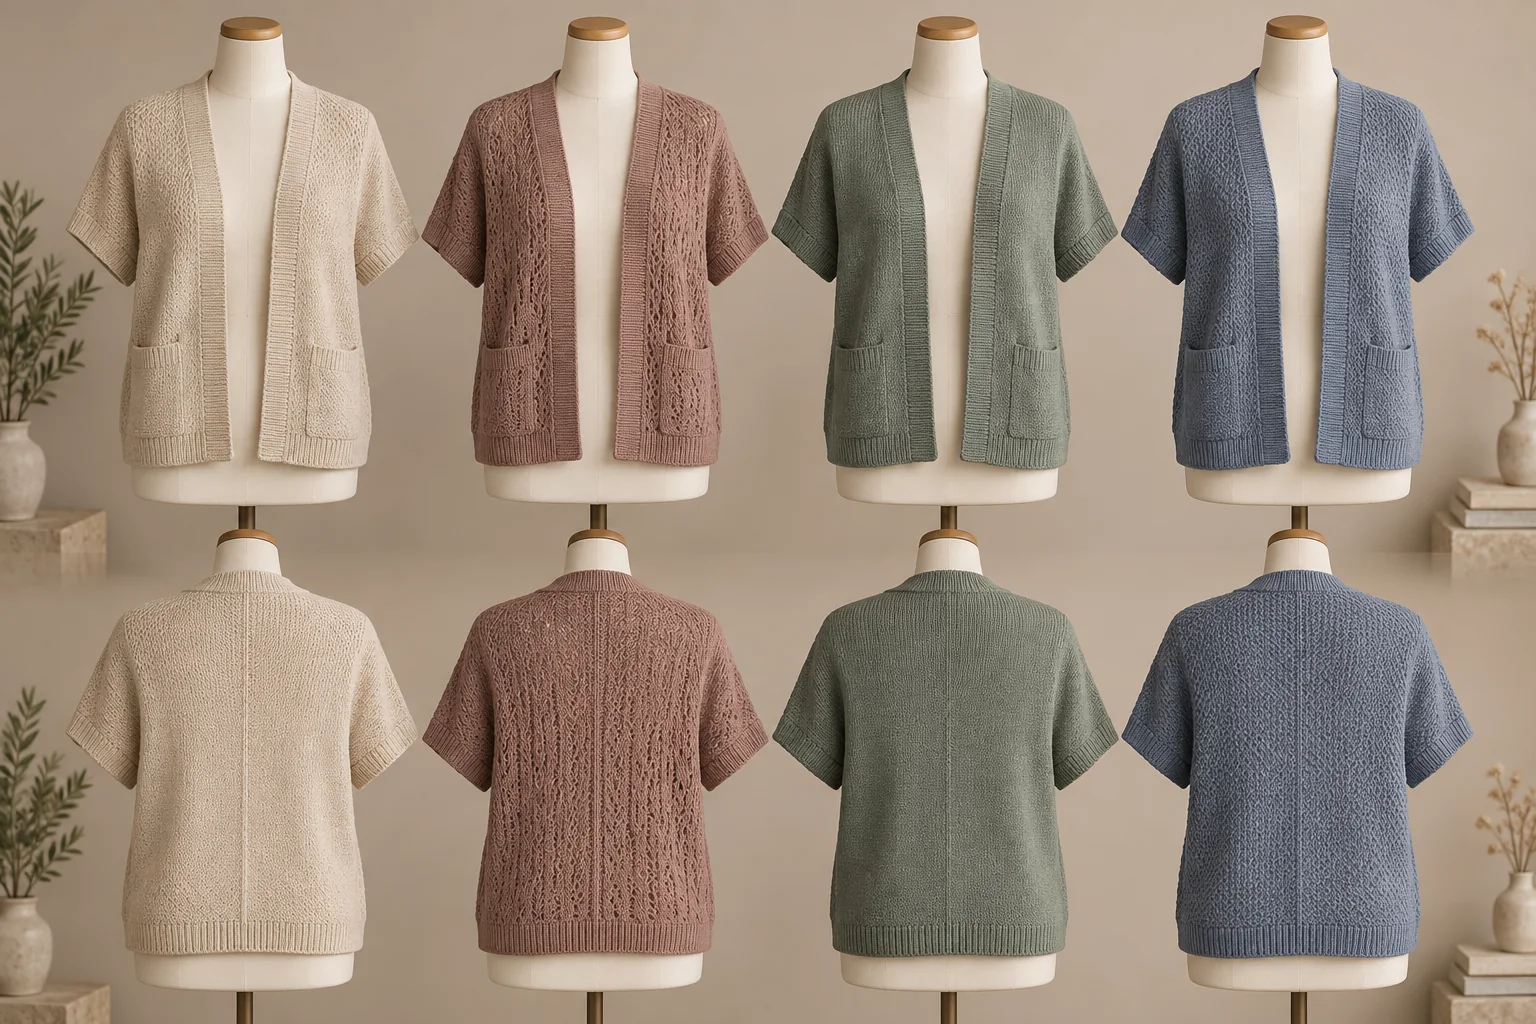
A base-size open front may look deliberate while another size widens its gap or changes how the short sleeve sits. Choose lower, base and upper sizes from the offered range, adding a transition where sleeve construction, edge method, panel count or pattern rule changes. Use corresponding wearer or form references. Mark shoulder, cuff, armhole, gap and hem in each selected size. The purpose is not to force every size to copy the same centimetre gap, but to keep the chosen visual relationship.
The size-grading guide covers the broader rule. Distinguish an intended size increment from the allowed manufacturing deviation in a particular size. If one size needs a different sleeve route, retain an exception map and a physical sample. A first-off can then be compared with its own approved construction, not a single photograph from the base size.
Repeat the stated care observation
Record how the identified sample was washed, dried, finished and rested before comparing its front and sleeve positions. AATCC TM150 describes garment length and width changes after home laundering for applicable products and has limits for certain stretch fabrics. A development wash observation is not automatically a completed formal test. Keep the measured result separate from the worn appearance of the short sleeve and open front.
A colour, yarn or finishing change may alter the edge or sleeve response. The yarn-substitution guide explains why a new proposal reopens affected decisions. Compare the same use and care states on the new garment. Do not invent a universal loss of length or recovery value from a fibre label. The buyer should know which relationship changed before requiring a new full range of samples.
Choosing the next front or sleeve trial
Turn each conflict into a bounded next trial
| Worn-front observation | Relationship to investigate | Buyer decision | Closing record |
|---|---|---|---|
| Front swings with arm lift | Sleeve, armhole and body link | Hold movement approval | Same-outfit rest and reach views |
| One front hangs lower | Edge, side seam and hem balance | Compare identified alternatives | Marked front and side views |
| Cuff presses the shirt | Sleeve opening and underlayer | Trial a cuff or sleeve route | Dressing and movement sequence |
| Armhole gapes while front stays level | Shoulder and side shape | Review upper-body block | Worn side and back views |
| Edge curls after care | Knit and finish response | Reopen that material version | Paired pre/post-care samples |
| One size changes the gap | Grade or component transition | Restrict affected size | Size-specific physical reference |
A revised sleeve can improve clearance while worsening front drape; a straighter edge can become too rigid. Compare both effects and record the design choice before carrying that construction into the size set.
Frequently Asked Questions
Can a short-sleeve cardigan block become open front by removing buttons?
It is a starting reference only. The front edge has a different wearing job without fastening, so review its natural gap, shoulder and short sleeve together.
Does a flatter front always need a firmer band?
No. The body, edge, finishing and armhole may contribute. Compare a named construction proposal before choosing a reinforcement that could add unwanted bulk.
Can one underlayer approve the style for every outfit?
It approves the stated use condition. Add other outfits to the trial if the brand expects the cardigan to clear thicker sleeves or a different collar.
Should every size have the same front gap?
Set the relationship to the intended wearer and silhouette. Check risk sizes physically, especially where a panel, sleeve or edge rule changes.
Is a flat hem measurement enough to approve balance?
No. Keep unadjusted front and side views at rest and during normal movement, together with the marked garment measurements.
Include one rest-and-reach sequence showing the unfastened front, armhole and sleeve in the CNSweaters cardigan enquiry. Mark the first point that shifts and the intended gap on the same underlayer.