 CN Sweaters
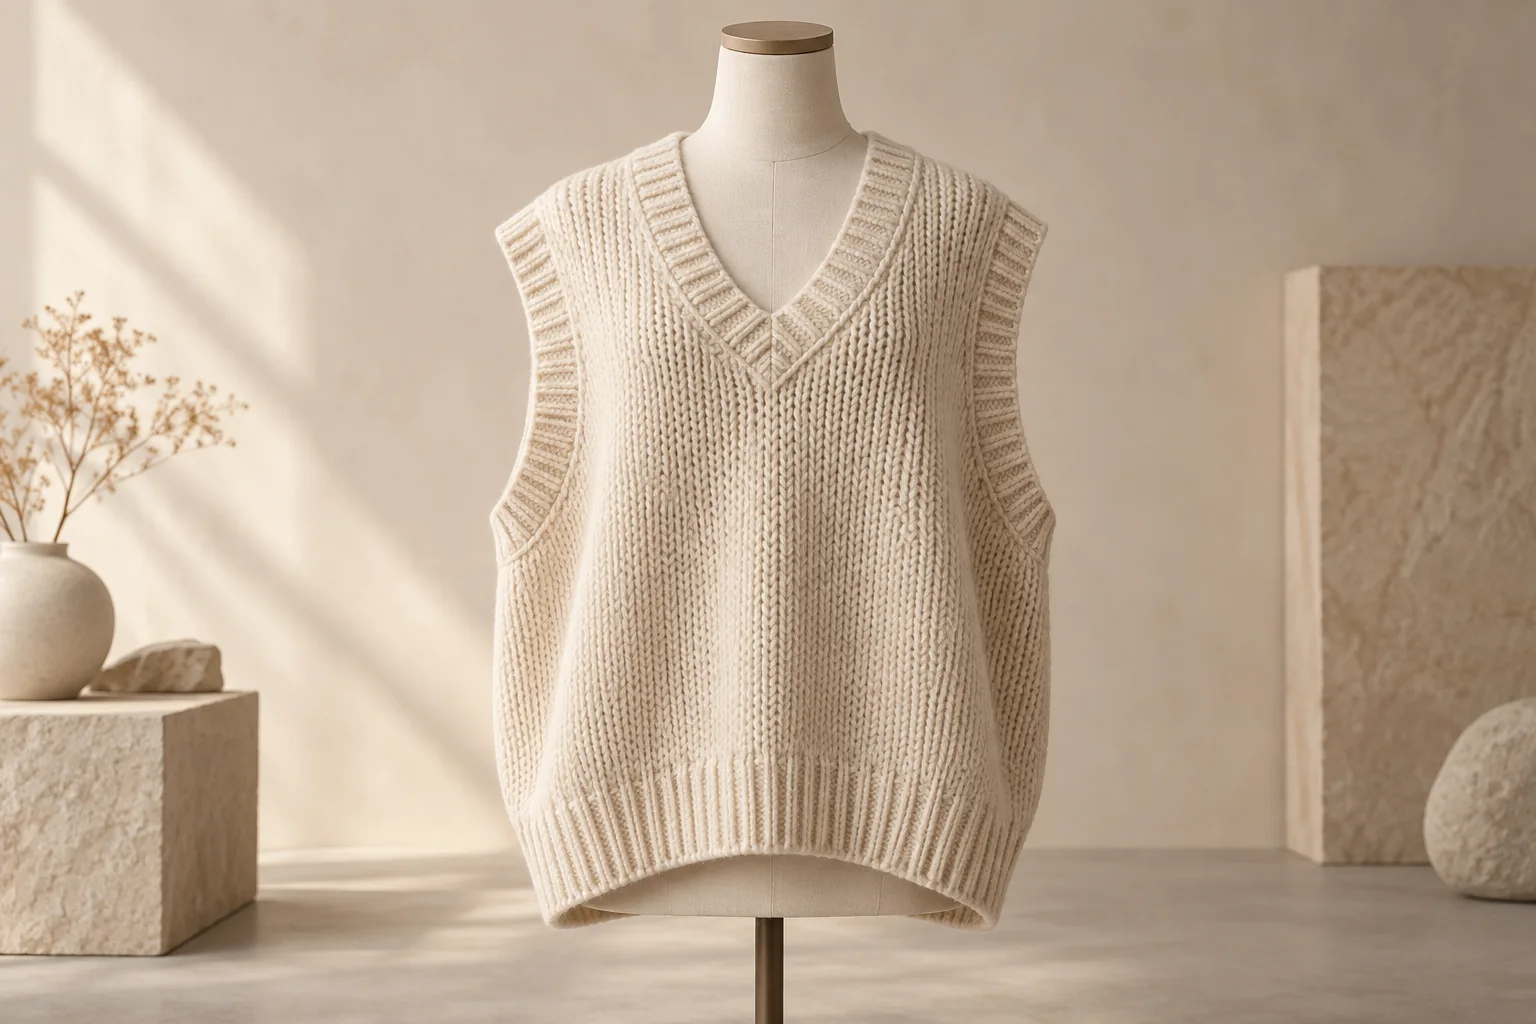
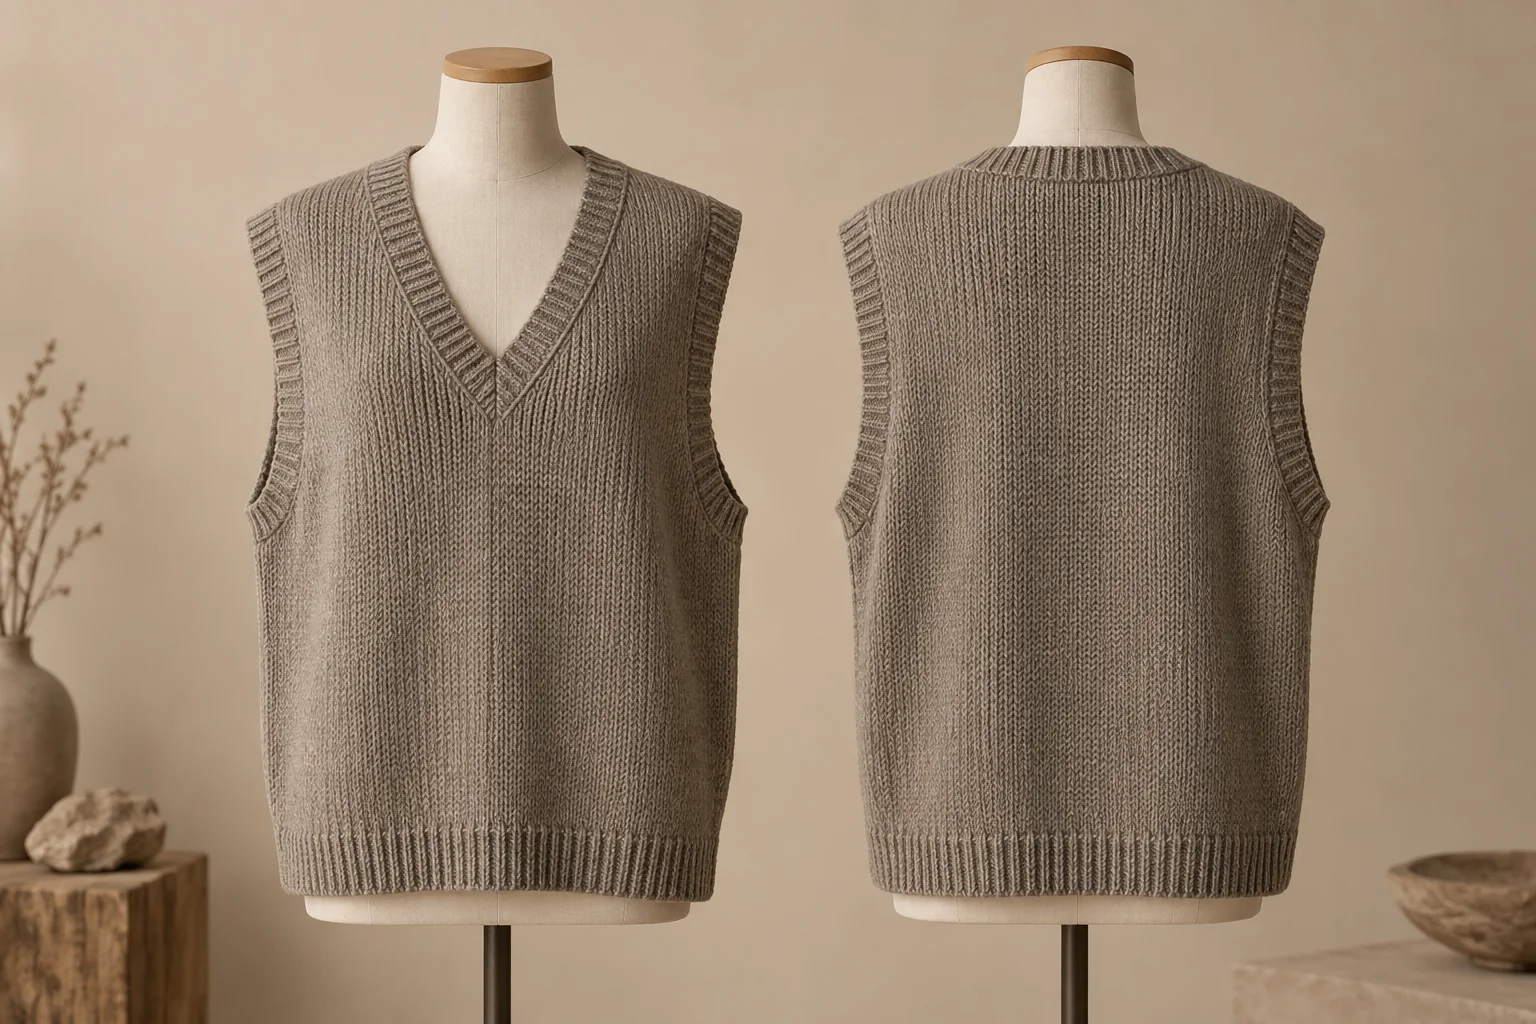
From the front, an oversized sweater vest can look exactly as loose as the brand wants; from the side, its armhole may reveal more body or underlayer than the customer expected. Shoulder extension, chest ease and lower armhole position create that view together. Approval should use the intended shirt or tee and a moving wearer, with a visible coverage boundary rather than a universal armhole depth.
What oversized sweater vest silhouette is the brand buying?
Choose vest body and shoulder proportions
“Oversized” may describe a wide torso, a deliberately dropped shoulder, a long body or a combination. Write which dimensions carry the effect. A vest with a wide chest but narrow shoulder can look different from one whose shoulder extends beyond the target wearer’s shoulder point. Neither is inherently better. Save front, side and back views of the chosen reference with the specified underlayer.
Specify where the vest may reveal an underlayer
Mark whether the underlayer should be visible at the upper arm, side chest or lower armhole. If the vest is meant to be worn without a shirt, name the undergarment and coverage condition the buyer is willing to approve. Do not assume that a bare-arm styling image will be acceptable for a product brief written around shirt layering. Take a natural side view before the wearer lifts the vest or smooths the hem for the photograph.
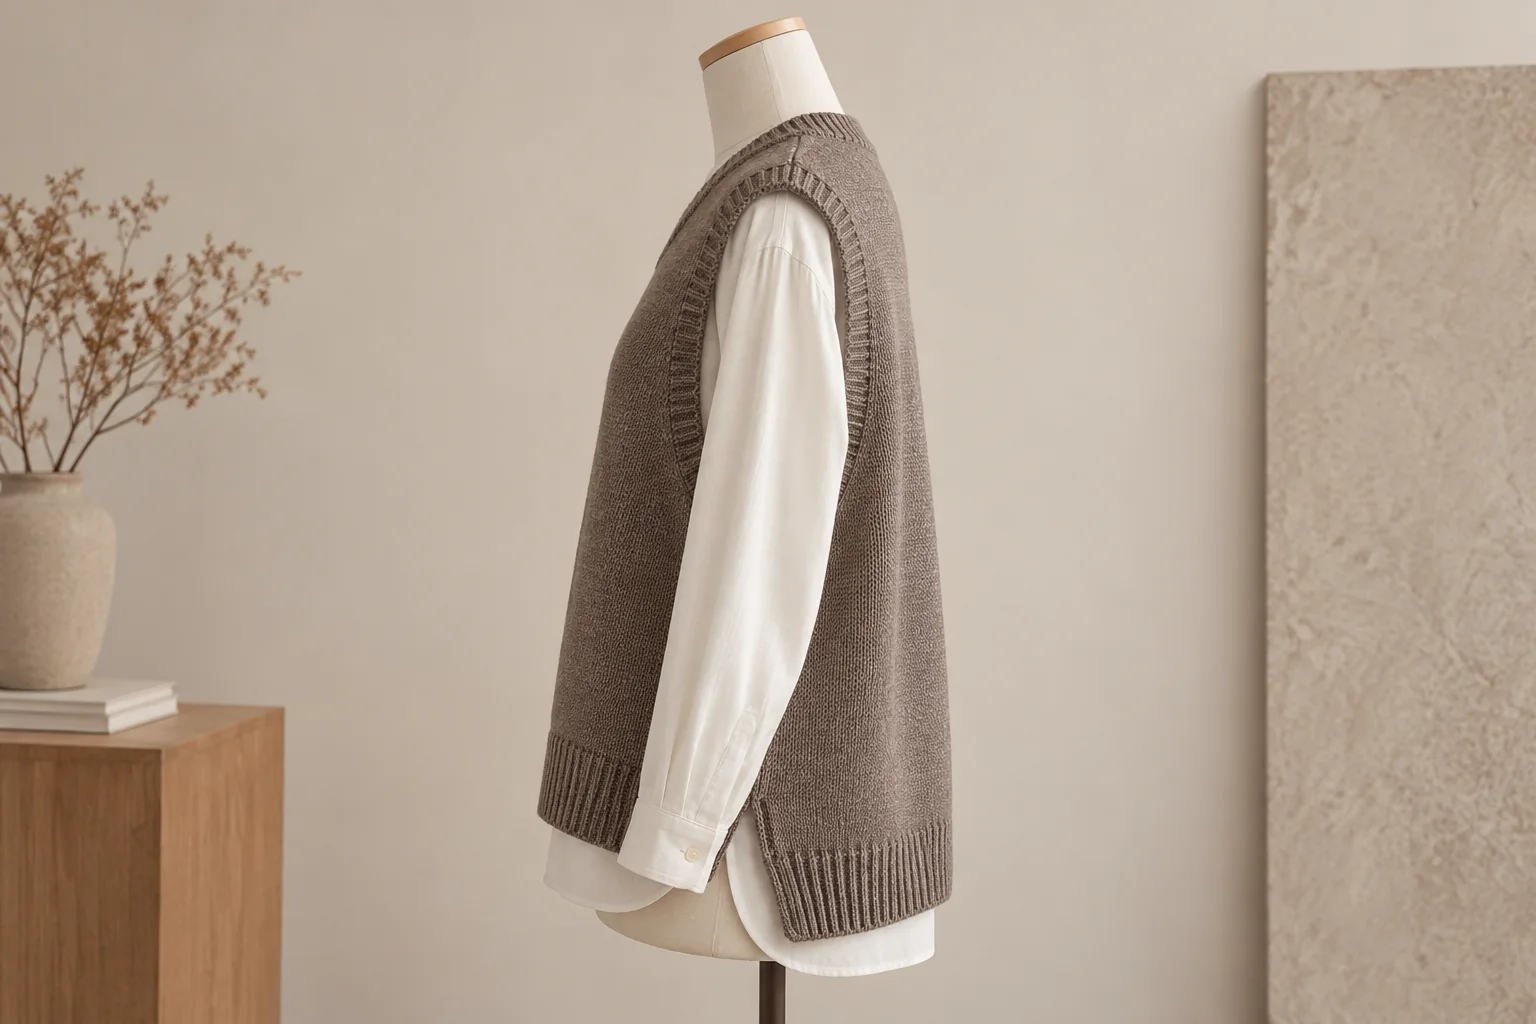
Mapping the shoulder and side opening
Separate body dimensions from vest dimensions
Use an agreed target wearer profile and record the chosen body’s shoulder, chest and upper-arm references separately from the finished vest values. ISO 8559-1 describes body-measurement definitions for apparel size profiles, not an oversized-vest ease target. ISO 18890 describes garment measurement points and permits extra agreed ones. Mark the extended shoulder point, front and back armhole edges, underarm low point, chest and side-seam position on this vest.
The knitwear tech-pack guide provides the wider drawing. Add a marked side-view reference because flat armhole depth cannot by itself show where a curved edge lies against the wearer. State whether edge trim is included in each point. If two samples use a different shirt or fit form, record the difference before comparing their opening exposure. Otherwise the team may revise a good garment to match an incompatible photograph.
| Coverage reference | Record to keep | What it reveals | Buyer decision |
|---|---|---|---|
| Intended outfit | Shirt or tee and use condition | Underlayer at opening | Choose primary wear state |
| Body profile | Shoulder, chest and upper-arm reference | Fit context | Define target wearer group |
| Vest shape | Chest, hem and side seam | Loose silhouette | Approve body proportion |
| Shoulder | Extended or natural end point | Opening location | Select shoulder route |
| Armhole | Front/back path and low point | Exposure and clearance | Set visual boundary |
| Material | Yarn, knit and edge revision | Response in wear/care | Identify sample option |
Keep a side opening map with the fit sample
A side photo should show the shoulder point, armhole edge, shirt sleeve and side seam in one frame. Mark where the observed opening differs from the reference. Do not use a tight crop that removes the body width, because a reader then cannot see whether the gap comes from an intentionally wide silhouette. The sample-feedback guide helps tie comments to a particular size, view and construction revision.
If the shirt bunches inside the armhole, inspect underlayer bulk and edge clearance before widening the opening. If the edge stands away from the body, compare shoulder position, side shape and knit response before narrowing the full vest. The buyer can request a sample that changes one marked relationship at a time. The comparison should retain the loose body target unless the brand explicitly changes the silhouette.
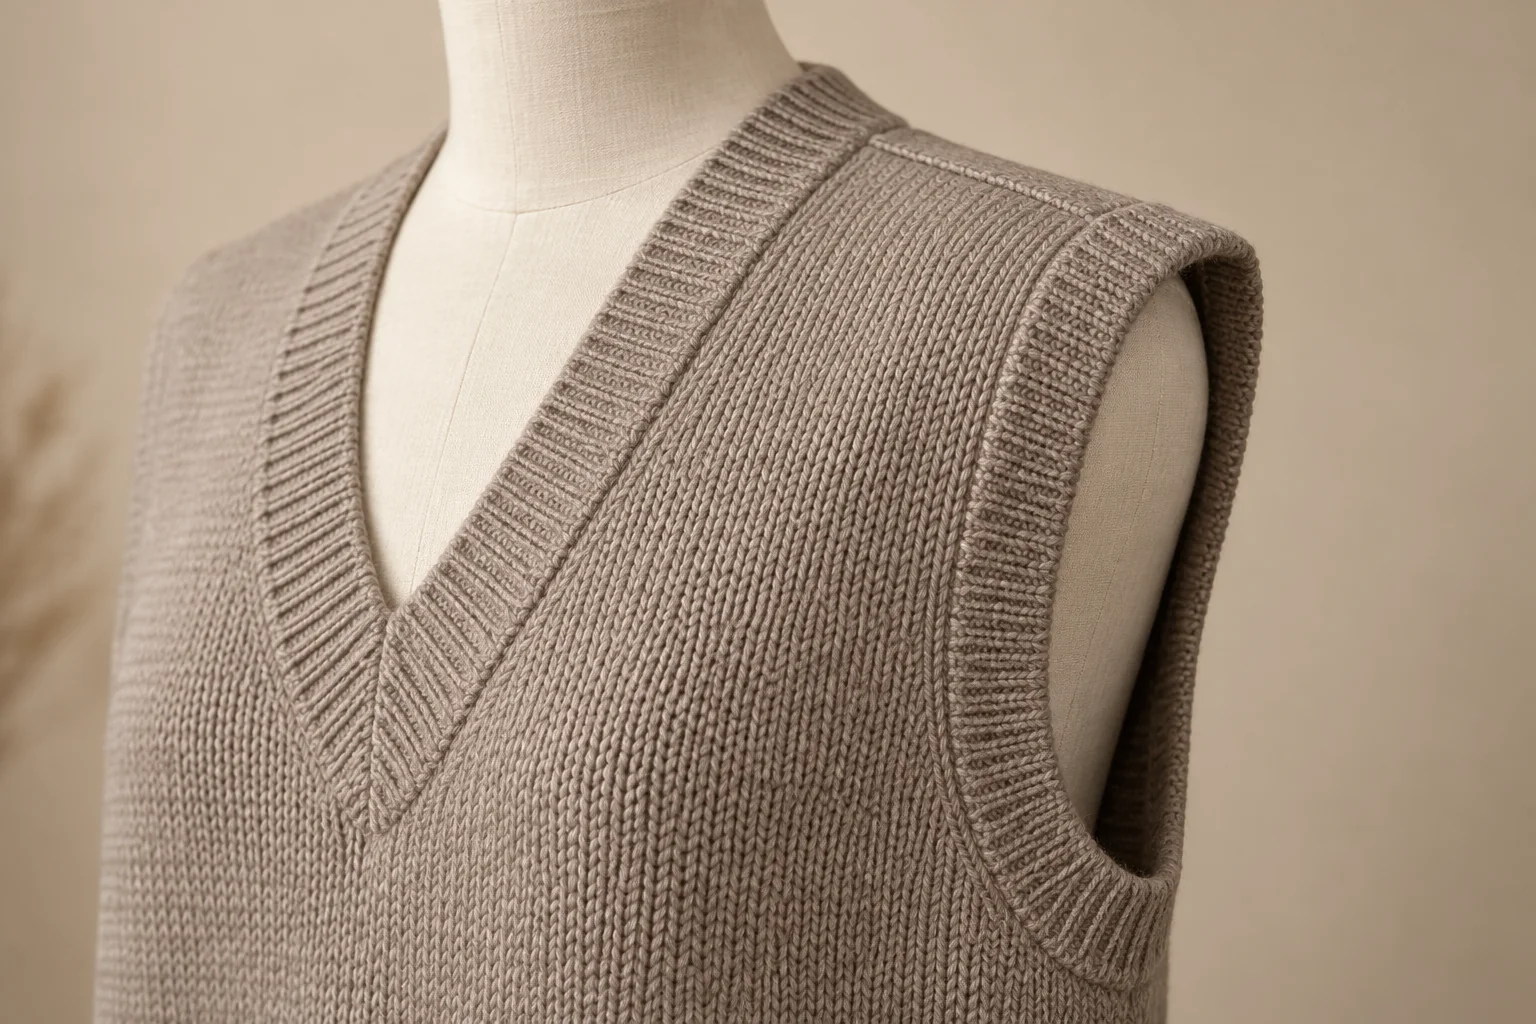
Which point moves first during reach?
Use actions from the stated product use
Ask the wearer to dress over the named layer, stand at rest, reach forward and lift an arm if those actions are normal for the style. Photograph the same side before adjusting the vest. Record whether the armhole opens further, shifts upward or rubs the shirt sleeve. A momentary change during reaching is not automatically a failure; the buyer has to decide whether the result meets the stated coverage and mobility brief. The return to resting shape belongs in the observation too.
Locate the first change in the connected fit
If the vest swings away at the side, look at the shoulder and body hem before asking only for a narrower armhole. If the armhole binds when the arm rises, check underarm depth, edge construction and the garment’s side seam. The buyer should name the first visible displacement and describe where the wearer feels restriction. A garment can pass a flat width value and still fail the intended use when the shirt sleeve is pulled up with the vest.
Documenting side exposure on named outfits
Compare the named underlayer states
If the product must work over more than one layer, keep each layer as a separate observation. Photograph the vest over the primary shirt first, with the sleeve and side seam visible. Then repeat with any additional tee or blouse the brand actually plans to show. Record whether the armhole edge touches, clears or stands away from that layer. Do not combine the photographs into one “good fit” label, because a tight shirt can hide a gap while a fuller sleeve can create a different restriction. A buyer may select one primary outfit and make another a stated exception. That decision belongs on the brief before a technician revises the pattern.
Mark the location of unwanted exposure
Mark unwanted exposure at the front chest, low side, back edge or shoulder. Identify the underlayer and whether it occurs at rest or in movement. A lower-edge change and a shoulder change alter different parts of the opening; compare the revision against the same loose-body target.
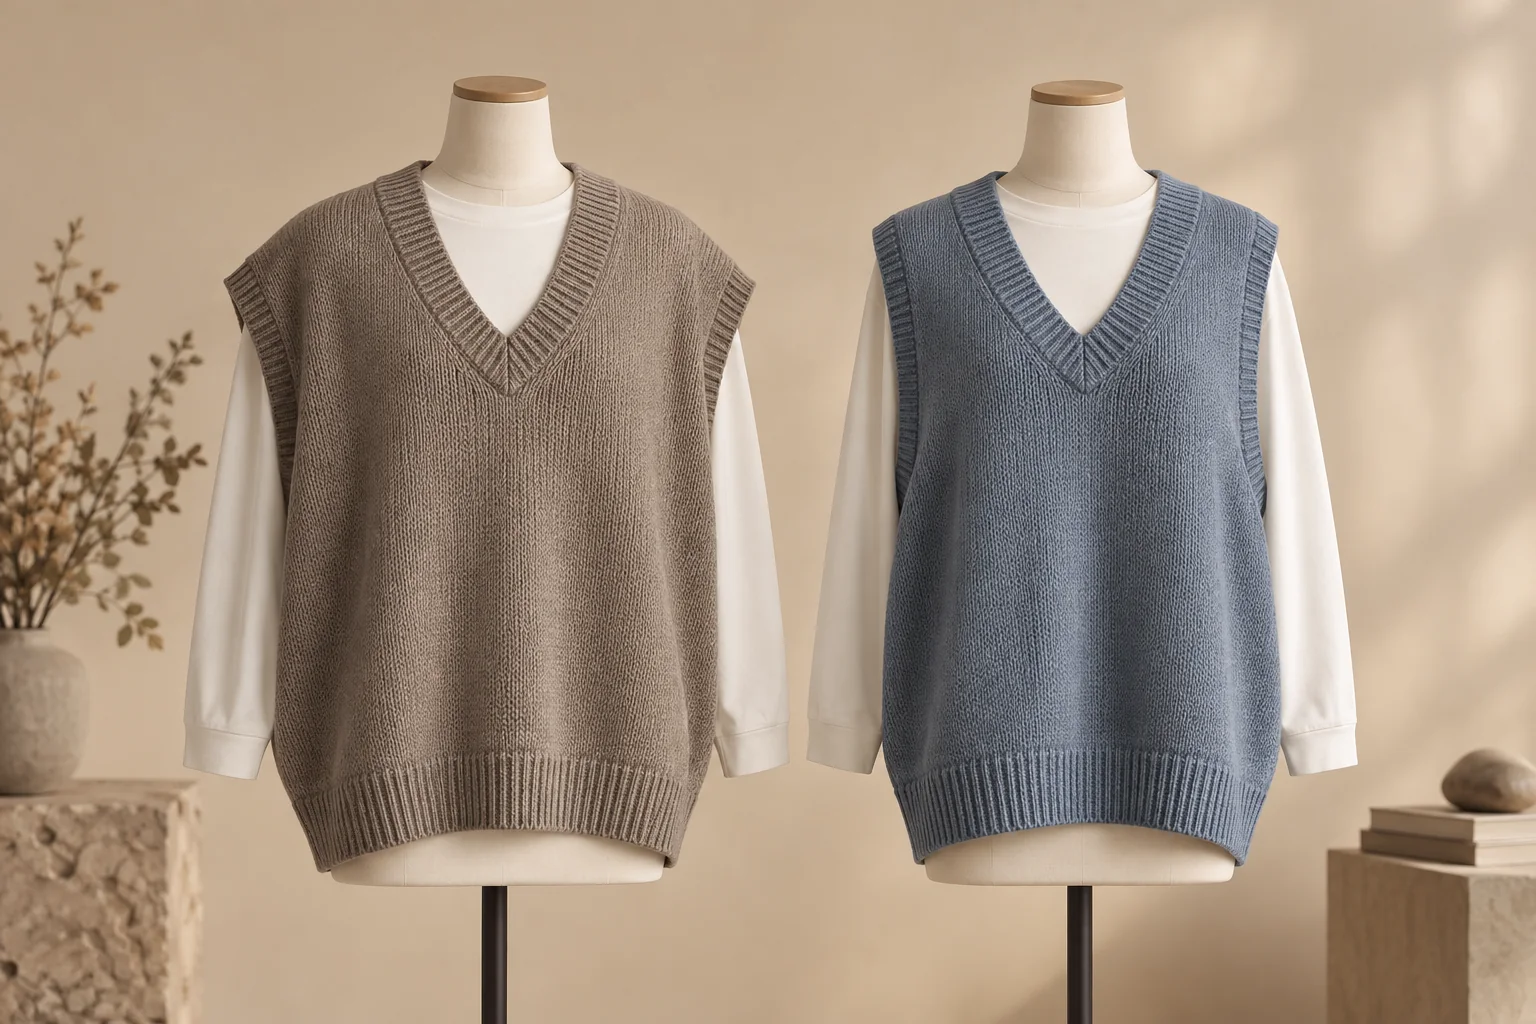
Material and edge response
Compare the actual finished knit and edge
The body and armhole trim may stretch or relax differently. Record the yarn identity, knit structure, finished state and edge route of the physical sample. A stock vest in another yarn can illustrate a silhouette but cannot approve the planned material. If one option has a tighter armhole because its trim changed, do not credit the body pattern alone. Keep the component difference visible in the trial notes.
ASTM D2594 addresses stretch properties of low-power knitted fabrics within its scope and limits use for commercial shipment acceptance. A fabric result does not establish whole-vest coverage or mobility. If the material is outside the method’s scope, do not relabel a hand-stretch check as standard testing. The yarn-substitution guide explains why a changed yarn reopens fit relationships that depended on the old sample.
Check the declared care state
A cared vest may hang differently at the shoulder or side opening. Record the care route actually used, and compare the identified sample before and after it on the same fit reference. AATCC TM150 covers garment length and width changes after home laundering for applicable garments, while noting limits for some stretch fabrics. The method does not provide an acceptable exposure boundary. Keep its dimensional evidence separate from a worn side-view judgement.
A measured chest width may remain acceptable while the armhole edge curls, or the width may change without making the side view unacceptable. State both results. The measurement-tolerance guide describes how parties set garment acceptance limits once the geometry is approved. Do not insert a universal centimetre value for oversized vest exposure because the chosen outfit and wearer determine the visible effect.
How should coverage and clearance change by size?
Preserve the silhouette and opening together
The body may need different width and length changes from the shoulder or armhole. Decide the wearer profile for each size group, then map the vest’s body ease, shoulder extension and side opening on that basis. The custom knitwear grading guide supplies the overall size-system method. A uniform increase at every point could make the upper size too open, while a fixed armhole might restrict movement elsewhere.
Select lower, base and upper risk sizes, adding a transition where a new edge, panel or program begins. View each over the intended underlayer on a suitable wearer or form. Keep front, side and back photographs at rest and in the agreed action. An approved base-size side view cannot validate an upper size whose shoulder and opening no longer meet the same design boundary.
Separate a grade from a measurement tolerance
A grade states how the intended shape changes between sizes. A tolerance states what measured variation is accepted within one size. Do not use a loose tolerance to hide a missing armhole grade. Mark endpoints on the drawing, keep the approved side photo for each construction family, and then agree manufacturing limits. If the brand chooses a different underlayer for a larger size group, record that as a product decision rather than blending the two trials into one fit result.
Choosing a local fit revision
Convert the observed issue into a targeted sample
| Side-view finding | Relationship to investigate | Buyer action | Closing record |
|---|---|---|---|
| Side opening reveals too much | Shoulder, edge and body ease | Hold visual approval | Same-layer side views |
| Shirt sleeve bunches | Armhole clearance and underlayer | Trial a local opening change | Dressing and reach sequence |
| Hem swings with arm raise | Shoulder and side fit | Review connected block | Front/side rest-action views |
| Edge curls after care | Trim knit and finish | Reopen that version | Identified pre/post-care views |
| One size loses loose shape | Body/shoulder grade | Revise size rule | Size-specific wearing sample |
| One size exposes more body | Armhole and underlayer grade | Restrict affected size | Marked side comparison |
Frequently Asked Questions
Does more chest width always increase exposure?
Not automatically. Shoulder extension, armhole shape, edge response and the underlayer also determine the worn side opening. Review them on the same garment.
Can a shirt photo approve bare-arm wear?
No. It shows the planned shirt-layer condition. Add a separate bare-arm review if the brand intends to sell the vest for that use.
Is a fabric stretch result enough for fit approval?
No. It can inform material selection within a method’s scope. The assembled armhole and wearer movement need their own record.
Should every size have a deeper armhole?
Set the depth and edge path from the intended wearer profiles and physical size samples. A single linear increment may change coverage unevenly.
What if the edge behaves differently after care?
Identify the sample and care procedure, then compare the side opening on the same outfit. Reopen only the affected construction or material decision.
Send the same-underlayer side views with the exposure boundary and first displaced shoulder or edge point marked in the CNSweaters oversized-vest enquiry.