 CN Sweaters
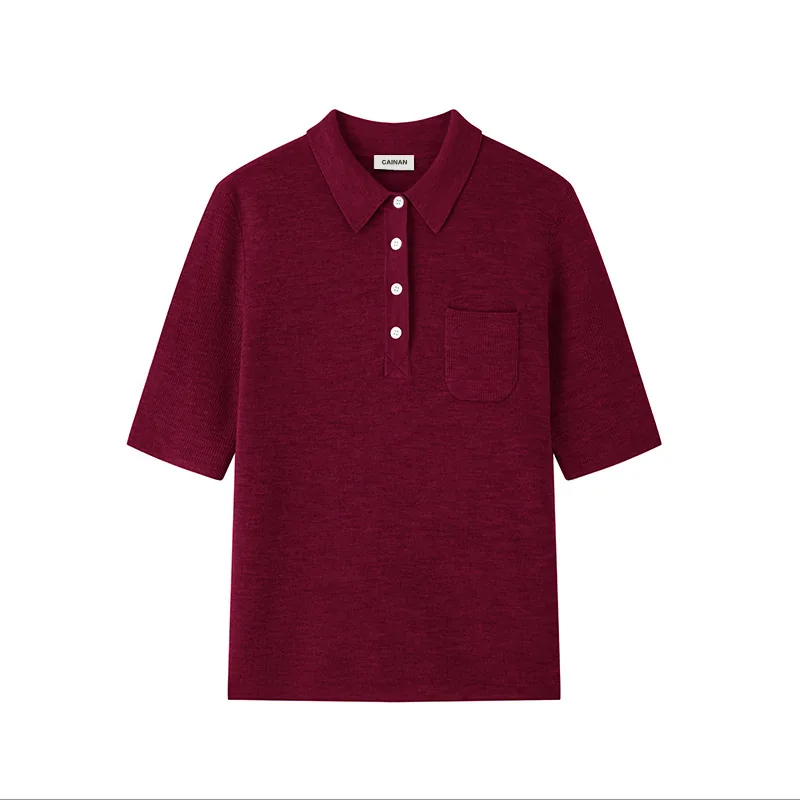
Approving a knit polo sweater sample does not prove that the bulk order will repeat it. The approved sample was made from one yarn lot, on a limited machine setup, in one size and through one finishing sequence. Bulk production introduces more lots, machines, operators, sizes, colors and batches.
That wider system can change the parts customers notice first. A collar point may curl, the placket may wave, buttons may drift off center, or the body may feel lighter than the approved sample. These are rarely isolated cosmetic problems. They often signal that the physical standard was not converted into production checkpoints.
For buyers and factories, the practical solution is a staged release process. Each production gate should compare measurable evidence with the sealed PP sample before more units move forward. This article sets out that control plan for a professional sweater manufacturing program.
Settle the Knit Polo Sweater Development Inputs
Production gates can only check what development has already defined. If the construction route, yarn specification, collar geometry or label package is still vague at PP, inspectors have no fixed reference to check against.
Confirm the Construction Route for a Knit Polo Sweater
A fully fashioned sweater polo is built from shaped knitted panels joined by linking. A cut-and-sew polo is cut from piqué or jersey yardage and sewn like a shirt. The two can look alike on a line sheet, but they differ in seams, stretch, measurement behavior and inspection points. A knitted body relaxes after linking, washing and steaming, while a cut-and-sew body is controlled through fabric width, the marker and sewing. Do not inspect a sweater polo against a shirt specification.
Specify Cotton Beyond “100% Cotton” for a Knit Polo Sweater
Fiber content does not set the yarn count, ply, twist, mercerization, hairiness, dye method or finished handfeel. Approve the yarn as a finished knit-down in the intended gauge and stitch, and review dry hand, surface clarity, luster, snag and pilling risk, stretch and recovery. If a blend is proposed, record its commercial reason, such as recovery, weight, care or cost, so a later substitution can be judged against that reason.
Lock Knit Polo Sweater Labels and Branding Before PP
Specify the main, size and care labels, hangtag, barcode and packing before PP approval, including dimensions, fiber and care wording, country-of-origin requirements and placement for the target market. On a polo worn against the skin, the neck label affects comfort, so test the label material and attachment. If embroidered or jacquard branding is used, check its effect on stretch, reverse-side comfort and how the front hangs. Our OEM and ODM services cover these inputs before sampling starts.
Convert Knit Polo Sweater Approval Into Controls
The PP sample is a reference, but it needs supporting documents and component standards.
Build One Master Production Pack for the Knit Polo Sweater
Create a controlled pack containing the sealed PP polo, approved yarn and shade references, finished knit-down, current tech pack, graded measurements, collar and placket diagrams, buttons, buttonholes, labels, finishing recipe, packing standard and defect examples.
Record the document revision and approval date. Remove obsolete versions from the working area. A factory can follow the wrong specification accurately, so revision control is as important as workmanship.
Add photographs of the collar open and closed, the placket flat, the inside neckline join, the buttonhole edge and the finished packing fold. Photographs should supplement, not replace, dimensions and physical references.
Turn Subjective Language Into Knit Polo Sweater Pass Conditions
Words such as “premium,” “clean” and “good collar” are not production controls. Translate them into observable conditions: matching collar-point length, approved spread, smooth neckline join, centered placket, defined overlap, aligned buttons and no permanent edge curl after the agreed wash.
For each critical area, record the inspection state. State whether the garment is relaxed, buttoned, flat, worn, pre-wash or post-wash. Two measurements taken in different states cannot be compared reliably.
The bulk knit consistency guide explains why approved standards, machine records and finishing controls must travel together.
Assign Knit Polo Sweater Hold Points Before Production Starts
Define which stages require approval before the next quantity is released. Typical hold points include bulk yarn or knit-down, first panels, first collar and placket sets, first complete garment, size set, first finished batch and packing trial.
Name who can release each stage and where the evidence is stored. If a hold point fails, isolate the affected lot and investigate before continuing. A control plan that records defects but allows production to continue is only a report, not a prevention system.
Control Knit Polo Sweater Yarn Lots and Weight
Yarn weight and behavior affect the body, collar, placket, fit and cost at the same time.
Verify bulk yarn against the approved reference
Confirm fiber content, yarn count and ply, twist direction where relevant, color, supplier, lot and quantity. Compare each bulk lot with the approved reference before knitting complete garments.
Knit a representative swatch using the intended machine, gauge, stitch program and finishing route. Review shade, density, surface, handfeel, stretch, recovery and defects. If more than one lot will enter the order, establish how lots will be allocated by color, size or production batch.
The private-label yarn planning guide shows how yarn availability, lab dips, knit-downs and bulk booking affect both quality and timing.
Check panel weight in a defined condition
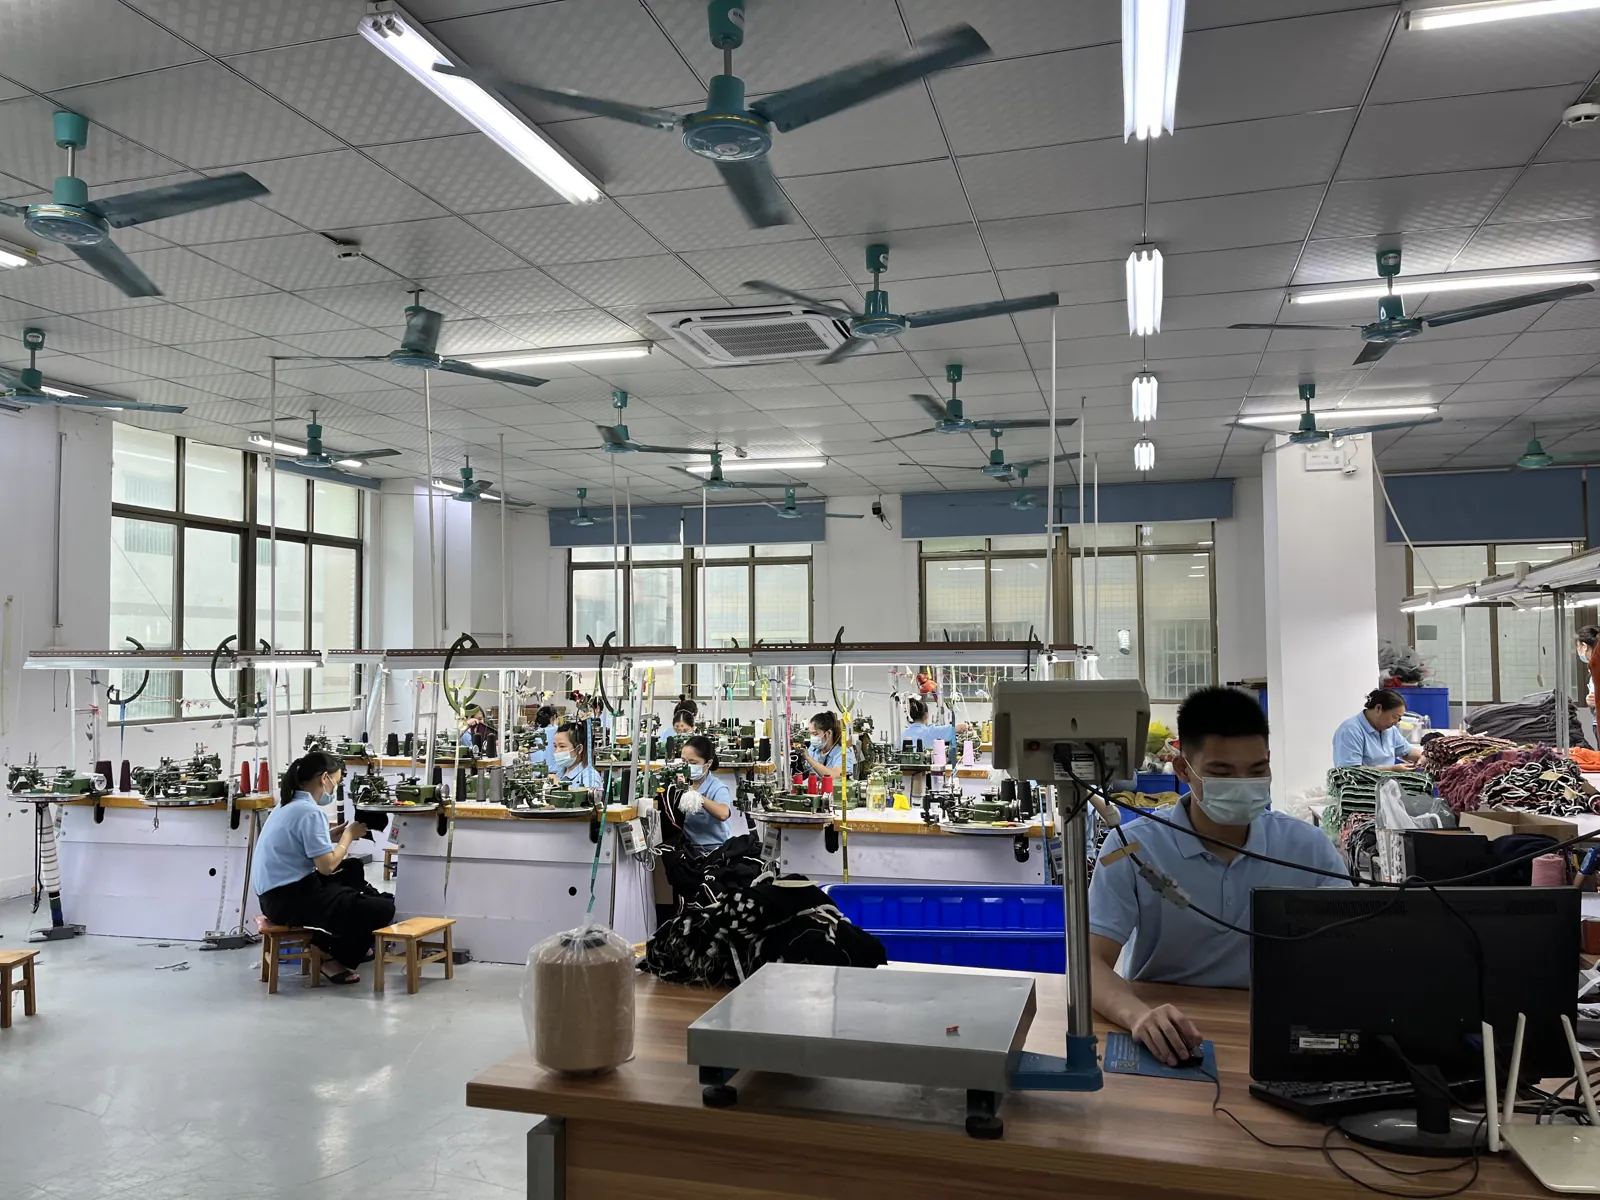
Weigh representative body, sleeve, collar and placket components after the agreed relaxation or finishing state. Record the component, size, machine group, yarn lot and condition.
ASTM D3776/D3776M covers fabric mass per unit area. For fully fashioned panels, internal component weight and finished garment weight can provide additional comparison signals when the method and condition remain consistent.
Do not set a universal acceptable weight for every polo. Establish targets from the approved product and validate them for the actual yarn, structure and size. Weight outside the normal pattern should trigger checks of stitch density, dimensions, yarn and finish.
Monitor stretch, growth and recovery
The body needs enough movement for wear, while the collar and placket need sufficient stability to hold shape. ASTM D2594/D2594M addresses stretch properties and growth of low-power knitted fabrics.
Use risk-based checks on the relevant knitted material and complete garment. Compare neck opening, body width, sleeve opening and hem before and after controlled extension or wear simulation. Inspect whether the structure returns sufficiently for the intended product.
A result should be interpreted with the construction and end use. The test method does not create one universal recovery limit for every knit polo.
Release Knit Polo Sweater Panels Before Assembly
Panel inspection catches systematic problems while they are still easier to isolate.
Measure first-off panels after relaxation
Measure front, back and sleeves after the defined rest period. Check body width and length, shoulder shape, armholes, neckline, sleeve dimensions, hem and any integrated placket structures.
Compare panels from the first machine group and from any new machine or yarn lot introduced later. Record results by source rather than averaging them into one order-wide number.
Look for barré, dropped stitches, holes, needle lines, contamination, uneven density and edge curling. A panel that is pulled into shape during linking may create fit or seam problems after washing.
Check pair matching and stitch direction
Pair sleeves and collar components by shade and structure. Confirm left and right pieces match in dimensions, stitch direction, tipping and pattern placement.
For engineered stripes, jacquard or tipping, define alignment points at the neckline, collar ends, placket and sleeves. Seal close-up photographs of acceptable transitions.
Keep affected panels separated when a new yarn lot or machine setting is introduced. Traceability supports diagnosis and prevents a mixed carton from hiding the source of variation.
Review opacity and surface under consistent light
Fine knit polos may appear acceptable on a table but become transparent when worn or stretched. Review light colors over the intended skin-tone or underlayer reference and check seam or label show-through.
Use consistent front and side lighting to reveal density differences and surface irregularity. Do not judge one color by the lighting used for another if the result changes the visual comparison.
Control Knit Polo Sweater Collar Shape
The collar should be approved as a repeatable component before it is attached to hundreds of bodies.
Compare collar first-offs with the sealed standard
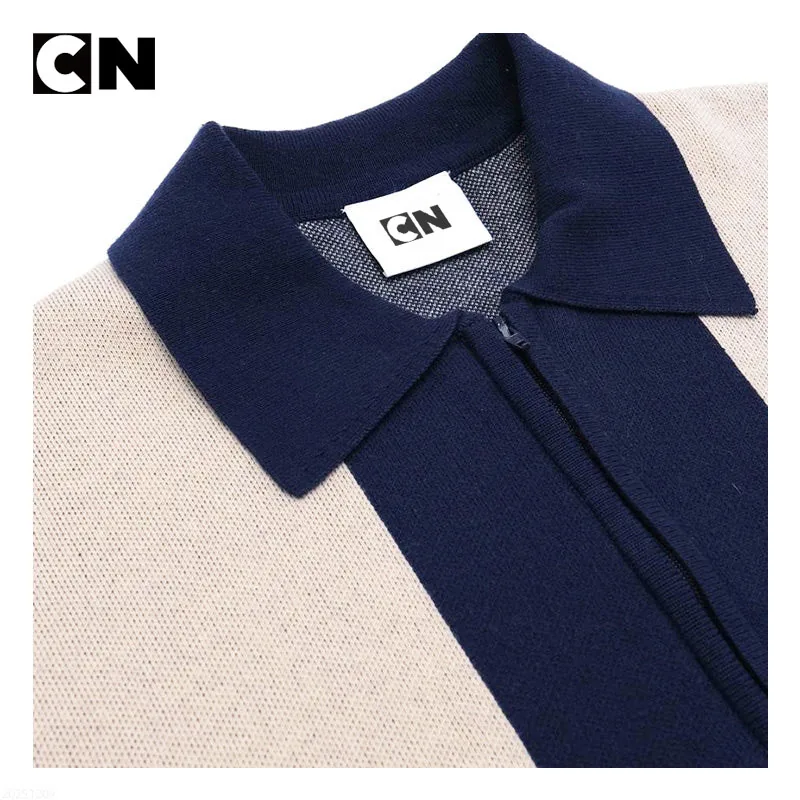
Lay representative collars flat without stretching. Compare total width, depth, point length, point angle, spread, edge structure, layers, tipping and center-back position.
Check left-right symmetry by aligning the center back and collar ends. A small mismatch can become obvious when the collar is worn or buttoned.
Approve collars from each relevant machine or setup. Do not assume a correct body panel proves the collar program is correct.
Inspect edges, points and recovery
Look for curling, flaring, scalloping, loose edges, tight rows, dropped stitches and unequal points. Lightly manipulate the edge, then observe whether it returns to the approved shape.
If pressing is required to force the collar flat, repeat the check after relaxation and washing. Pressing should implement the approved finish, not conceal an unstable component.
Record failed examples as visual defect standards. Operators and inspectors need to distinguish acceptable soft roll from unintended curl.
Verify neckline attachment
After the first collars are linked or seamed to bodies, inspect the join inside and outside. Check loop matching, holes, ridges, skipped stitches, uneven easing and center-back alignment.
The linking-quality guide explains how loop count and equipment matching influence knitted seams. For a polo, the neckline join must also support the collar without distorting the shoulder or center front.
Check the garment open, top button closed and on a form. Collar appearance cannot be approved from a flat inside seam alone.
Control Knit Polo Sweater Plackets, Buttons, and Buttonholes
The front opening must remain centered and functional while the knitted body stretches and relaxes.
Measure placket length, width and overlap
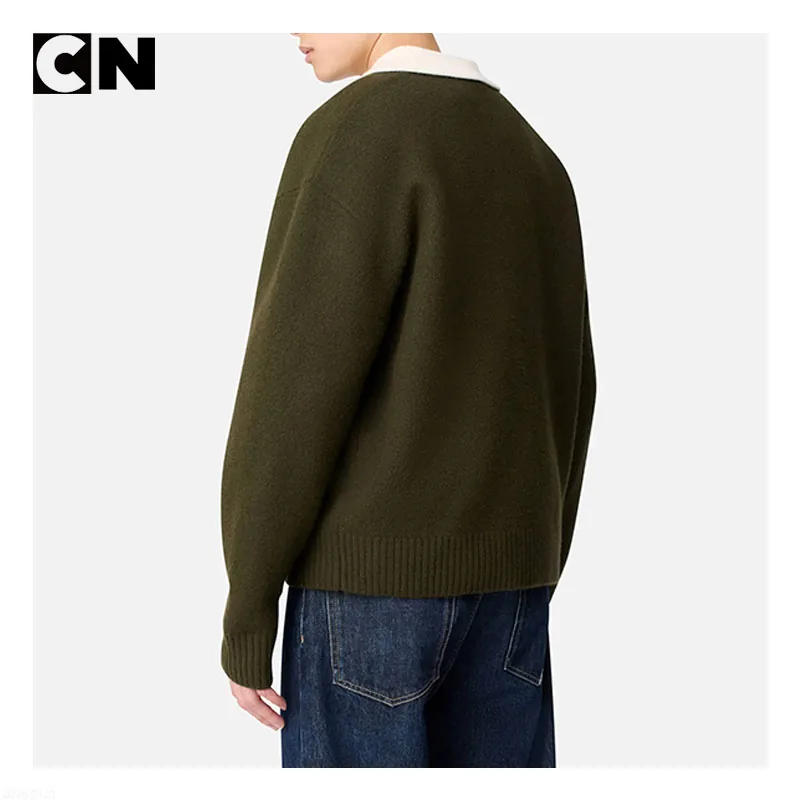
Mark center front on the body. Measure placket length and width in the agreed state, then compare overlap, bottom shape and neckline intersection with the sealed sample.
Lay the garment flat with the placket open and closed. Look for waves, twist, diagonal pull, gaping, ridges and unequal top edges.
Inspect first-offs from each assembly group. If an integrated placket is used, also check the transition from body stitch into the placket structure before assembly.
Check button positions and attachment
Use the current specification for button diameter, material, color, finish, orientation, thread and attachment. Verify button count and spacing from a fixed datum rather than judging by eye.
Buttons should align with the center of their buttonholes when closed. Inspect the reverse for secure attachment, clean thread tails and unacceptable puckering.
Cycle representative buttons through the holes several times. Check that they operate with reasonable hand force and do not distort the placket permanently.
Inspect buttonholes as functional structures
Check orientation, length, edge finish, reinforcement and spacing. Look for broken yarns, ladders, fraying, loose loops and stretching.
Repeat the function check after the agreed wash route. A buttonhole that looks clean before washing but enlarges or unravels afterward is not a stable bulk result.
Keep approved and rejected close-up samples at the inspection station where practical.
Validate Knit Polo Sweater Size Sets and Finished Measurements
Finishing can move dimensions even when raw panels passed.
Measure garments in one repeatable state
ISO 18890:2018 defines principal garment measurement points and allows additional points by agreement. Add polo-specific diagrams for neck width, collar, placket, shoulder, chest, body length, sleeve, opening and hem.
State the relaxation time, fastening state and whether measurements are pre-wash or post-wash. Use a flat surface and avoid adding tension unless the method specifies it.
Record results by size, color, machine group, yarn lot and finishing batch when those variables can affect the outcome.
Approve lower, base and upper sizes
Select representative sizes that expose grading risk. Compare collar proportion, neck opening, placket length, button spacing, shoulder, chest, sleeve and body length.
Fit the size set in intended wearing states. Check the top button open and closed, arm movement, sitting and reach. Look for placket gaping, neckline lift, shoulder drag and sleeve restriction.
The grade defines intended size differences; tolerances control variation around each target. Do not use tolerance to excuse an incorrect grade rule.
Check color and finish effects on measurements
Different colors or lots may react differently in washing and finishing. Measure representative garments from each significant batch rather than relying only on one base color.
If a finishing adjustment is required, recheck collar, placket, weight, handfeel and dimensions together. A change that corrects body length may alter collar roll or surface appearance.
Validate Knit Polo Sweater Washing and Appearance by Batch
Wash approval should be linked to production batches and the care claim.
Use the approved washing and drying route
ISO 6330:2021 specifies domestic washing and drying procedures for textile testing, while ISO 5077:2007 covers determination of dimensional change.
Apply the selected route to representative finished polos. Measure before and after using the same method. Check body, sleeve, neck opening, collar, placket, ribs and hem.
If the care label requires a different procedure or the polo is intended for industrial laundering, select a method that matches the actual claim and market rather than copying another product's test.
Assess appearance and component damage
ISO 15487:2018 covers appearance after domestic washing and drying, including color change, pilling, fuzzing, smoothness, seams and damage to components such as buttons.
For a knit polo sweater, inspect collar-point curl, unequal spread, neckline puckering, placket waves, button damage, buttonhole distortion, pilling and shade change. Use consistent lighting and compare with the sealed PP sample.
Record the batch, procedure, cycles and result. A retained washed sample can support later comparisons and claims investigation.
Lock finishing settings and relaxation
Document wash, softening, drying, steaming, pressing and rest time. Monitor temperature, time and load factors appropriate to the factory process.
Compare the first finished batch with the PP standard before releasing the remaining quantity. If later batches drift, isolate them and determine whether the cause is yarn, machine, wash load, pressing or relaxation.
Run Knit Polo Sweater Inline and Final QC
Inline inspection prevents repeated defects; final inspection confirms the order that will ship.
Inspect by source, not only by total quantity
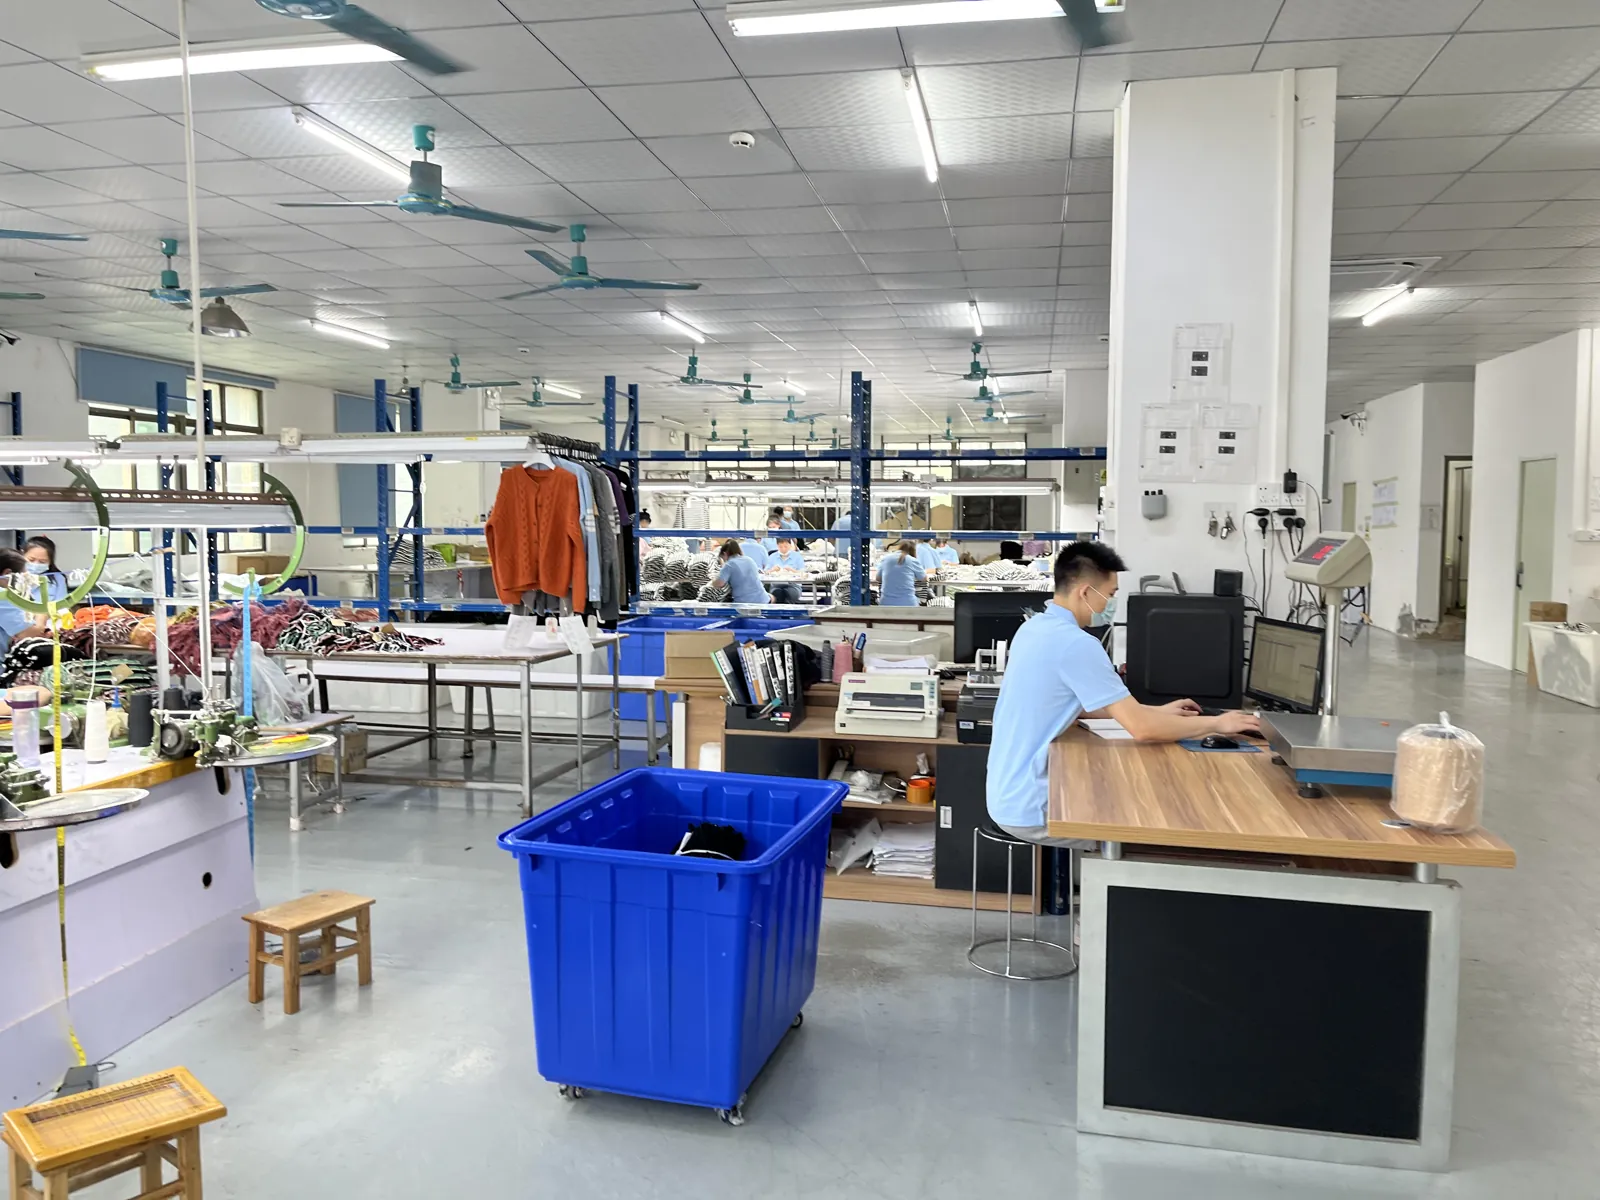
Build the inspection sample across yarn lots, machine groups, colors, sizes, assembly lines and finishing batches. A random sample concentrated in one easy batch may miss a systematic problem elsewhere.
Track defects by type and source. Repeated collar curl, placket twist or weight drift should trigger containment and corrective action, not only a higher defect count.
The CNSweaters quality-control checklist connects pre-production, inline and final controls across knitwear stages.
Use a production control map
| Gate | Release checks | Evidence |
|---|---|---|
| Bulk yarn | identity, lot, shade, knit-down, handfeel | yarn record and approved swatch |
| Panels | dimensions, weight, density, defects, pair matching | first-off and inline panel records |
| Collar and placket | symmetry, dimensions, joins, buttons, buttonholes | component standards and first-offs |
| Finished size set | measurements, fit, grading, appearance | signed size-set report |
| Wash and finish | dimensional change, collar, placket, surface, components | batch wash record and retained sample |
| Packing | labels, fold, barcode, quantity, carton marks | approved packing trial and final report |
Each gate should identify pass, conditional action or hold. Do not rely on one final score to represent unrelated product risks.
Preserve records for repeat orders
Archive the PP pack, shipment sample, yarn lots, machine groups, program versions, finishing records, inspection data and corrective actions.
Before a reorder, compare proposed yarn, buttons, machines and finish with the original. If a key input changes, approve a confirmation sample or targeted gate before full production.
The OEM knitwear manufacturing service and factory overview show how specifications, sampling, linking, washing and QC connect in a repeatable order workflow.
Conclusion
Stable knit polo sweater production depends on translating the approved PP sample into staged evidence.
Verify bulk yarn and knit-downs, monitor panel weight and dimensions, release collar and placket first-offs, then approve representative finished sizes. Wash and inspect the complete garment by batch, not only at development.
Finally, sample the whole production system during inline and final inspection. When each gate has a clear pass condition and traceable record, collar, placket, yarn weight and fit are far more likely to remain consistent from the first carton to a future reorder.
Related CNSweaters Resources
- Professional Sweater Manufacturing
- Private Label Knitwear Yarn Planning
- Why Linking Quality Matters
- Bulk Knit Consistency From Sample to Production
- Knitwear Quality Control Checklist
Preparing a Knit Polo Bulk Order?
Send the sealed sample status, yarn and color plan, gauge, collar and placket construction, buttons, size range, quantities, test route, branding, packing and delivery requirements. The team can review a practical production-control path.
FAQ
What should be approved before bulk knit polo production?
Approve the yarn and knit-down, PP polo, graded measurements, collar, placket, buttons, buttonholes, labels, finishing recipe, wash result and packing method.
Why check component weight as well as garment weight?
Component weight can help locate drift in body, sleeve, collar or placket structures. It should be used with dimensions, density and physical standards, not as the only quality measure.
When should collar first-offs be inspected?
Inspect them before large-scale attachment, then inspect the first complete garments again. This separates collar-program defects from neckline-assembly defects.
How should a factory sample inline production?
The sample should represent yarn lots, machine groups, colors, sizes, assembly lines and finishing batches. Sampling only one convenient batch can miss systematic variation.
Is a sweater polo the same as a piqué polo shirt?
Not necessarily. A fully fashioned sweater polo uses shaped knitted panels and knitwear assembly, while a piqué polo is usually cut and sewn from knitted yardage. State the construction route in the brief, because it changes the measurements and inspection points.
Why do sweater polo collars curl after washing?
Curling can come from yarn behavior, edge structure, collar dimensions, stitch density, attachment balance or finishing. Approve the collar after the intended wash, not only after pressing, because pressing can flatten an unstable edge for a short time.
Can final inspection replace first-off and wash gates?
No. Final inspection is too late to prevent repeated collar, placket or finishing defects. First-off, size-set, wash and inline gates should control the process earlier.