 CN Sweaters
A crew neck pullover sweater looks simple because it has no front opening, hood or elaborate collar. That apparent simplicity can make buyers under-specify it. The factory receives a reference photo and a few adjectives, then has to guess the yarn, gauge, weight, neckline, fit and finishing.
Those guesses become sample rounds. A neckline may be too tight, the body too light, the shoulder too dropped or the rib trim too firm. If the sample uses temporary yarn or an undefined wash, even an attractive result may not be repeatable in bulk.
The best time to prevent these problems is before knitting starts. Buyers should convert the commercial idea into a measurable brief that a custom pullover sweater manufacturer can quote, sample and later reproduce.
- Related guide: Custom Pullover Sweaters
Define the Product Before the Construction
The first specification is the role the garment must play in the collection.
Define customer, season and wearing state
Record the target customer, region, selling season, climate, retail channel, price position and intended use. State whether the sweater will be worn directly over a T-shirt, layered over a shirt, fitted under outerwear or used as a relaxed standalone knit.
These decisions affect yarn, gauge, weight, ease, neckline size, armhole depth and sleeve shape. A lightweight office crew neck needs different balance from a chunky winter pullover or an oversized streetwear sweater.
Include the intended gender and fit direction, but do not rely on labels such as “unisex” or “regular.” Provide body or garment measurements and a fit reference that shows the intended proportions.
Separate a knitted pullover from a sweatshirt
State whether the product is a fully fashioned sweater or a cut-and-sew sweatshirt. A fully fashioned pullover uses shaped knitted panels, knitwear assembly and a yarn-based finishing route. A sweatshirt is normally cut from fleece, French terry or other knitted yardage.
The silhouettes may look similar online, but their seams, weight language, elasticity, MOQ and production controls differ. For this guide, the product is a fully fashioned crew-neck sweater.
Identify whether panels are knitted to shape, which joins are linked or seamed, and whether any cut-and-sew elements are intentionally included.
Lock the silhouette and key visual proportions
Define body shape, shoulder type, body length, sleeve volume, cuff depth, hem depth and side-seam or side-slit treatment. Add front, side and back sketches or photographs.
For dropped shoulders, mark the shoulder extension and sleeve start. For a set-in sleeve, specify shoulder position and armhole shape. If the hem is intended to blouse, sit straight or grip the body, state that visually and dimensionally.
Do not leave these decisions to a later fit comment. They affect the first pattern and panel program.
Lock Yarn, Gauge and Weight Together
Yarn, gauge, stitch and finish form one material system.
Specify yarn beyond fiber content
Record fiber percentages, yarn count and ply, twist or surface character, color method, target handfeel, care direction and whether the yarn must be stock, shade-card or custom dyed.
“Soft premium wool” or “cotton blend” is not enough to quote or reproduce a sweater. Compare proposed yarns as finished knit-downs, not only on cones. Review hairiness, luster, dry or smooth hand, pilling risk, snag sensitivity, stretch and recovery.
The private-label yarn planning guide connects yarn choice with gauge, MOQ, color approvals, lead time and reorder risk.
- Related guide: Private Label Knitwear Yarn Planning
Approve gauge and density on the target yarn
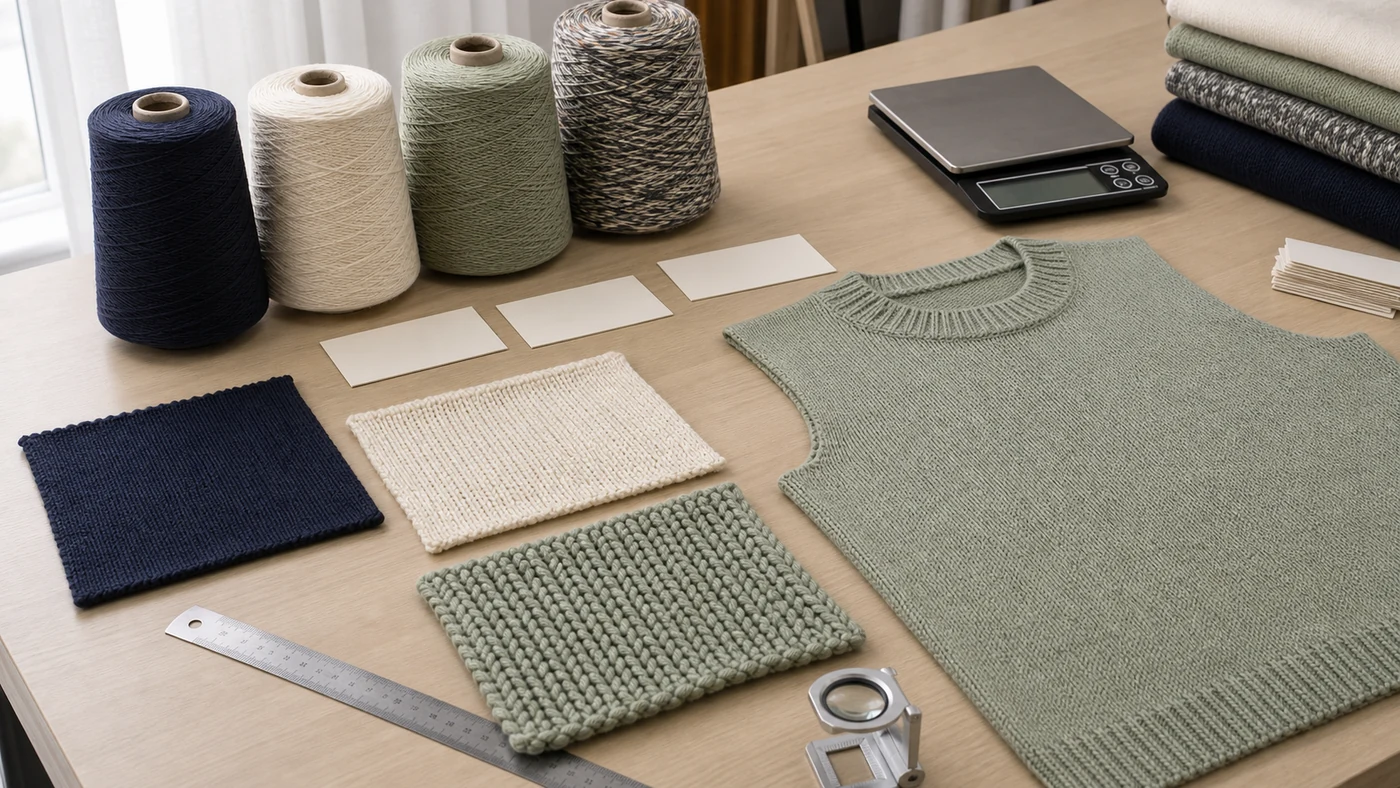
Gauge describes machine or needle spacing, but it does not by itself define the finished density or quality. Ask for labeled swatches using the actual yarn, stitch program and finishing route.
Review opacity, wale and course regularity, stretch, recovery, edge curling, drape and seam show-through. Check light colors against the intended underlayer and inspect the swatch both relaxed and lightly tensioned.
Approve the combination that supports the product role. A finer gauge can look refined but may expose transparency or weak recovery; a heavier gauge can add structure while changing cost, weight and layering.
Define finished garment weight
Record the approved sample size, finished weight, conditioning or relaxation state and whether labels or trims are included. If mass per unit area is used for swatches or panels, ASTM D3776/D3776M provides relevant methods.
- Official standard: ASTM D3776/D3776M
Use weight as a diagnostic control with measurements, density and physical standards. Two sweaters can weigh the same while differing in stitch density, dimensions or yarn distribution.
Do not select a universal weight from another product. Establish the target from the actual yarn, size, structure and commercial role.
Engineer the Crew Neckline
The neckline must allow dressing, recover after use and hold a clean shape.
Define opening, rib depth and shape
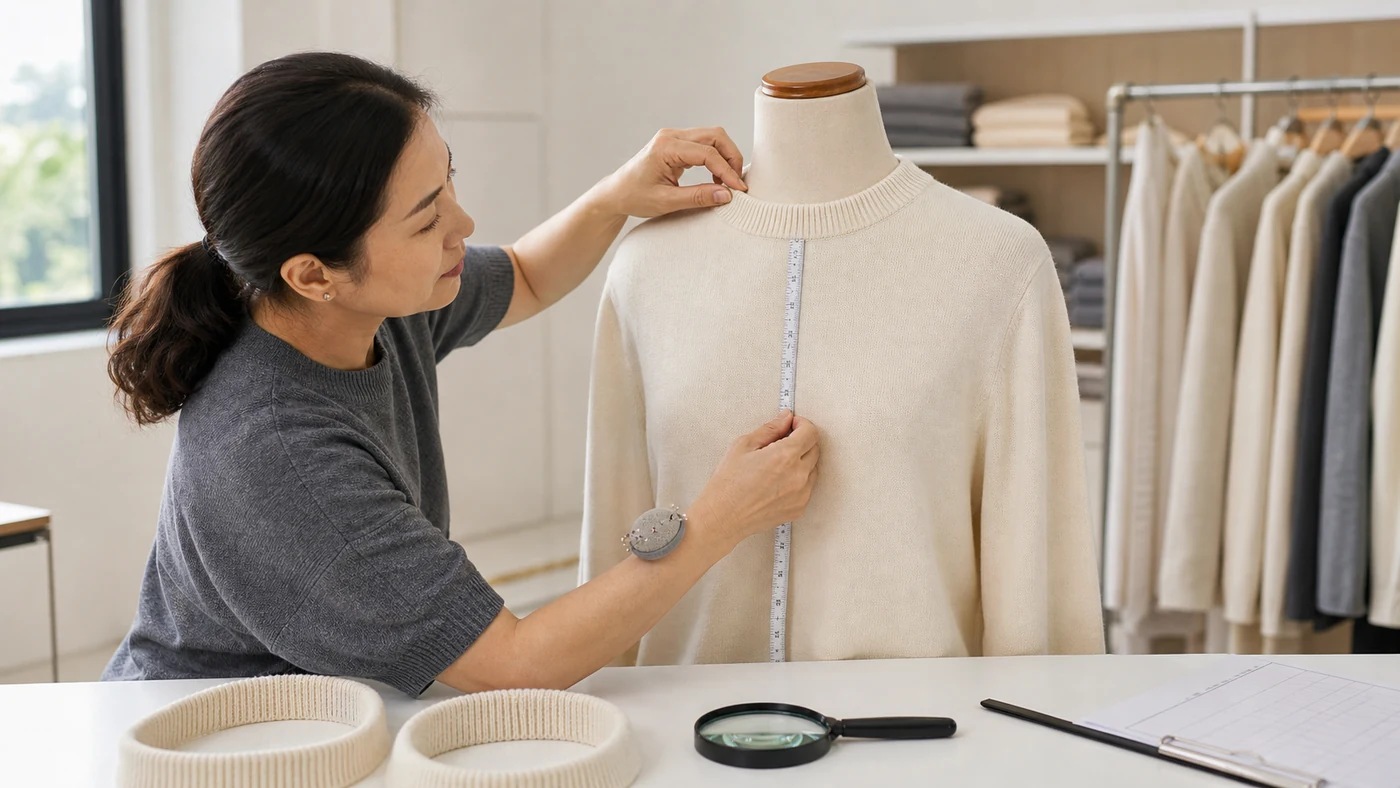
Provide diagrams for neck width, front drop, back drop, total opening, rib depth and finished neckline shape. State whether the neck should sit close, feel relaxed or expose more of the base layer.
Define the rib structure, number of layers, attachment method and whether the trim is knitted separately or integrated. Seal the intended visual relationship between the rib and body.
Check the neckline on the body, not only flat. A mathematically round opening can look too wide, too high or distorted after attachment.
Validate access and recovery
The sweater must pass comfortably over the intended wearer or head form without overstressing the seam. After repeated dressing or controlled extension, the opening should return sufficiently for the product role.
ASTM D2594/D2594M addresses stretch properties and growth of low-power knitted fabrics. Use risk-based methods on the relevant material and confirm the complete neckline in wear.
- Official standard: ASTM D2594/D2594M
Do not copy one recovery limit into every yarn or construction. Approve the actual opening, rib and seam system.
Control the linked neckline join
Inspect the attachment inside and outside while relaxed and lightly stretched. Look for holes, skipped loops, ridges, twisting, uneven easing and center-back mismatch.
The linking-quality guide explains how loop matching and equipment affect knitwear seams. For a crew neck, the join must support stretch without becoming hard or visually heavy.
- Related guide: Why Linking Quality Matters
Seal close-up photographs and a physical standard for acceptable seam appearance.
Define Fit and Measurement Logic
The first sample should test a clear fit hypothesis, not discover what “regular” means.
Build a crew-neck measurement chart
ISO 18890:2018 defines principal garment measurement points and allows additional points by agreement. Add diagrams for neck width and drop, shoulder, chest, body length, armhole, sleeve, bicep, cuff, hem and any dropped-shoulder extension.
- Official standard: ISO 18890:2018
State the fastening or laying state, relaxation time, surface and whether measurements are pre-wash or post-wash. A stretched sweater and a rested sweater cannot provide comparable data.
Separate grade rules from tolerances. The grade creates intended size differences; tolerance controls manufacturing variation around each target.
Define ease and layering allowance
Provide the body measurements or fit block used to calculate garment ease. State the intended underlayer and check chest, waist, hem, bicep and armhole accordingly.
For a close crew neck, ensure the opening and shoulder still allow comfortable dressing. For an oversized style, decide whether volume comes from body width, dropped shoulder, sleeve width, length or a controlled combination.
Photograph front, side and back on the intended fit model. Written comments should identify the problem, requested change and affected measurement.
Plan the representative size set
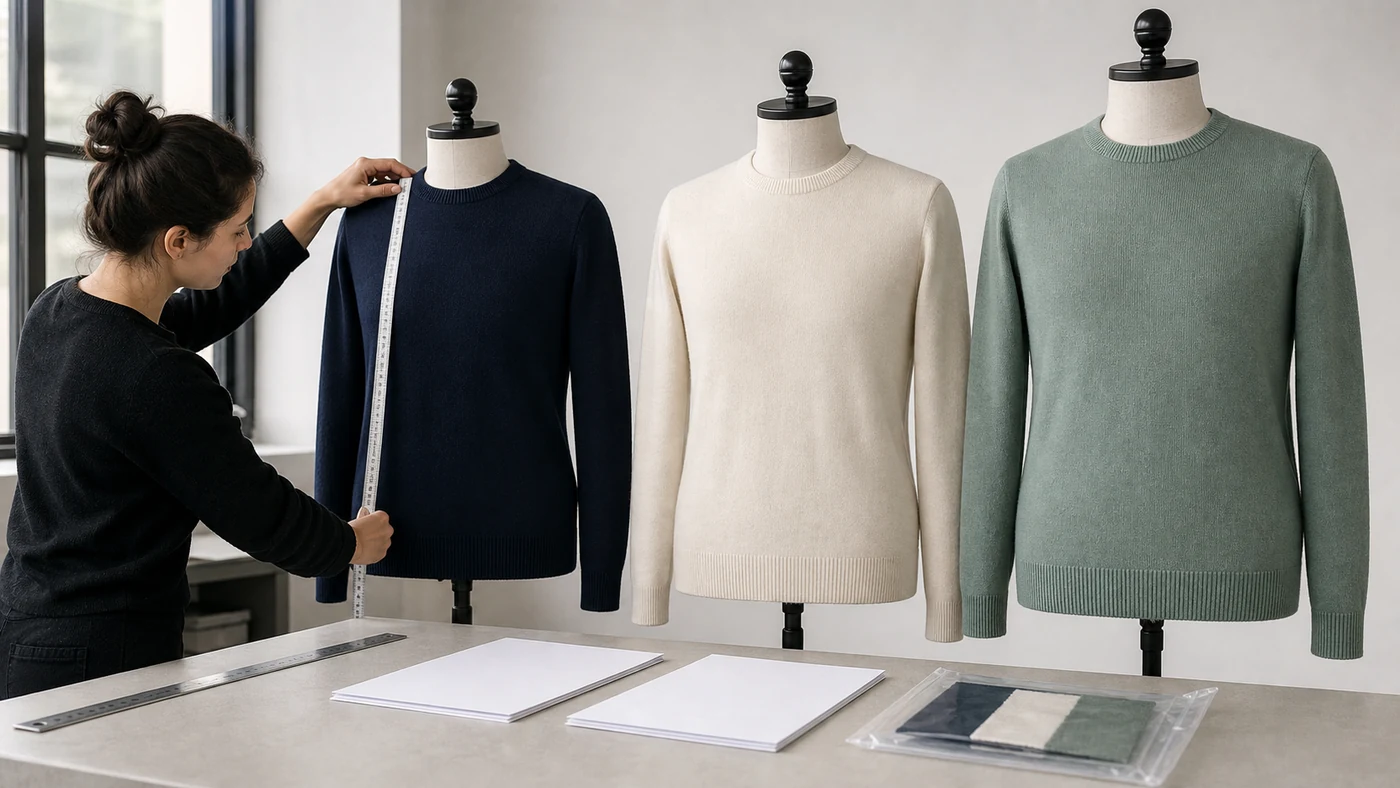
Before sampling, identify lower, base and upper sizes that will expose grading risk. Define which sizes require physical samples and which may be approved through measurements or virtual review according to the program.
Check neckline proportion, shoulder, chest, armhole, sleeve, cuff, body and hem across the range. Neck opening and rib depth may need controlled grades rather than scaling in the same proportion as chest width.
Approving the size-set plan early prevents a correct base sample from hiding later grading problems.
Specify Sleeves, Cuffs and Hem
Rib trims and body panels can react differently during wear and washing.
Choose shoulder and armhole construction
Define set-in, raglan, saddle, dropped or another construction. Add seam paths and measurements that show where the sleeve begins.
Review movement in reach, bend and forward rotation. Look for shoulder drag, armhole restriction, sleeve twist and excess fabric under the arm.
The visual reference should show the shoulder on the wearer, not only a flat garment.
Balance cuffs and hem with the body
Specify cuff and hem depth, rib structure, relaxed width, stretch expectation and attachment. Define whether the hem should grip, sit straight or create blousing.
Check the transition from body stitch to rib for holes, tight rows, flaring and puckering. After stretch, the trim should recover sufficiently without feeling excessively tight.
If cuffs or hem use a different yarn or elastane-bearing component, declare it in the specification and label plan.
Confirm sleeve and body length after finishing
Knitted panels can change length during washing, steaming and relaxation. Record the finishing state and rest time used for measurements.
Check left-right sleeve matching, shoulder-to-cuff length, body length and hem balance. Do not correct inconsistent panels only through pressing.
Lock Stitch, Color and Branding Inputs
Visual design elements must be translated into production references.
Define the body stitch and design placement
Specify jersey, rib, texture, cable, jacquard, intarsia or other stitch structures by panel and location. Include repeat size, direction, scale and transition points.
For stripes or engineered patterns, mark alignment at shoulders, side seams, sleeves and center front. Approve a finished swatch or panel rather than artwork alone.
Complex structures can change weight, elasticity, knitting time and MOQ, so they should be confirmed before the quotation and sample plan are locked.
Build the color approval route
State whether colors come from stock yarn, shade cards, lab dips or custom dyeing. Define the reference, light source and approval method.
Review color on the intended stitch because texture and density change how shade appears. Plan quantities by color and size, then confirm yarn and trim minimums.
There is no one universal MOQ for every crew-neck program. Yarn availability, color count, gauge, complexity and branding each affect the workable minimum.
Include labels and packaging in the brief
Specify main label, size label, care label, hangtag, barcode, sticker, polybag, fold and carton marks. Confirm placement and comfort at the back neck.
If embroidery, patches or other branding are used, define dimensions, location, backing and reverse-side comfort. Decoration can affect stretch, drape and washing.
The OEM knitwear service lists the product and branding inputs needed before a factory can develop reliably.
- Related guide: OEM Knitwear Manufacturing Service
Define Wash, Testing and Care Before Sampling
The first sample should be evaluated in the condition the customer will experience.
Select the care route
ISO 6330:2021 specifies domestic washing and drying procedures for textile testing, while ISO 5077:2007 covers dimensional change after washing and drying.
- Official standard: ISO 6330:2021
- Official standard: ISO 5077:2007
Select the procedure and cycles that match the intended care claim. Measure the complete sweater before and after the agreed route. Check neckline, shoulder, chest, body length, sleeve, cuffs and hem.
Do not postpone the care decision until the label is printed. Yarn, fit allowances and finishing depend on it.
Define appearance checks
ISO 15487:2018 covers appearance after washing and drying, including color change, pilling, fuzzing, smoothness, seams and component damage.
- Official standard: ISO 15487:2018
For a crew-neck pullover, inspect neckline waves or growth, rib distortion, seam puckering, pilling, fuzzing, shade change and overall shape.
Record acceptable results with photographs and a retained washed sample where useful.
Lock the finishing recipe
Document washing, softening, drying, steaming, pressing and relaxation. Excess pressing can hide neckline or panel instability temporarily.
The sample approval should identify the finished handfeel and dimensions that bulk must match. If sample yarn or finishing differs from intended bulk, disclose it and require confirmation before PP approval.
Build a Controlled Sampling Plan
Sampling should answer defined questions in a known sequence.
Set sample purpose and materials
Identify whether each sample is for yarn and stitch review, fit, color, sales, size set or PP approval. State which materials are final and which are temporary.
If substitute yarn, color or trims are used, record the difference and its expected effect. Do not treat a substitute-material sample as proof of bulk color, weight or wash behavior.
Agree which decisions must be locked before the next round and who approves them.
Write measurable sample comments
Organize comments by yarn, stitch, neckline, fit, construction, color, trims, finish and packaging. Attach photographs and reference measurements.
Replace “make neck better” with a defined issue and requested change. Record whether the current measurement is wrong, the shape is wrong or the wearing behavior is wrong.
Maintain one revision log so the latest decisions are not scattered across messages.
Define the PP release pack
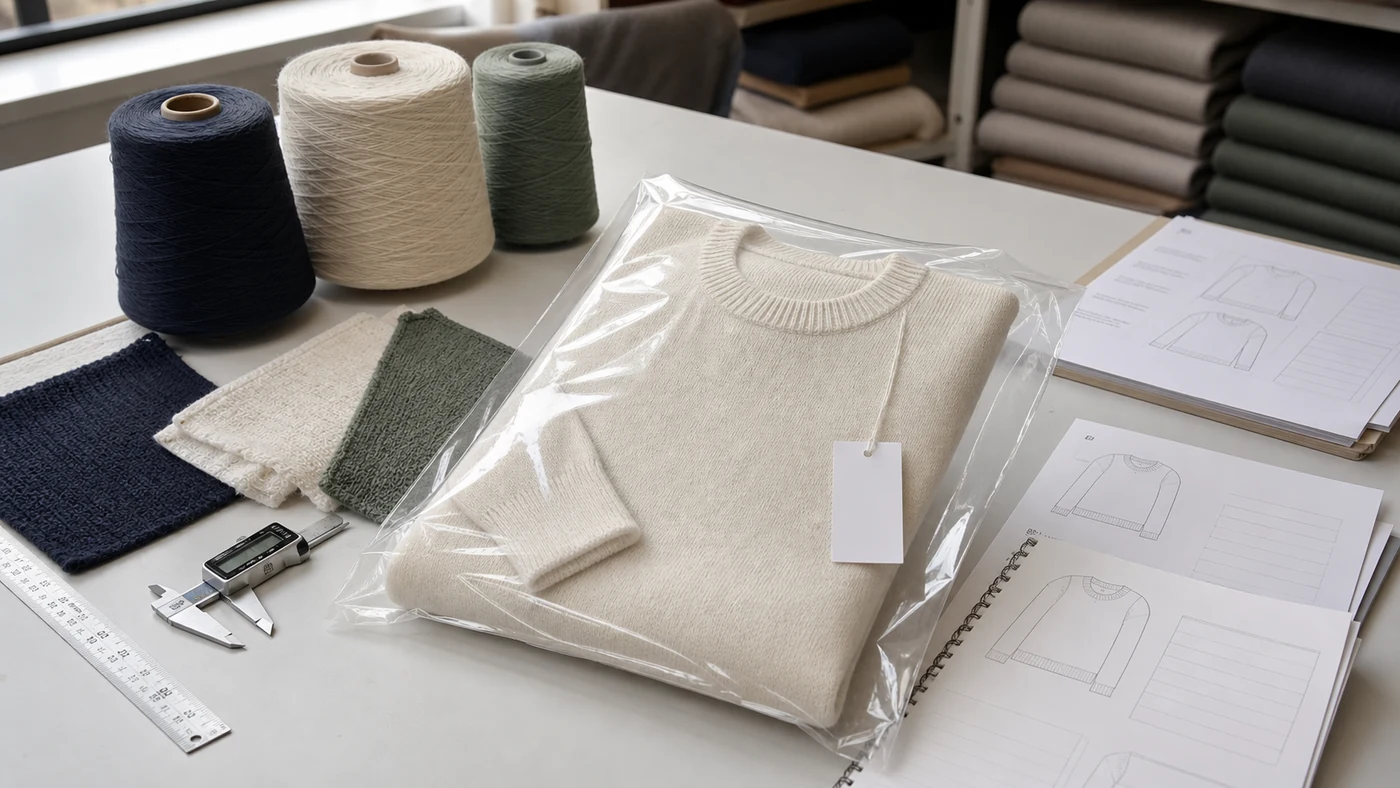
Before bulk, seal the approved sweater, finished knit-down, yarn and shade references, graded specification, measurement method, neckline details, finishing recipe, labels, packing method, defect examples and inspection plan.
The bulk knit consistency guide explains how this pack becomes a production control rather than an archive.
- Related guide: Bulk Knit Consistency From Sample to Production
| Decision area | Lock before first sample | Evidence before bulk |
|---|---|---|
| Product role | customer, season, layer, price position | approved fit and commercial brief |
| Material | yarn, gauge, stitch, target weight | finished knit-down and PP garment |
| Neckline | opening, drops, rib, access, recovery | measurements, wear check and washed sample |
| Fit | block, ease, shoulder, body, sleeve | approved base and size-set evidence |
| Appearance | colors, patterns, branding, finish | shade standards and sealed visual references |
| Delivery | MOQ logic, sample rounds, testing, packing | signed PP pack and production calendar |
Use the CNSweaters quality-control checklist to connect these development decisions with inline and final controls.
- Related guide: Knitwear Quality Control Checklist
Conclusion
A dependable crew neck pullover sweater starts with decisions made before the first panel is knitted.
Define the customer, construction route and silhouette. Approve yarn, gauge, density and weight as one material system. Engineer the neckline for access, recovery and a clean linked join, then document fit, sleeves, ribs, colors, branding and care.
Finally, give each sample a purpose and write measurable comments. A complete PP control pack turns a successful sample into evidence that bulk production can repeat.
Related CNSweaters Resources
- Custom Pullover Sweaters
- Professional Sweater Manufacturing
- Private Label Knitwear Yarn Planning
- Bulk Knit Consistency From Sample to Production
- Knitwear Quality Control Checklist
Preparing a Crew Neck Sweater Sample?
Send the target customer, market, season, fit reference, yarn direction, gauge, stitch, neckline measurements, size range, colors, quantities, branding, care route, packaging and delivery date. The team can review a practical development path.
FAQ
What should a buyer send before sampling a crew-neck sweater?
Send the product role, construction route, yarn, gauge, stitch, weight direction, fit block, measurements, neckline details, colors, branding, care, quantities and delivery requirements.
Is gauge enough to define sweater weight?
No. Weight also depends on yarn count and ply, density, stitch structure, garment dimensions, trims and finishing. Approve the actual combination.
How should the crew neckline be specified?
Provide neck width, front and back drop, total opening, rib depth, structure, attachment and intended wearing position. Check access and recovery on the complete garment.
Can a sample use substitute yarn?
Yes for some development purposes, but the substitution must be documented. It cannot prove final bulk weight, handfeel, shade, washing or recovery.
When is the sweater ready for bulk?
Only after the PP sweater, materials, graded measurements, wash result, colors, trims, labels, finishing, packing and inspection plan are approved and controlled.