 CN Sweaters
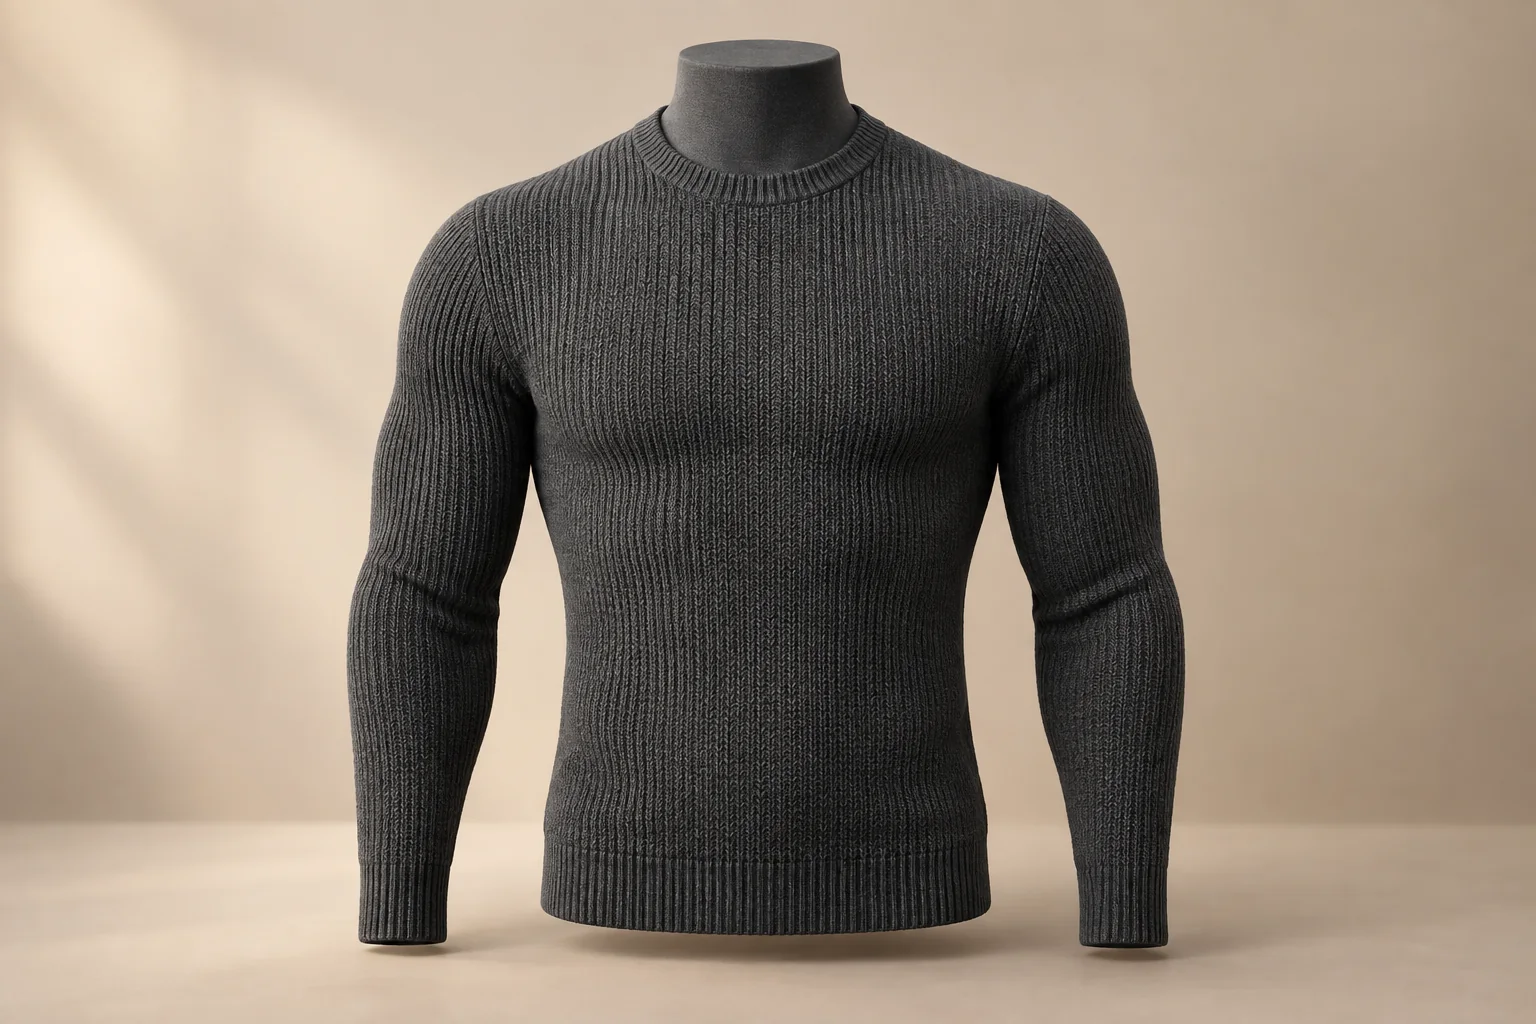
The fitted waist looks deliberate until the wearer reaches overhead and the jumper lifts at the hem. A men’s muscle fit jumper has to preserve chest-to-waist shape while giving the upper arm a usable path. Widening the body to solve sleeve restriction can erase the chosen silhouette. Compare the same sample at rest, during reach and after it settles before changing the block.
What silhouette defines this men’s muscle fit jumper?
Record the fitted jumper chest-to-waist relationship
“Muscle fit” can describe several different products. One brand may want a visibly shaped chest and a moderate waist reduction; another may want a close fit throughout without a pronounced taper. Give the technician a front and side reference of the chosen outline on the intended wearer group. Mark the chest level, waist level, hem position and the point where shaping begins. Without those landmarks, a sample room can change width at the wrong place and still meet a single chest number.
A photographed taper can reflect posture, colour or the display form’s waist. Mark the intended chest-to-waist outline on the actual jumper and verify its relaxed dimensions beside the worn views; do not copy a ratio from an unrelated model or brand.
Decide how the jumper should be worn
Name the intended underlayer and actions. A fitted jumper for seated use can need a different movement allowance from one worn during active reaching, even if their resting outlines look alike.
Ask the wearer to dress normally without stretching the body into place. Inspect the neck and cuffs afterwards. Constant adjustment despite a correct flat chest value leaves the intended use unresolved.
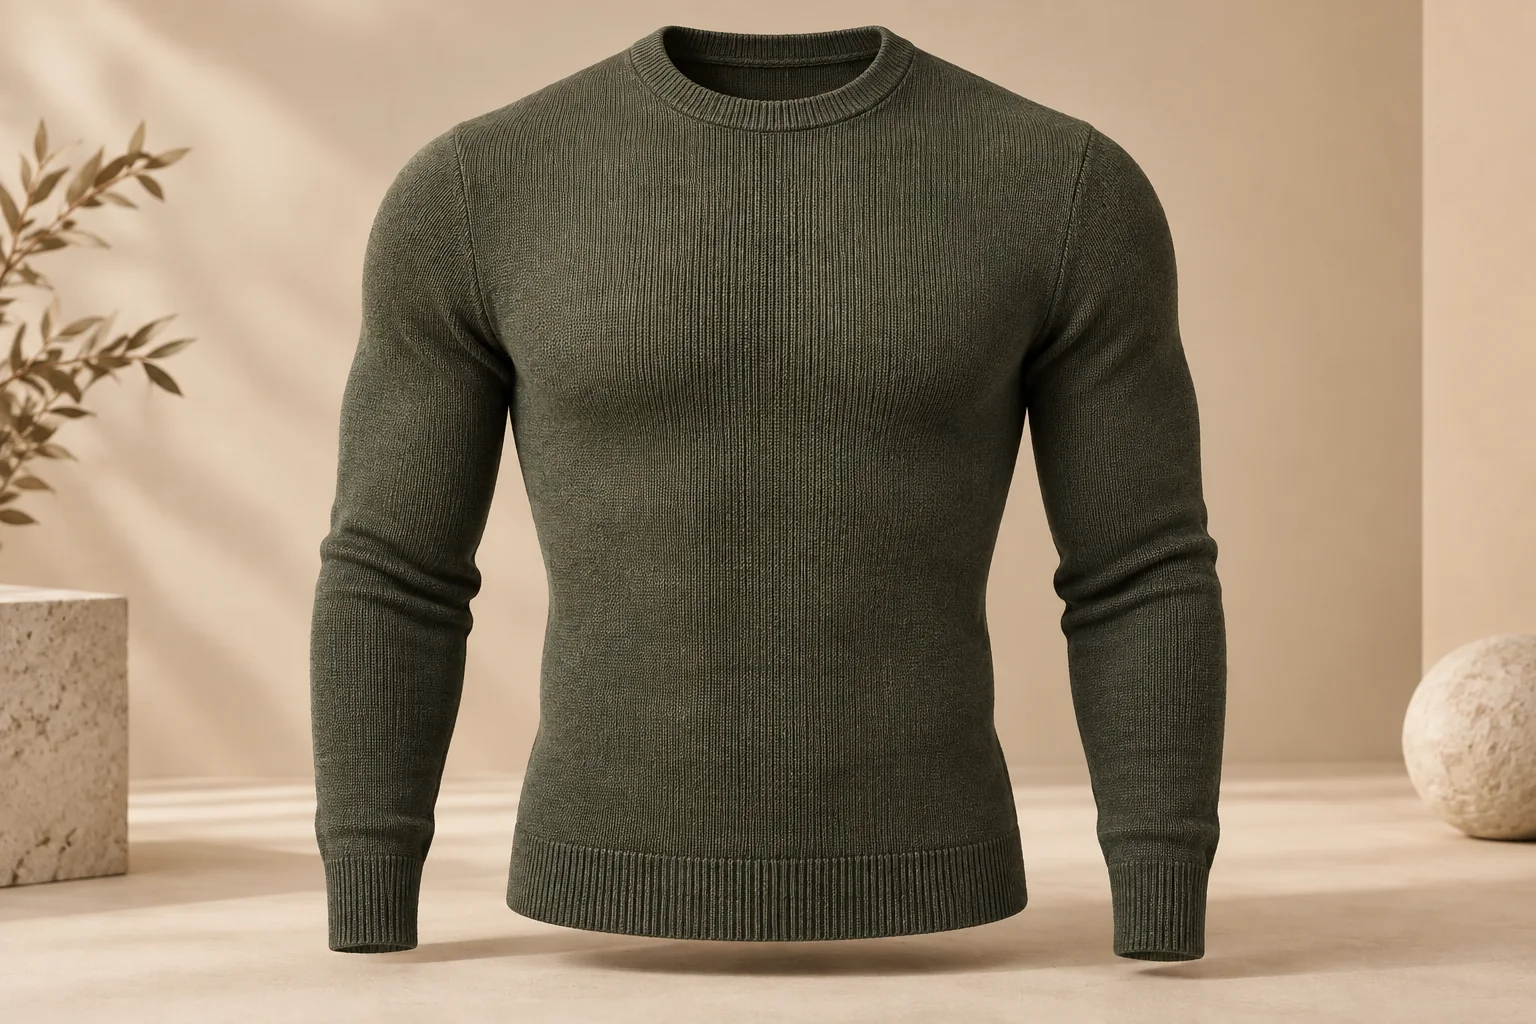
Base-fit landmarks and total reach
Separate wearer dimensions from finished dimensions
ISO 8559-1 describes body-measurement definitions for apparel size and shape profiles. It does not prescribe a muscle-fit body type or ease. Record the chosen body measurement source and fit model identity without turning a single model into a universal male proportion. For the jumper, ISO 18890 describes garment measurement points and lets parties agree additional points. Mark where chest, waist, cross-shoulder and upper-arm measurements begin and end on the actual style.
Keep a separate record for relaxed garment values. A nominal chest circumference does not tell the technician where the fabric will pull during reach. Add bicep width, armhole depth, sleeve length, cuff, shoulder and hem points where they control the intended silhouette. Note the sample’s yarn, stitch, finish and resting state. The tech-pack guide can hold the full specification; the input table here keeps the critical fitted-block relationships together.
| Fit reference | Record required | Comparison it enables | Decision owner |
|---|---|---|---|
| Target wearer | Body profile and named fit model | Checks relevance of appearance | Brand defines intended market |
| Chest and waist | Body points and relaxed garment points | Locates intended taper | Designer marks shape |
| Upper arm | Bicep, armhole and sleeve route | Tests movement clearance | Technician specifies construction |
| Wearing state | Underlayer, posture and reach sequence | Repeats fit observations | Buyer chooses use states |
| Material | Yarn, stitch and finish revision | Separates fabric from block change | Sample room identifies sample |
| Range plan | Lower, base, upper and transition sizes | Checks graded relationships | Buyer selects review sizes |
Add a useful total-reach reference
Sleeve length measured from one shoulder seam may not describe where the cuff sits on a fitted wearer, particularly when shoulder width or sleeve construction changes. Add a centre-back-neck-to-cuff path or another agreed total-reach measure where it better captures the experience. Mark the route on the drawing. It should sit beside armhole and upper-arm values, not replace them. Two garments can share a total reach and still place the upper sleeve differently.
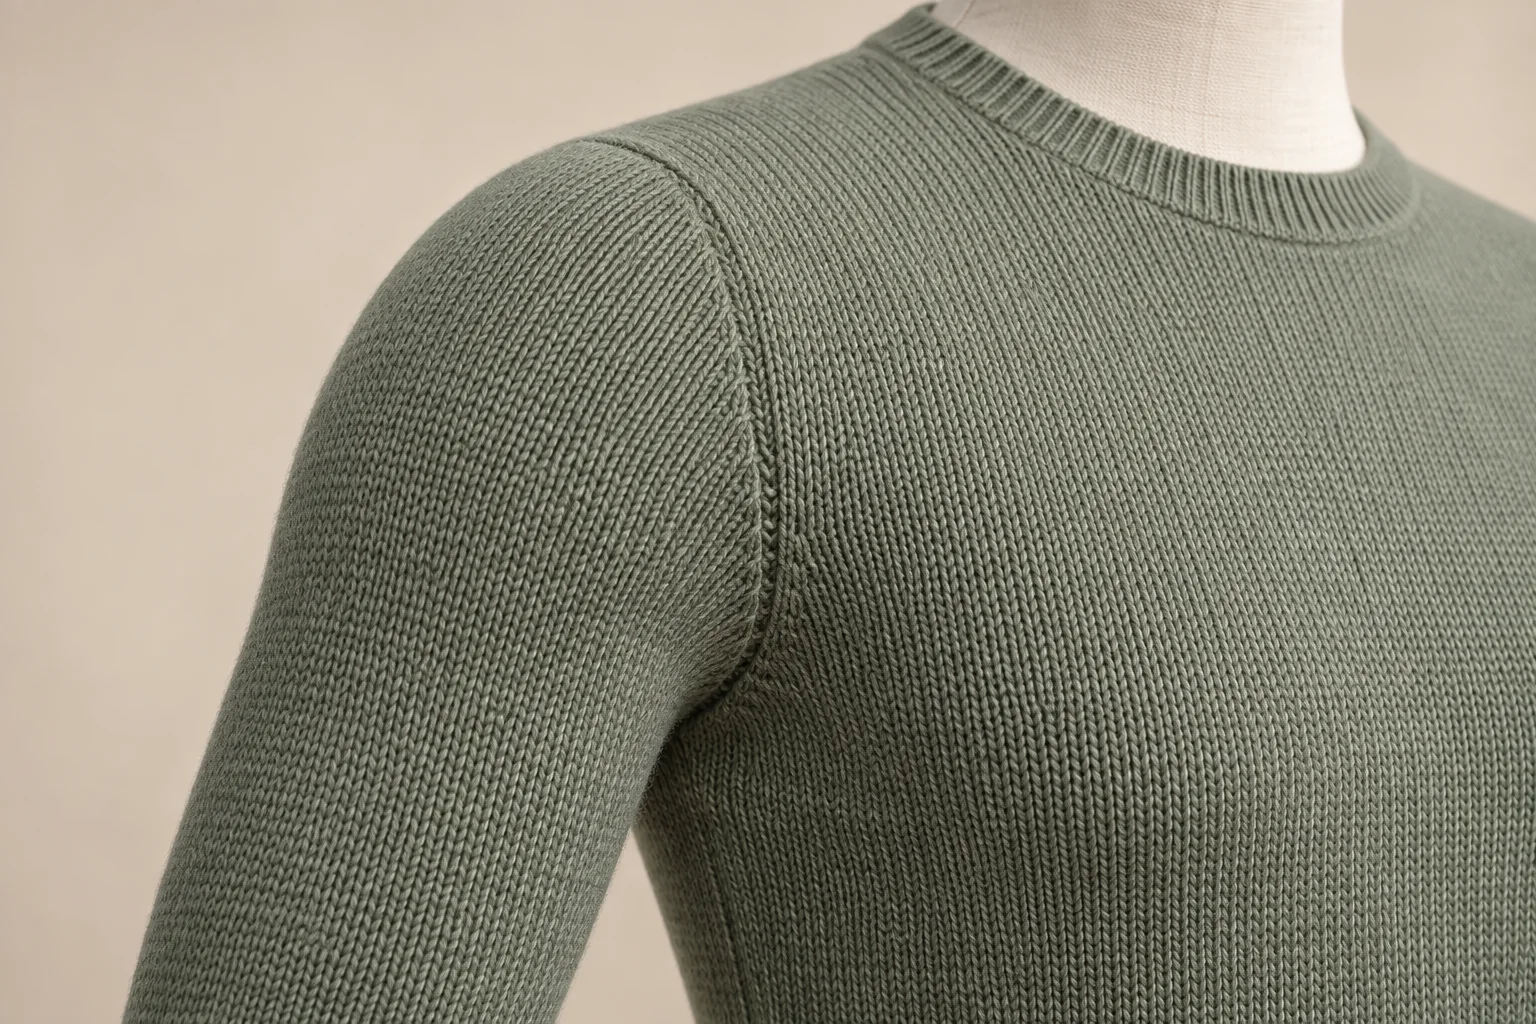
Which movement reveals the restriction?
Use the movements the product must support
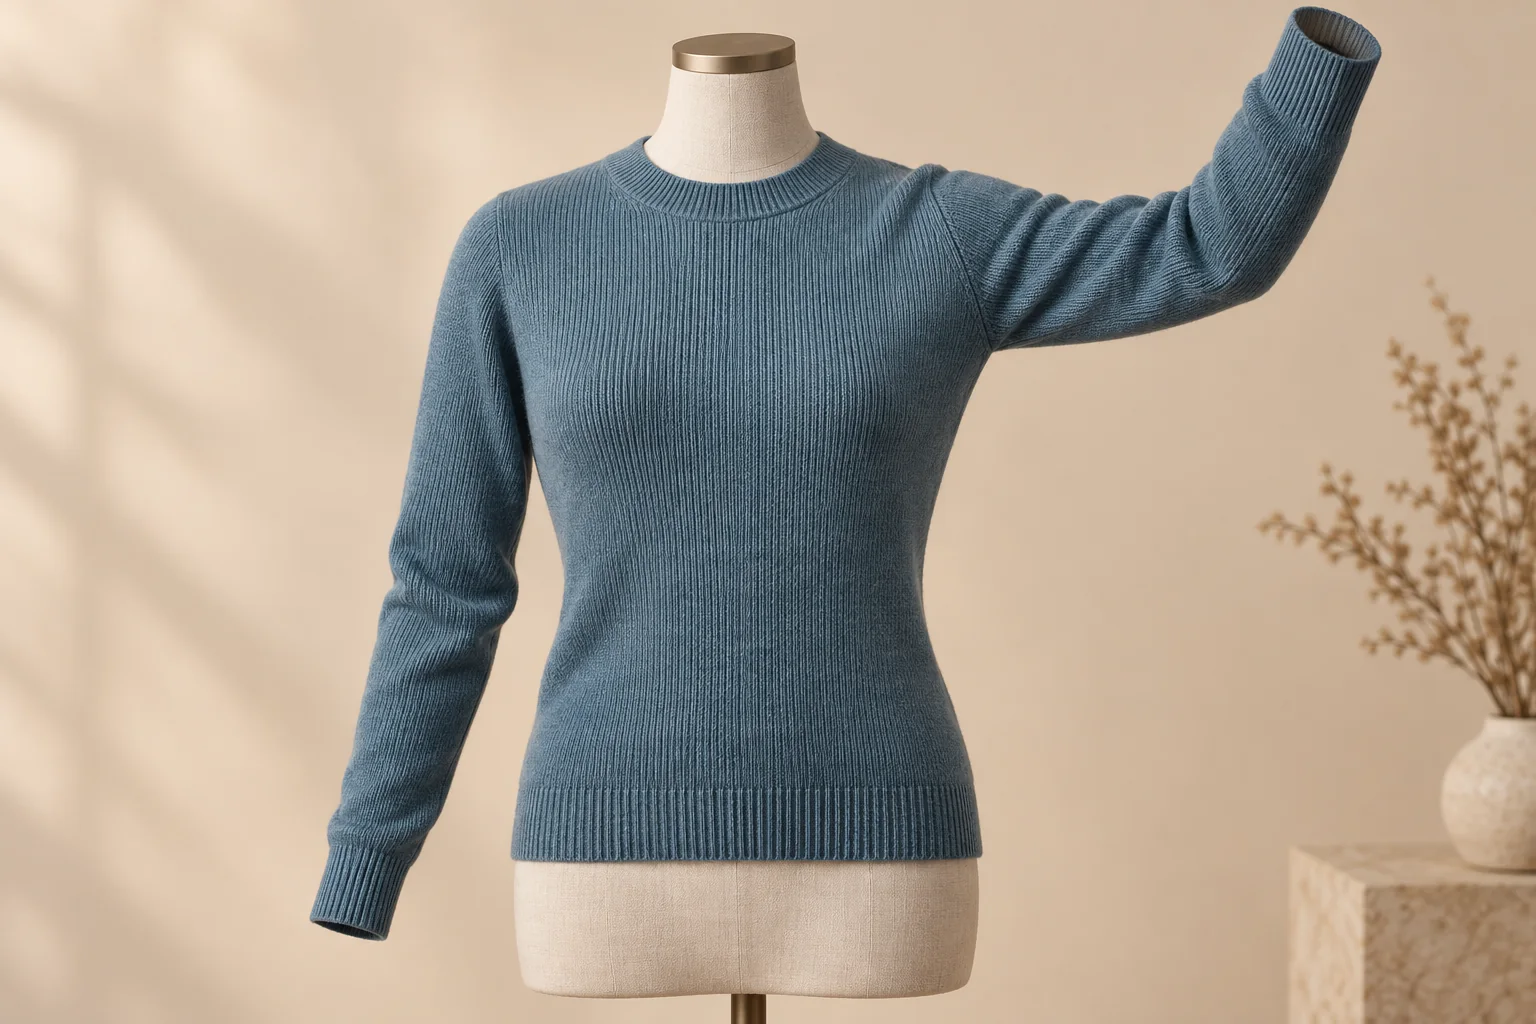
Review the dressed jumper at rest, with arms lifted, reaching forward and returning to rest if those actions match the product use. Photograph the front, side and back without pulling the hem down between views. Mark what moved: hem, waist shaping, armhole, cuff, neckline or shoulder seam. A small rise at the hem may be expected in some designs; the acceptance question is whether it matches the brand’s chosen outline and coverage requirement. Record the condition rather than declaring every motion a failure.
Diagnose the fitted jumper body and sleeve
If the hem rises during reach, inspect whether the sleeve is too short, the armhole path too low or tight, the shoulder position misplaced, or the body too close at the chest. More body width is only one possible response. If the chest drags but the sleeve sits correctly, compare chest shaping and material response. If both arms behave differently, check the sample’s left-right construction before changing a size rule. A marked photograph of the first visible conflict is more useful than a single final pose.
When a pattern revision also changes yarn or knit route, record the combined proposal. Compare the same wearing sequence so an improved reach result is not attributed to one input without evidence.
Material and after-care response
Compare the actual proposed knit
A close-fitting jumper makes material choice visible because the fabric follows the body through movement. Record the yarn identity, stitch construction, finished density and care state of the reviewed garment. A stock sample in a different knit can demonstrate a general shape direction, but it does not approve the intended fit in the selected material. The buyer can ask for two named proposals and compare them against the same body brief rather than assuming one will recover better because of its fibre label.
ASTM D2594 addresses stretch properties of knitted fabrics having low power and has limits for commercial shipment acceptance. It should not be presented as a finished-jumper movement test or applied without confirming the fabric falls within its scope. Keep any appropriate fabric result beside, rather than in place of, the worn-garment review. The yarn-substitution guide explains why a later material change reopens the affected fit decision.
Recheck after intended care and rest
A sample can appear to fit when first finished and then sit differently after the selected care route. Mark its pre-care and post-care states, noting the exact wash, dry and rest conditions actually used. AATCC TM150 addresses garment dimensional change after home laundering where applicable and warns that it may not suit some stretch fabrics. Do not call an informal care comparison a completed standard test. A measured change and the silhouette after wear are two different findings.
If the waist loosens while upper-arm movement improves, that trade-off needs an explicit buyer decision. If the armhole or cuff changes while body width remains steady, investigate those components first. Use the same fit model, underlayer and action sequence when comparing material candidates. Do not turn the appearance of one yarn colour into a property claim about every shade or production lot. The approved reference should identify the exact material version whose response the buyer accepted.
Grading taper and upper-arm clearance
Grade chest, waist and upper arm as a system
A linear increment at every circumference may erase the designed chest-to-waist relationship or make the upper sleeve too tight in a transition size. Decide which body profile each size is intended to serve, then draw the jumper points and evaluate physical samples around meaningful changes. The custom knitwear grading guide provides the wider size-system framework. Check whether the fitted block remains visibly shaped and usable through the upper arm.
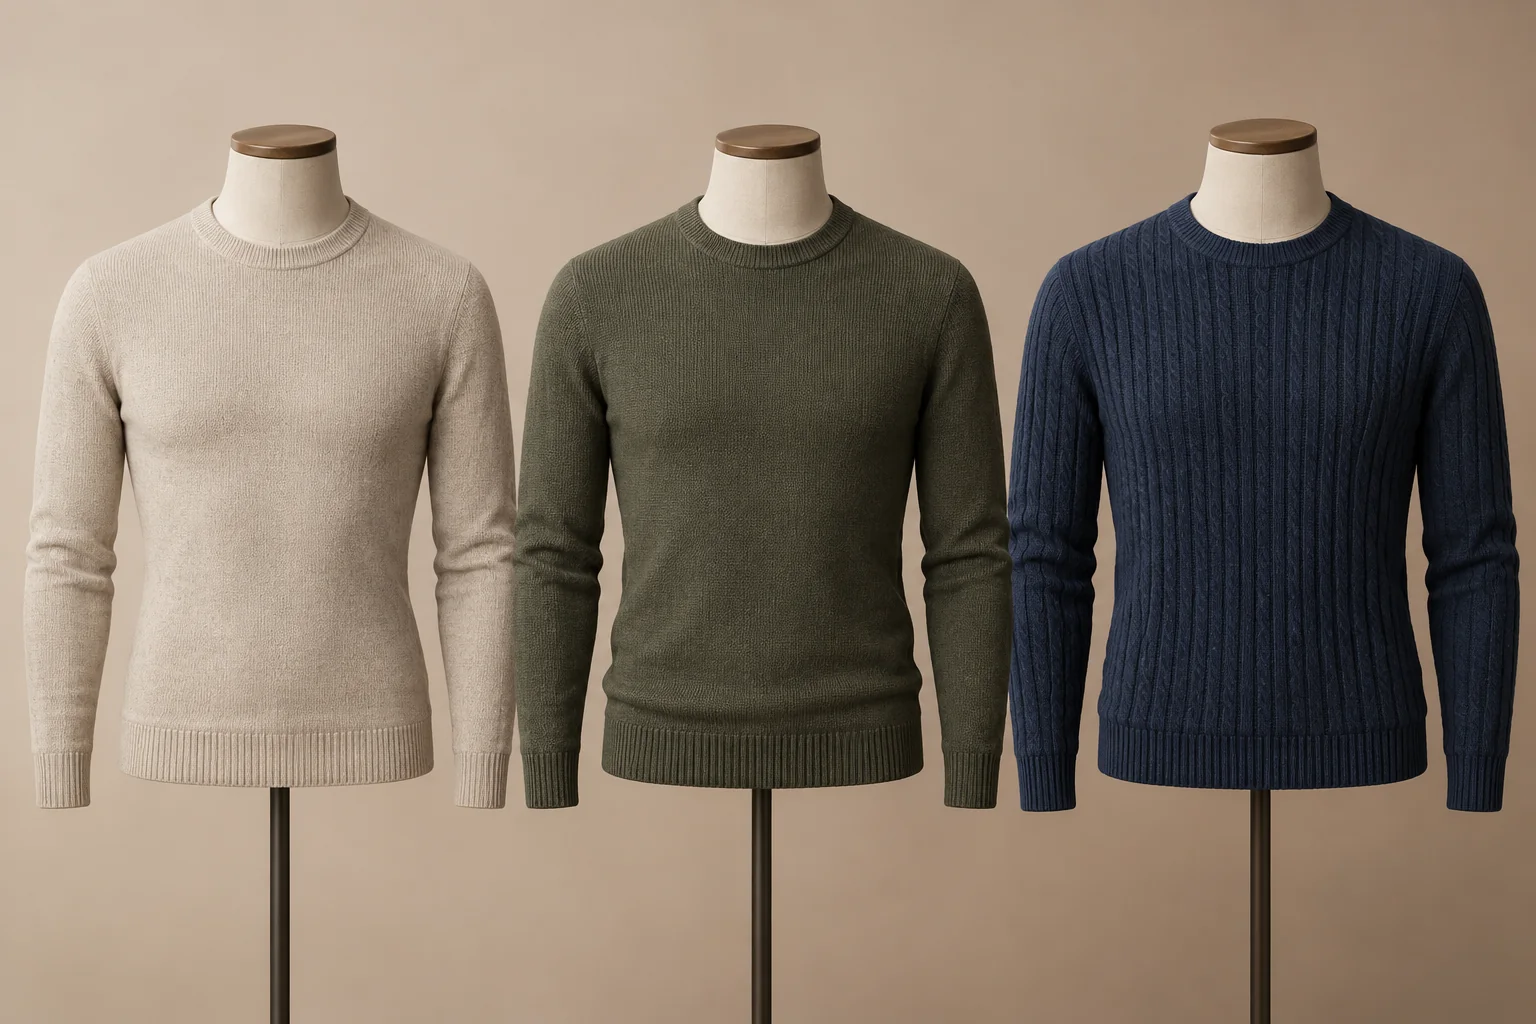
Choose lower, base and upper size samples from the offered range. Add a transition size when sleeve construction, knitting program, rib distribution or body shaping rule changes. Assess the same front, back and movement states in each. A single upper size that fails reach calls for an investigation of that size or transition, not an unmarked increase across every size. Record body references separately from garment measurements; size labels alone are not evidence that the target wearer can move in the jumper.
Keep grading rules separate from production allowances
A grading rule defines the intended dimension change between sizes. An allowance defines the permitted measured variation for a particular size against its approved specification. Do not use a loose tolerance to cover a missing pattern decision. Define the waist point and sleeve path first; only then agree how those points will be measured and what deviation is acceptable. The measurement-tolerance guide offers the general procedure, but no universal centimetre value suits every fitted construction.
Choosing a focused fit correction
Convert each visible fault into a targeted trial
| Movement finding | Relationship to investigate | Buyer action | Closing evidence |
|---|---|---|---|
| Hem lifts during reach | Sleeve, armhole and body connection | Hold movement approval | Matched reach and resting views |
| Waist shape disappears in revision | Chest-to-waist grade | Revise the shaping map | Marked front and side views |
| Upper sleeve feels restrictive | Bicep, armhole and knit response | Trial a focused sleeve change | Measured component and wearer action |
| Chest drag appears at rest | Chest fit or material state | Compare identified alternatives | Same-model paired fit photographs |
| Only one size fails | Program or grading transition | Restrict that size group | Size-specific sample and rule |
| Fit shifts after care | Material or finish response | Reopen affected version | Identified pre/post-care records |
Frequently Asked Questions
Does muscle fit mean negative ease everywhere?
No. The design must define where it follows the body and where it allows movement. Review chest, waist, armhole and sleeve together on the intended wearer.
Can a wide chest compensate for a tight bicep?
Not reliably. If reach is restricted, locate the first point of conflict. Widening the chest may destroy the intended taper while leaving a sleeve or armhole problem.
Can a fabric stretch test approve the finished jumper?
No. Use a method only if the fabric and purpose fall within its scope. Wearer movement and the connected garment construction require their own review.
Should every size use the same chest-to-waist difference?
Set the relationship from the target body profiles and physical size samples. A fixed difference may fail where a shaping or component rule changes.
Include the marked chest-to-waist outline and a reach view showing hem and upper arm in the CNSweaters fitted-jumper enquiry. Identify the sample size, wearer and first point of restriction.