 CN Sweaters
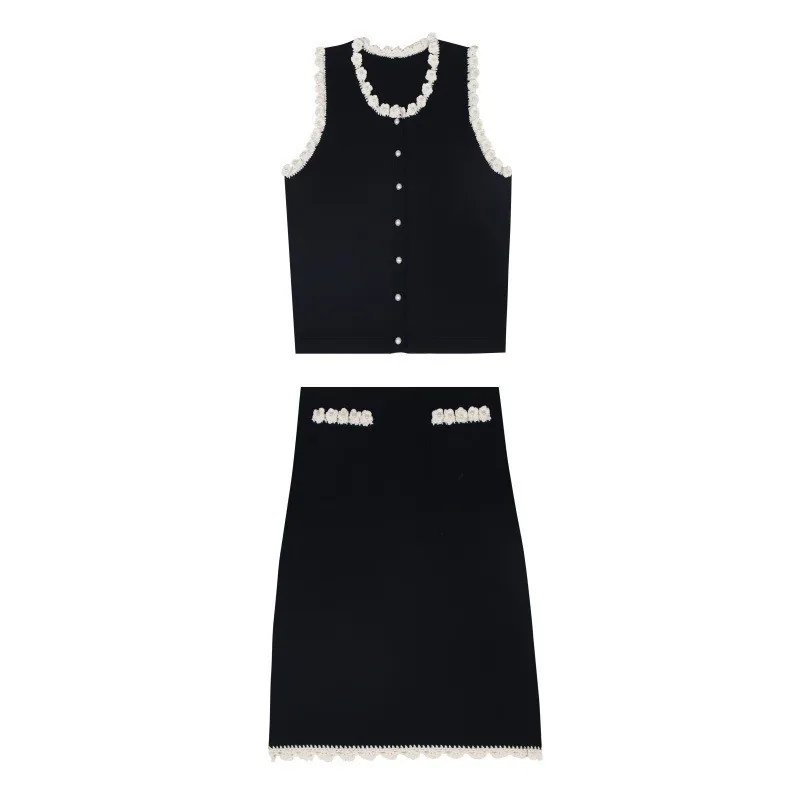
Review a button up sweater vest’s closure together with its shoulders, armholes, neckline and hem over the intended underlayer. A flat front measurement alone cannot show how those relationships change when the vest closes.
Record the actual front, placket and button arrangement, then compare the same sample open and closed before grading the closure. For finished styles and construction ideas, you can also look at our custom sweater vest page.
Why a button up sweater vest gaps or twists
A cardigan has sleeves that pull the fronts down and back. A vest does not. So the front panels hang only from the shoulder seam, and every button carries more of the load. If the fronts are a little short across the chest, the fabric gaps between buttons. If they are too wide, the placket waves.
The armhole adds a second problem. When the vest is buttoned, the front panel pulls towards center front. That pull travels up into the armhole edge and the shoulder. Consequently, a deep or loose armhole can tilt forward, and the shoulder seam can slide towards the back.
Most closure faults we see fall into four groups:
- Gaps between buttons at the chest or waist.
- A placket that twists or waves after pressing.
- An armhole that pulls forward when the fronts close.
- A hem step, where one front finishes lower than the other.
Each of these can appear even when the flat measurements pass. That is why we treat the shoulder, armhole and closure as one system rather than three separate approvals.
What to put in a button up sweater vest closure spec
A clear spec identifies the front relationship the next sample must demonstrate. First, we need the front panel shape, the placket construction and the overlap width. Next, we need the number of buttons, the position of the first and last button, and the buttonhole direction. Finally, we need to know how the vest will be worn.
Name the underlayer and the closed state
A vest worn over a poplin shirt needs different chest ease from one worn over a fine knit. Therefore we ask the buyer to name the main underlayer. We also ask whether the product photos will show the vest fully buttoned, partly open or both. After that, we fit and approve the sample in those same states.
Mark the center front and the button line
A straight row of buttons can still sit off center if the whole front panel has shifted. For this reason, we mark both the garment center and the button line on the sketch. On a V-neck, we also note where the top button sits against the V point and the shoulder. On a round or collared neck, we pick an equivalent upper landmark.
Pockets, waist shaping and a rib hem belong on the same drawing. For example, moving the bottom button to even the spacing can expose a step at the hem rib. So we check the full front, not just the button column.
Placket, overlap and button choices on a button up sweater vest
Identify the placket structure and any facing or support used to carry the buttons. A band knitted in a firmer structure, such as a 1×1 rib, a milano rib or a double-layer band, keeps the buttonholes stable. In contrast, a band knitted in the body stitch tends to stretch around each hole.
Gauge matters too. On a 12G or 14G vest, a narrow band keeps the front clean. On a 5G or 7G vest, a wider band looks balanced and spreads the button load. We run all of these on our 70 computerized flat knitting machines, which cover 3G to 14G, so the band and body can come from the same yarn lot.
Buttons and buttonholes
Button weight changes how a vest hangs. For instance, a heavy metal or horn button can load a fine-gauge front during hanging or wear. We therefore confirm button size, weight and shank type before we knit the first sample. Buttonholes can be knitted in or sewn after knitting.
Vertical holes follow the placket and suit narrow bands. Horizontal holes resist sideways pull better on a wider band. Check the opening against the actual button shape, thickness and band construction. Set its dimensions from the accepted fastening and recovery comparison rather than a universal formula.
Shoulder and armhole finish
Because the closure pulls on the armhole, the armhole trim needs the same care as the placket. A tight rib trim can pull the edge in and make the front look short. Meanwhile, a loose trim lets the edge roll forward. Our linking team attaches the trim loop by loop, which keeps the tension even around the curve.

How we fit and measure a closed button up sweater vest
We fit the sample on the agreed form or model with the named underlayer. First, we button it in the normal order without stretching the fronts. Next, we look at the overlap, the button strain and the placket line. Then we check the neckline, shoulder, armhole edge, side seams and hem.
After that, we open the vest and look again. An open vest can seem balanced while the closed vest shows that the fronts are too short. On the other hand, a closed vest can look fine because the fronts are pulled too far across the body. Checking both states on the same sample shows which one is true.
Measure left and right separately
An average front length can hide the exact hem step the buyer wants to avoid. So we record left and right front lengths, placket widths and button positions on their own lines. ISO 18890 sets out main garment measuring points for knitwear and allows extra agreed points. We add the button and overlap points to that list.
We also note whether each button is measured from the hole center or the hole edge. That small detail changes the grid by a few millimeters. In addition, we take front, side and back photos with the vest open and closed, so both sides compare the same views.
Wash and press before approval
A freshly steamed sample often looks better than a rested one. Therefore we wash and press the sample by the agreed care method, let it rest, and then fit it again. Our in-house washing and pressing lines use the same settings for sample and bulk, with the accepted route recorded for comparison in bulk.
Grading the button up sweater vest across sizes
A good base size does not guarantee a good size run. As the chest grows, the front panels widen, but the button count usually stays the same. Consequently, the spacing opens up in larger sizes and the gaps can return. We check whether the spacing grades evenly or whether a larger size needs an extra button.
Armhole depth and shoulder width need the same attention. If they grade faster than the chest, the closure pull shifts again. Use a size set that represents the affected closure, shoulder and armhole relationships before bulk. You can read more about gauge, neckline and layering in our knitted sweater vest fit guide.
What we check on a button up sweater vest during bulk
Once the size set is approved, we lock the yarn lot, the knitting programs, the trims and the pressing settings. Any change to one of these goes back to the development team first. A new button supplier, for example, can change the weight and the hole fit even if the style looks identical.
During production, our inline QC desk checks front lengths, button position and placket width on pieces from each lot. Include the closed front, placket and hem in the agreed final-inspection plan. Our quality control page explains the full inspection flow, including final AQL checks.
Before bulk, keep the accepted button diameter, buttonhole spacing, band width and underlayer reference with the size-set file. Recheck the closed front on a smaller and a larger size if the body grading changes the strain between buttons. Ask the supplier to price the chosen yarn and trims and name any additional sample round; the site’s general quantity and lead-time ranges cannot establish this vest’s specific production plan.
Conclusion: balancing a button up sweater vest closure
Keep the button up sweater vest’s accepted closure map and underlayer reference with the size-set comments. If a new button, band or armhole route changes the closed fit, reopen that comparison before carrying the sample into bulk.
FAQ
How many buttons should a button up sweater vest have?
Most styles use four to six buttons, depending on front length and neckline depth. However, the right number depends on spacing. If the gap between buttons opens on the fitting, we add a button rather than tighten the fronts.
Why does my vest sample gap between buttons?
Usually the fronts are short across the chest, the band is too soft, or the buttons sit too far apart. In addition, a deep armhole can pull the front away from center. We check all four before changing the pattern.
Can you match buttons to our own trim supplier?
Yes. You can send your own buttons, or we can source them. Either way, we need the final buttons before the first sample, because size and weight affect the band and the buttonholes.
What is the minimum order for a custom button up sweater vest?
The published starting MOQ is 50 pieces per color per size. Confirm whether the selected yarn, button and colour are available at that split before treating it as a quotation for this vest.
Planning a vest with a button front? Send us your sketch and size chart and our team will reply with sample timing and a quote.