 CN Sweaters
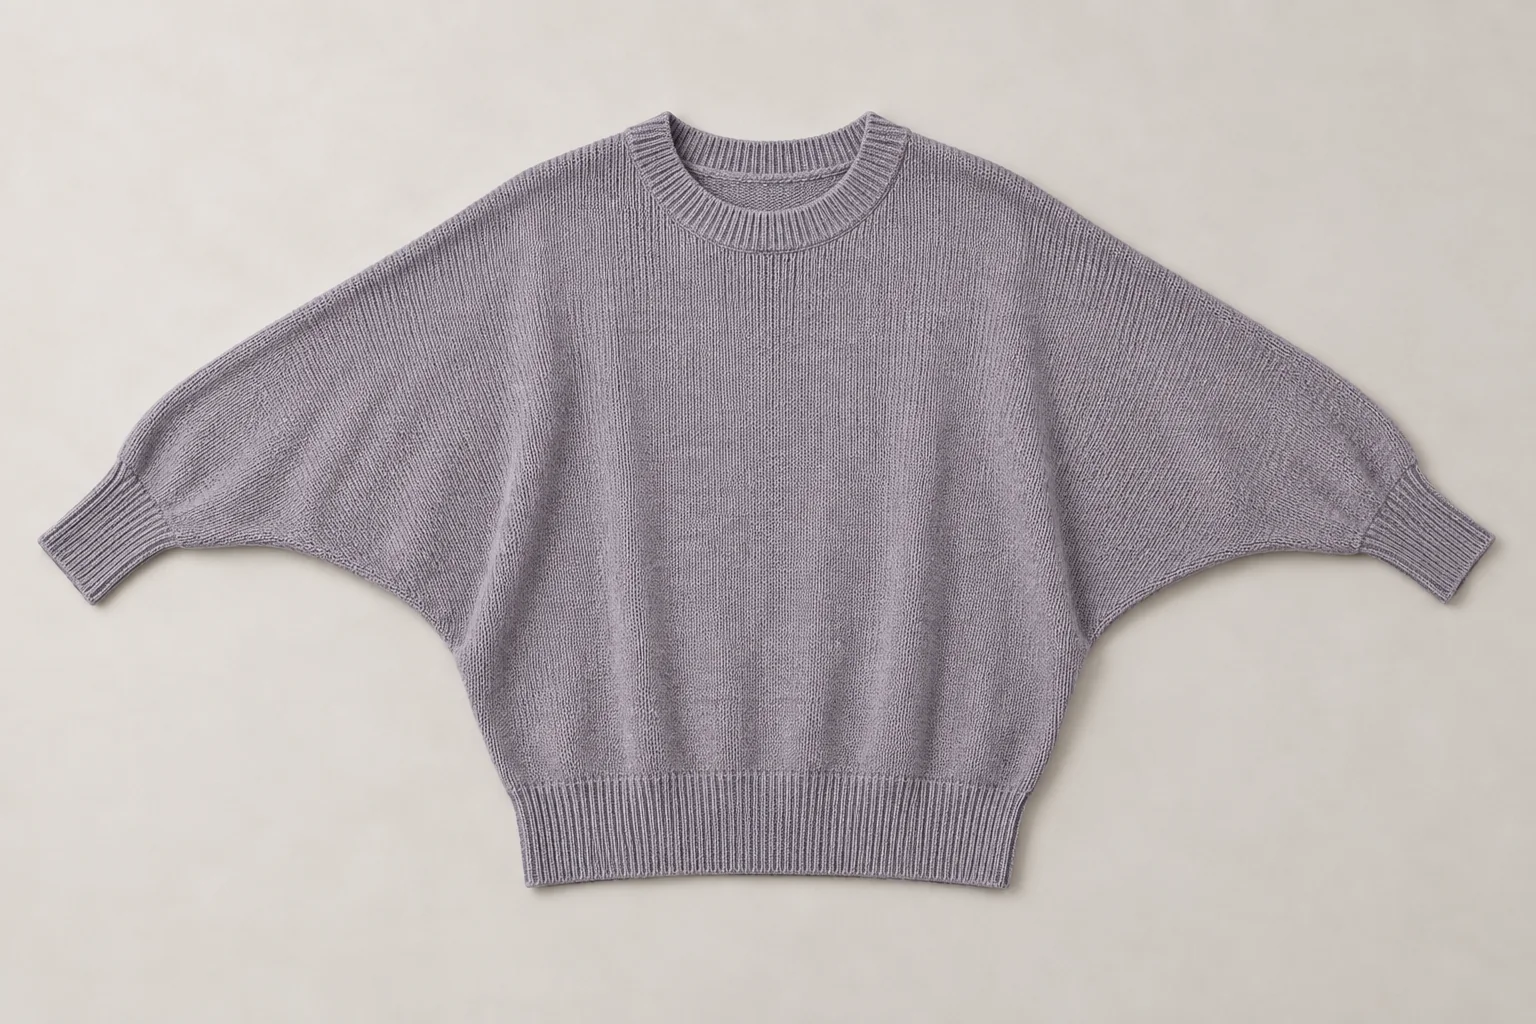
When a batwing sweater’s cuff travels up during reach, measure what the neckline and hem do at the same time. The fit engineer needs the connected body-underarm-sleeve shape, rather than a chest-width correction alone. That comparison separates a deliberate resting fold from geometry that lifts or displaces the garment.
Begin with a drawing of the intended resting silhouette and the movements the product must accommodate. Mark the neck position, outer sleeve line, underarm transition and hem. The sample review can then distinguish a deliberate draped shape from a relationship that misses the brief, without treating every fold as a defect.
Which silhouette defines the batwing sweater fit?
Map the underarm and sleeve for batwing sweater fit
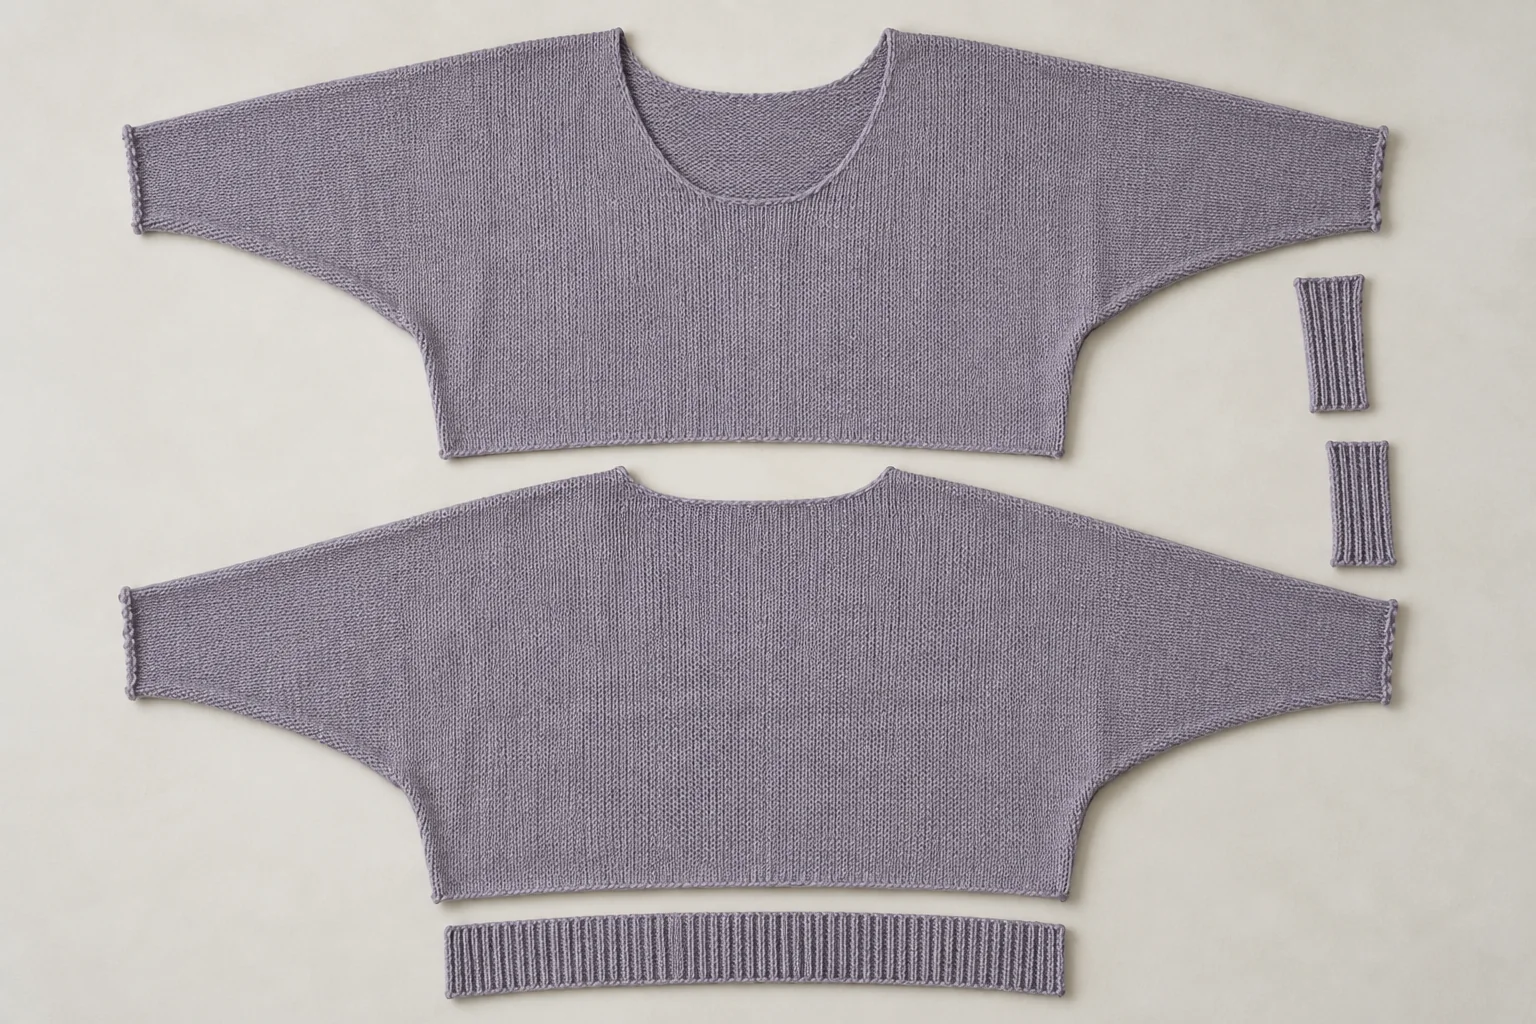
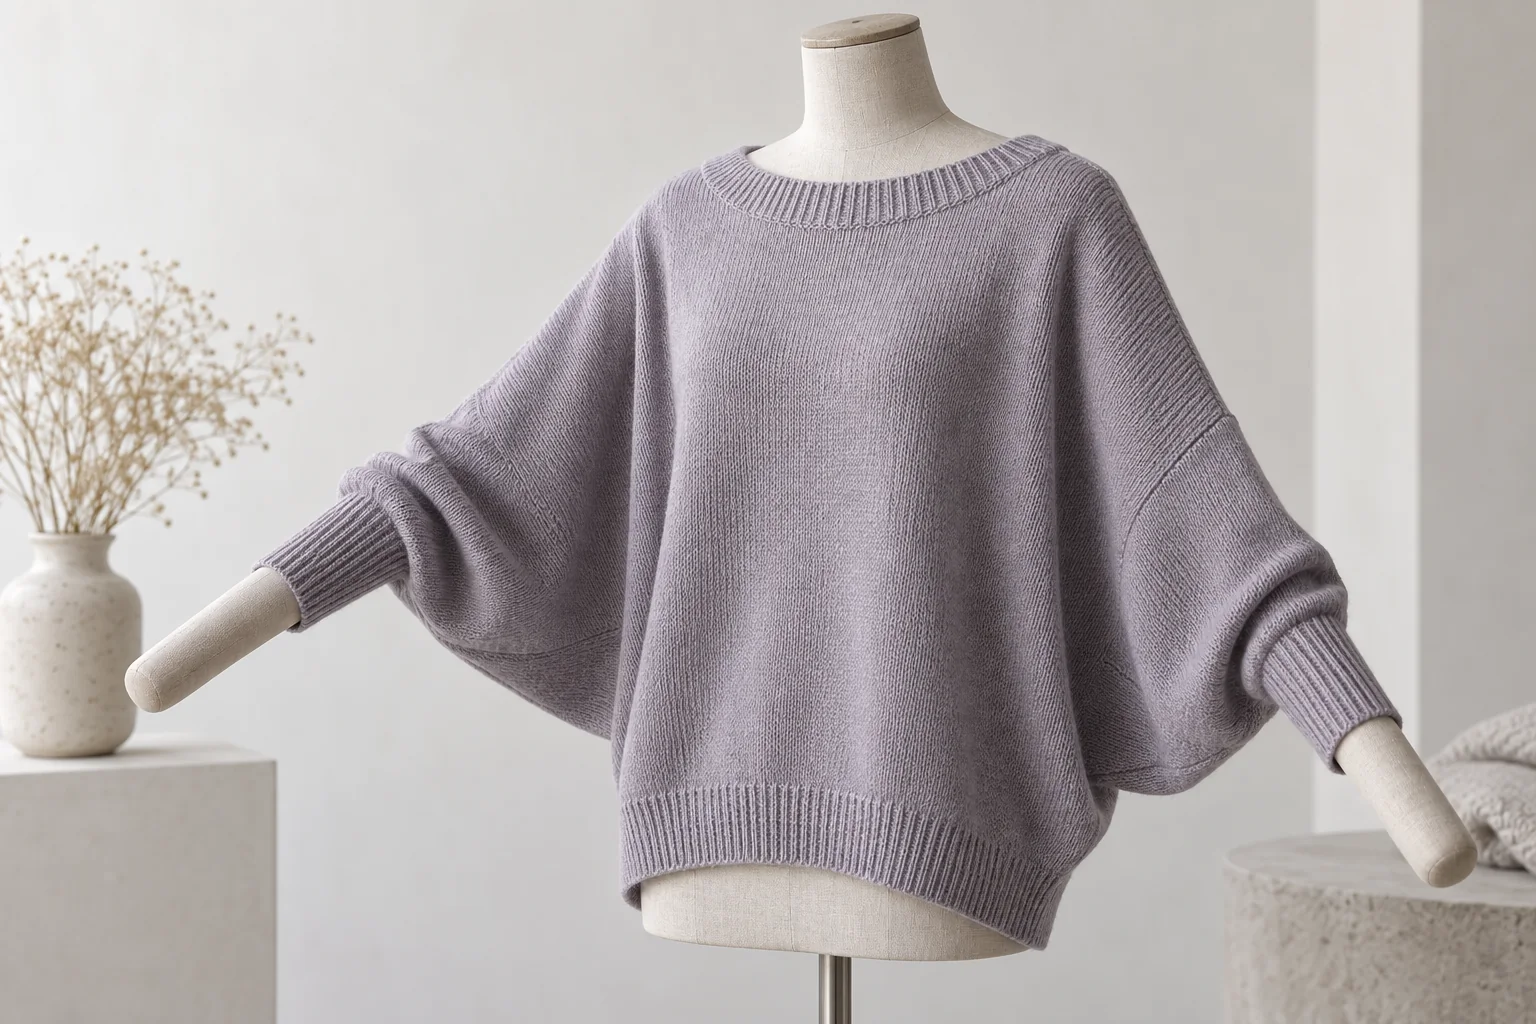
Mark the outline with the arms in the intended resting position. Then show the garment in the additional position needed to explain its span. A drawing with the sleeves held horizontally can reveal the construction, while a resting view shows how that shape sits on the wearer. Keep both and label the difference.
If the reference has a visible seam, retain its location. If it does not, define landmarks that can still be found on the sample. The measurement system needs to work on the construction that will actually be produced.
Record batwing sweater fit in its resting state
Choose the fit reference and underlayer used for the review. Mark the intended neckline and hem positions, then describe the underarm drape against those anchors. A low fold may be deliberate, but its position and effect on movement still need an agreed reference.
Keep front, side and back views. A front image can conceal a back-neck shift or fabric pooling behind the upper arm. A side view can clarify whether the lower sleeve transitions into the body at the intended level.
Avoid approving the silhouette only after the sample has been arranged by hand. Keep the naturally resting view and identify any styling adjustment used to explain the intended appearance.
What measurement path locates the cuff and underarm?
Replace ambiguous sleeve references with marked paths
A conventional shoulder-to-cuff measurement can become unclear when the shoulder seam moves or disappears. Define a stable start point and the path used for total reach. Keep any component measurements alongside that total rather than asking one number to describe the whole upper garment.
ISO 18890 provides garment-measurement references. Agree additional batwing points with the technical team. The standard does not prescribe the desired underarm depth, drape or movement for this particular style.
Use a diagram to identify the body-width level, underarm transition, cuff opening and hem. Record whether the sample is relaxed, spread flat or arranged on the selected form. A width measured through a folded underarm is not directly comparable with the same area pulled open.
This table establishes the reference system for the fit comparison.
| Geometry input | Record to prepare | Question it answers | Boundary |
|---|---|---|---|
| Neck anchor | Marked point and intended wearing position | Where the upper garment is located | A shifted neck changes other visible relationships |
| Total reach | Defined start, path and cuff endpoint | Where the sleeve ends on the wearer | Do not mix neck-based and seam-based readings |
| Underarm transition | Shape and depth landmarks | Where body volume becomes sleeve volume | One chest width cannot describe it |
| Body width | Measurement level and garment state | How the intended body space is assessed | Record folds or spreading used in measurement |
| Cuff and lower sleeve | Opening, length and resting position | How the sleeve is anchored near the wrist | Review with the complete garment |
| Hem reference | Length, width and intended location | How body movement affects the silhouette | A flat hem reading does not establish wearing stability |
Agree the method before discussing allowances
Use the measurement-tolerance guide to structure the agreement. Define how the garment is positioned, where the tape runs and how folds are treated. Then decide the allowance appropriate to the actual product and process.
Keep dimensional acceptance separate from the intended silhouette. A sample can meet a total reach measurement while placing too much material near the lower underarm, or while moving its neckline during use. Those observations need their own references.
What moves first during reach?
Compare batwing sweater fit during reach
Select ordinary movements that represent the product’s use. Reaching forward, raising an arm and returning to rest can show different relationships. State the starting posture and the observations needed, without presenting an informal fitting sequence as a recognised laboratory test.
Record the cuff, neckline and hem together. If the cuff travels up the arm, note whether the body also lifts or the neck shifts. If the body remains settled while the lower sleeve changes position, retain that distinction. A single endpoint photograph can hide the sequence that produced it.
Compare the actual underlayer as part of the arrangement. A bulky shirt sleeve can interact differently with the batwing underarm from a thin tee. The buyer should identify which outfit the result represents instead of treating all layering conditions as equivalent.
Do not pull the hem down between observations without recording the adjustment. Keep the unadjusted returning view so the team can assess whether the garment settles into the intended resting position.
Investigate the connected shape before choosing one correction
A movement conflict can involve total reach, underarm geometry, lower-sleeve width, cuff or body fit. Ask the technician to explain the proposed comparison. Increasing one dimension may solve the observed restriction while changing the resting drape elsewhere.
Keep the trial tied to the original comment. If the technician changes the underarm depth and cuff together, record both. A favourable result from the combined proposal cannot identify which individual change was responsible.
The buyer should state the trade-off it accepts. Additional resting volume, a different cuff position or altered body length may be a valid design choice, but it needs approval as a changed target rather than an unnoticed consequence.
Which material and care states belong in the comparison?
Review drape in the actual proposed construction
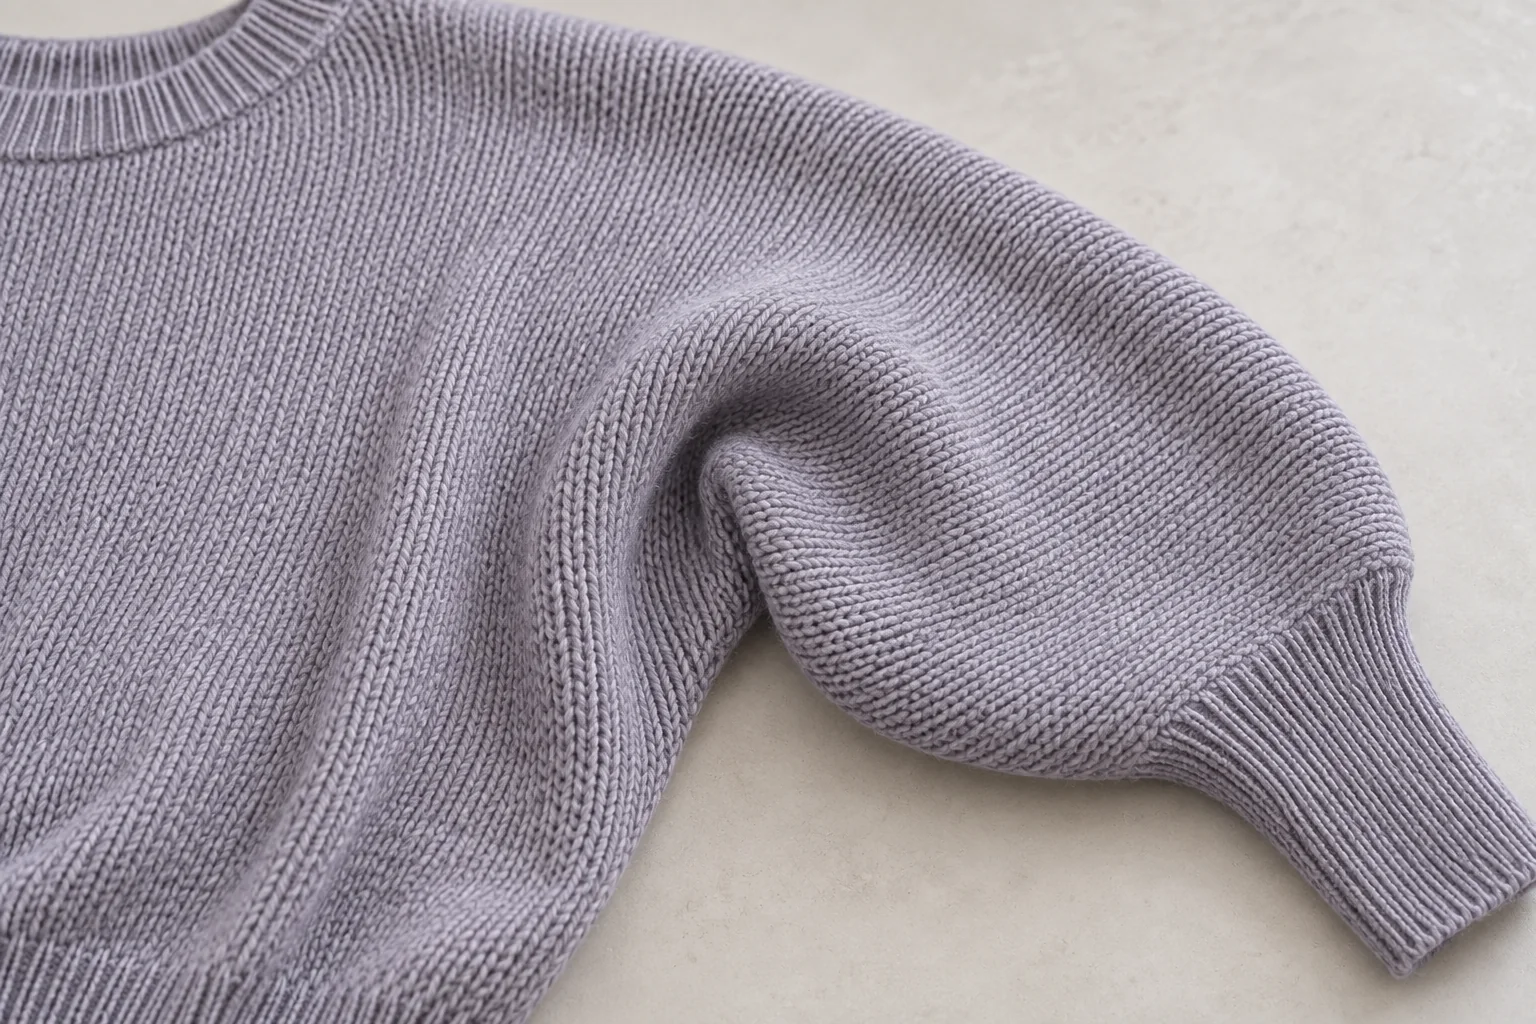
Compare proposed materials on the same geometry where practical. Record differences in the resting underarm, outer sleeve and hem relationships. If a material requires a revised programme, treat that as a combined construction proposal and explain the affected scope.
A swatch can help the team compare local hand and material behaviour. It cannot reproduce the complete batwing shape or establish where its folds will sit on the wearer. Request a full sample when the decision depends on the connected garment.
Retain the garment identity through care and rest
Record the selected wash, dry, finish and rest sequence, together with the sample revision. AATCC TM150 addresses laundering-related dimensions for applicable garments. The buyer’s resting shape and movement requirements need their own review alongside any formal result.
Measure the same marked paths after care. Compare total reach, underarm position, body width and hem relationship separately. A change in one area can affect how another appears, so retain the complete garment views as well as local measurements.
Keep newly pressed, rested and worn states distinct. If the supplier proposes finishing as part of a correction, document that route and assess the later state required by the brief. A shape arranged immediately before photography is limited evidence for ordinary use.
How should the batwing shape transfer across sizes?
Grade batwing sweater fit beyond chest width
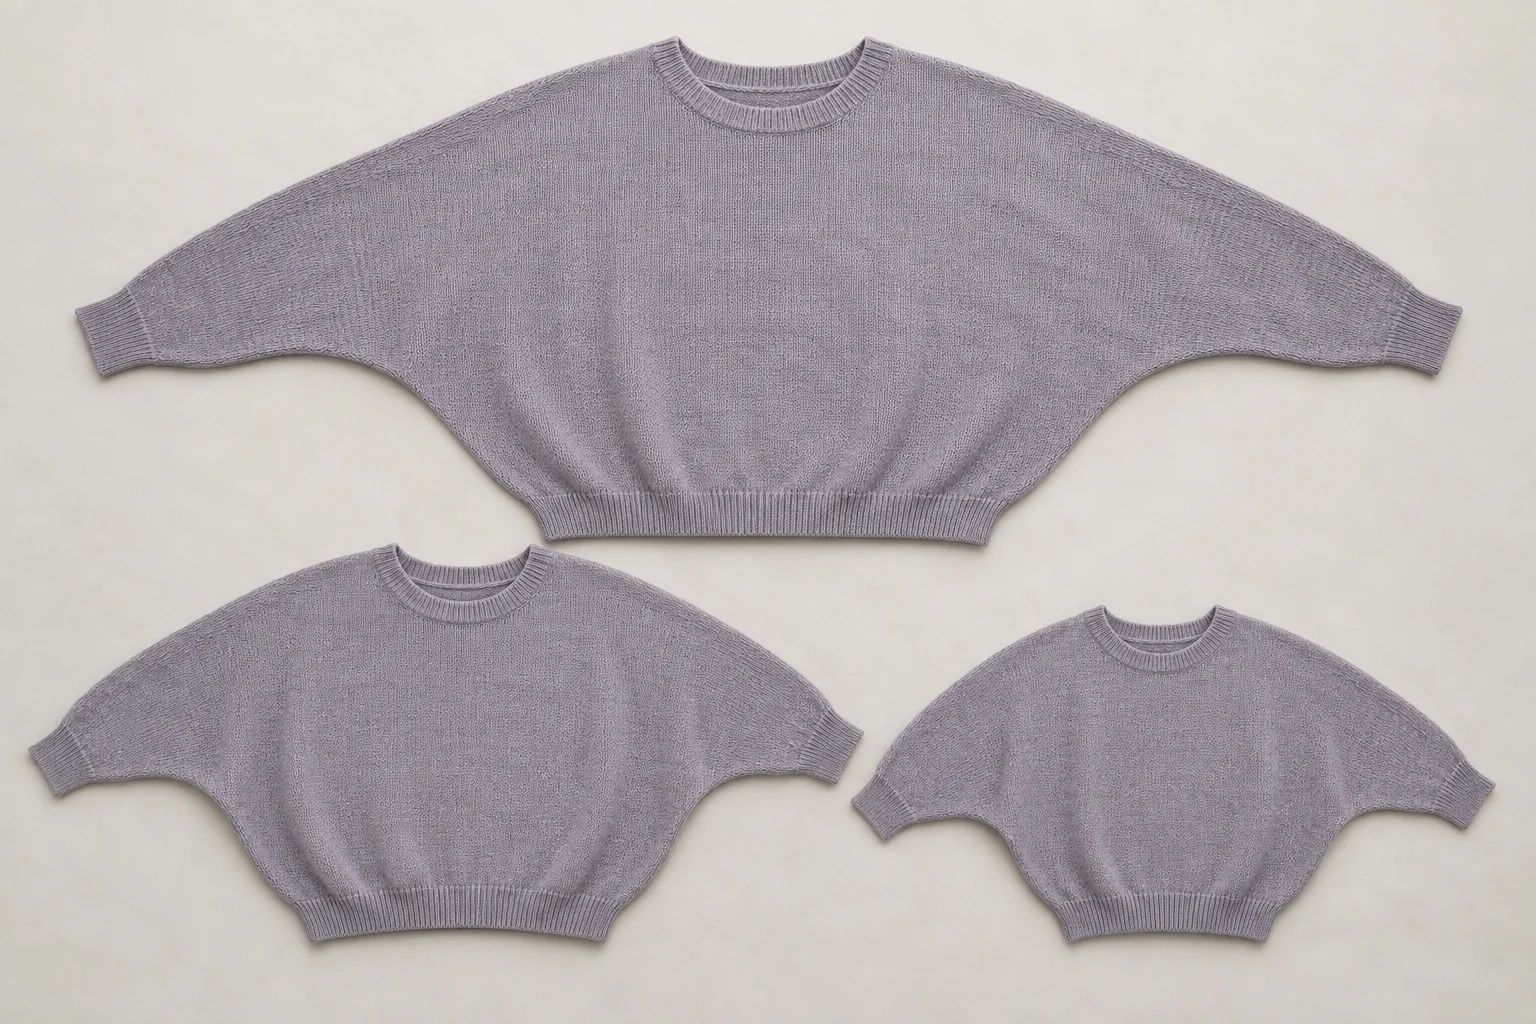
Use the knitwear grading guide to organise the size range. Add explicit rules for the batwing’s total reach, underarm transition, lower sleeve and cuff. A body-width increment alone cannot define the intended relationship among them.
The designer should identify which visual proportions remain recognisable across the range. Ask the technician to show how each proposed size preserves or deliberately changes those proportions. A uniformly enlarged outline may not answer the intended wrist, hem and underarm relationships.
Select represented sizes around the decisions that change. A base, small and large sample can be useful where they cover the relevant relationships, but no fixed sample count is prescribed here.
Use consistent wearing arrangements for each comparison and record any necessary differences in underlayer size. Keep the selected fit references visible. A size label does not establish that two wearers or forms have the same shoulder, reach or torso relationship.
Which findings need action before the fit is released?
Connect each observation to a bounded investigation
Use the table to identify the next comparison required for an unresolved batwing sweater fit comment.
| Observed condition | Connected inputs to review | Buyer action | Closing evidence |
|---|---|---|---|
| Hem rises more than intended during reach | Underarm shape, total reach and cuff | Compare the full movement sequence | Unadjusted revised-sample views |
| Cuff sits beyond the intended wrist position | Total reach and lower-sleeve relationship | Assess a defined geometry change | Marked measurement path and wearing result |
| Underarm pools away from the reference | Resting shape, body width and material state | Compare the actual volume map | Front, side and back resting views |
| Neckline shifts with arm movement | Upper-body anchor and connected sleeve shape | Review the complete upper garment | Neck, cuff and hem observations together |
| Care changes the draped outline | Same sample before and after the agreed route | Review affected material or construction inputs | Care-state dimensions and full-garment views |
| A size transition changes the silhouette | Grade and component mapping | Limit approval to represented groups | Additional size evidence or revised rule |
Update the knitwear tech pack with the accepted construction, measurement paths, movement references and size scope. Keep any revised shape map on the same version as the programme and component instructions.
For a development discussion with CNSweaters, include the complete shape map, current measurements and unadjusted wearing views. Add the specific question the next trial must answer when you share your batwing sweater fit brief.
Frequently Asked Questions
Can chest width define the whole batwing fit?
It describes one part of the garment in a stated measurement position. The underarm transition, total reach, cuff and hem relationships require their own references. Keep those points on the same drawing so a technician can explain how a proposed width change affects the complete shape.
Does a deeper underarm always improve freedom of movement?
A deeper point needs a sample comparison. Review body lift, cuff travel and resting drape on the actual wearer and garment. The effect depends on the connected construction, so a deeper point should be assessed as a proposal rather than treated as an automatic correction.
How should sleeve length be measured without a shoulder seam?
Agree a stable starting landmark, tape path and endpoint with the technical team. Retain the diagram and garment state beside the reading. A neck-based reach and a component length can both be useful, but they should not be mixed under one unexplained sleeve-length label.
Can one soft-yarn sample approve another fibre blend?
The replacement needs evidence for the fit and care requirements it affects. Retain its material identity and compare it against the accepted shape map. A similar hand or appearance in one photograph does not establish identical drape, recovery or movement on the complete garment.
What should inspection use to judge the intended folds?
Provide unadjusted front, side and back resting views, marked landmarks and the relevant dimensions. Identify any deliberate asymmetry or drape feature. Those references let inspection distinguish the intended silhouette from a changed underarm or body relationship without relying on a vague description of oversized fit.