 CN Sweaters
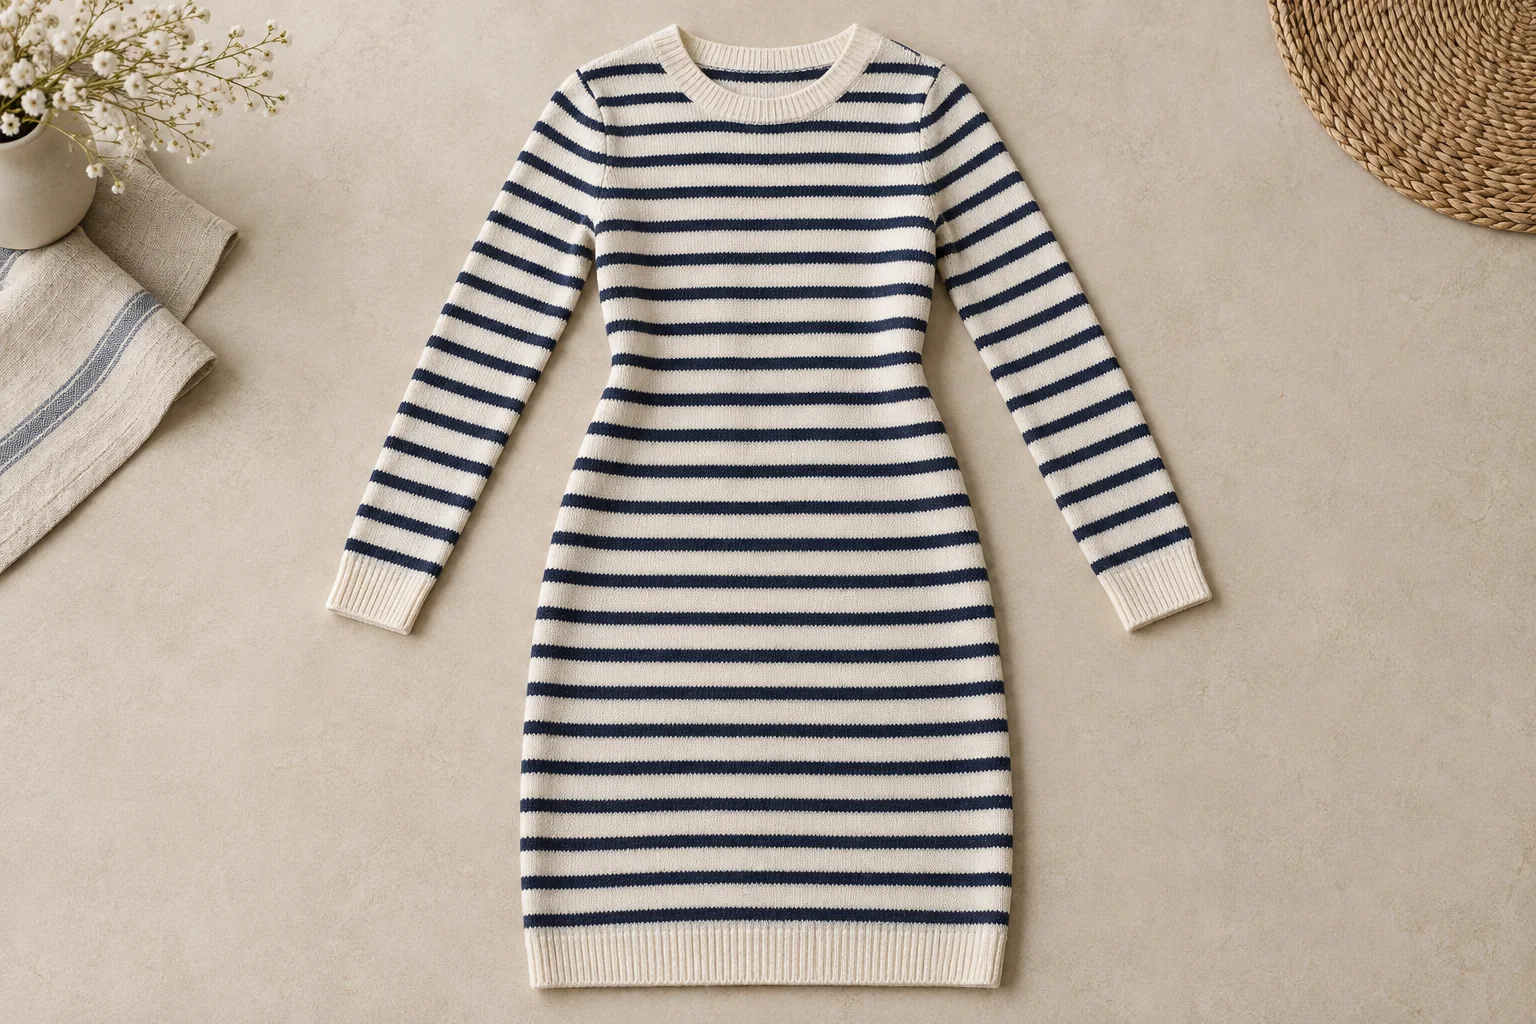
A colour step at a striped knit dress side seam can begin before assembly: the front and back may start at different points in the repeat. The sample technician should compare those panel starts before changing the join. The buyer then decides which waist, hem and sleeve landmarks require continuity, and where shaping permits an intentional break.
Start with the stripe sequence, its position on each panel and the dress’s shaping map. Keep front, back and sleeve references on the same revision. If one panel begins at a different point in the sequence, a correctly assembled seam can still produce an unwanted colour step.
Which stripe sequence belongs to the striped knit dress?
Describe the striped knit dress repeat beyond its colours
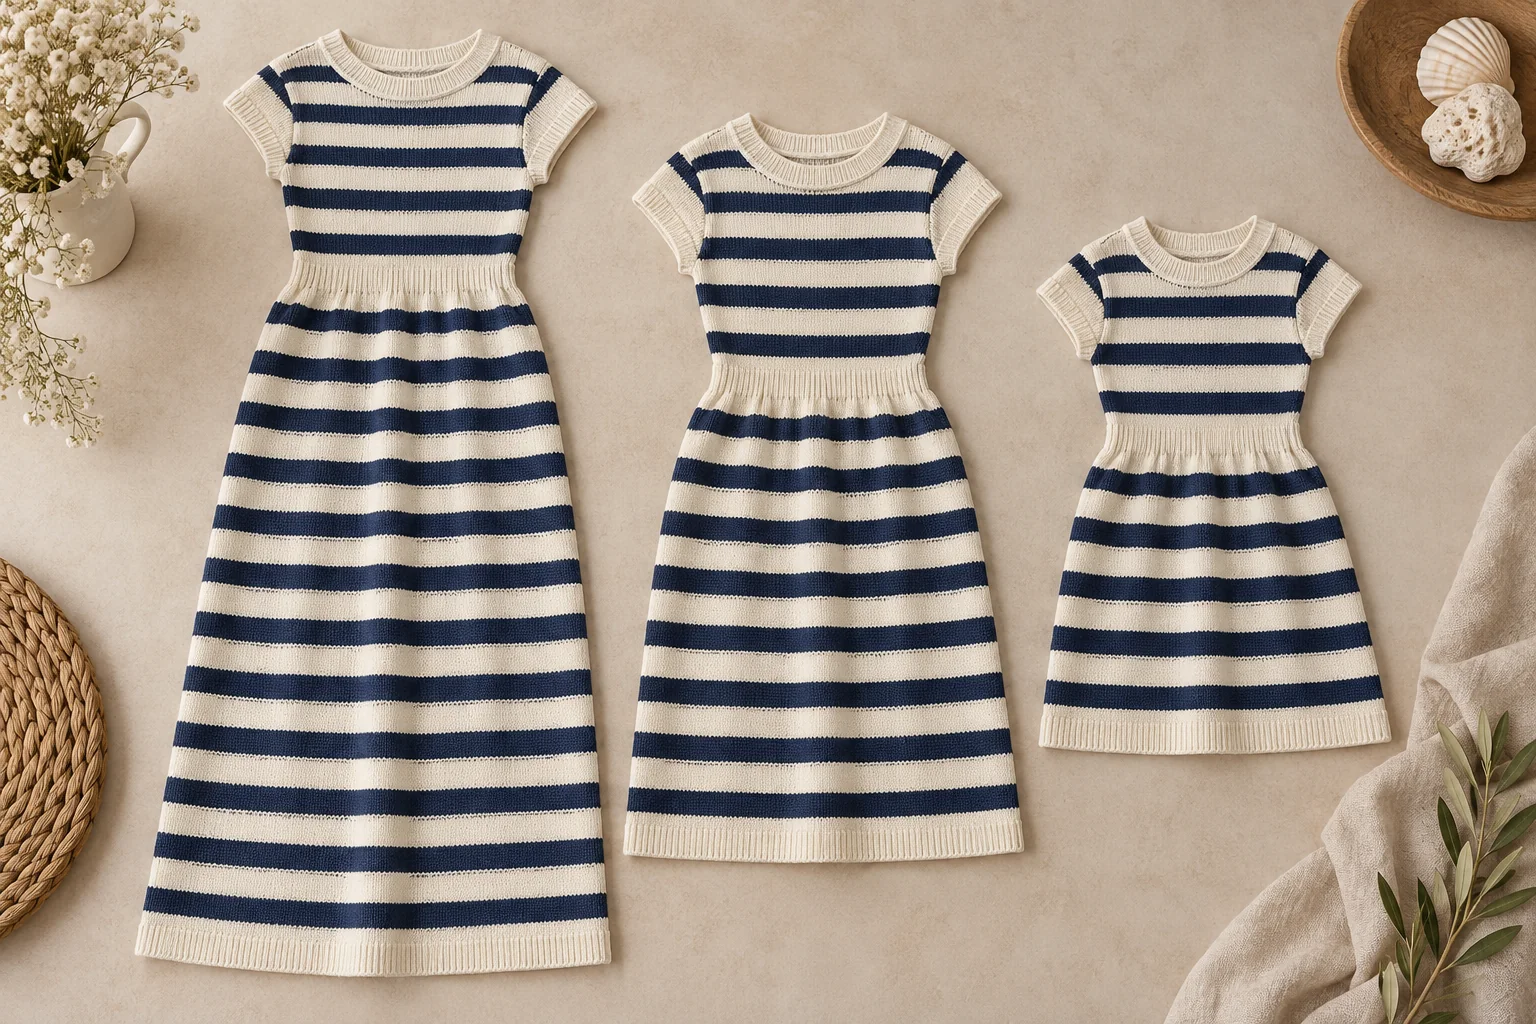
Identify the colour order and the planned width of each band. State whether the sequence repeats regularly, changes through the body or includes a placement stripe. A photograph can suggest the effect, but it does not define where the sequence starts or which narrow line belongs to the repeat.
For knitted stripes, ask the technician to identify the programme references behind the proposed bands. CottonWorks describes courses as horizontal rows of knit loops. Use that language alongside the finished appearance where it helps connect the artwork to the actual knit. A course count and a finished stripe width answer related but different questions.
Keep the yarn and colour identities with the sequence. Two similar-looking colours should not be interchangeable merely because a small photograph makes them difficult to distinguish. Record which item belongs at each position before a sample is knitted.
Define the visual anchor for the sequence
Choose the landmark from which each panel’s stripe placement will be assessed. This may be a hem boundary, a selected stripe at the waist or another explicit design reference. Record the choice rather than asking different reviewers to decide where the pattern should begin.
A placement stripe may need to remain at a chosen body level while other bands change around it. Identify that priority before grading or adjusting length. The team should know whether a length change is allowed to move the visual anchor or must be absorbed elsewhere in the sequence.
Which seams and landmarks require continuity?
Set the striped knit dress panel matching hierarchy
Mark the seams and landmarks where the buyer requires continuity. Separate side-seam matching, shoulder relationships, sleeve-to-body placement and hem alignment. Do not assume that a single note saying all seams matched fully describes the intended garment.
Use the following table to identify the matching references before comparing a sample.
| Matching input | Record to prepare | Decision it supports | Boundary to define |
|---|---|---|---|
| Stripe sequence | Colour order and programme references | Which bands belong beside one another | Identify irregular or placement stripes |
| Panel start | Sequence position at a stable landmark | Whether front and back begin in the intended phase | Each panel needs its own reference |
| Priority seam | Marked joining line and match points | Where continuity is required | A priority point is not a promise of every-point matching |
| Shaping area | Width and length changes beside the sequence | How the stripe meets the shaped edge | Designer and technician agree interruptions |
| Sleeve relationship | Sleeve reference against the body | Whether a visual continuation is intended | Review the actual assembled position |
| Size or length group | Programme and anchor rules by version | Which samples represent the range | A base map does not approve other programmes |
Keep deliberate breaks visible on the map. An intentional phase change should have a reference that inspection can recognise, rather than an informal explanation supplied after a discrepancy appears.
Review the striped knit dress joining line
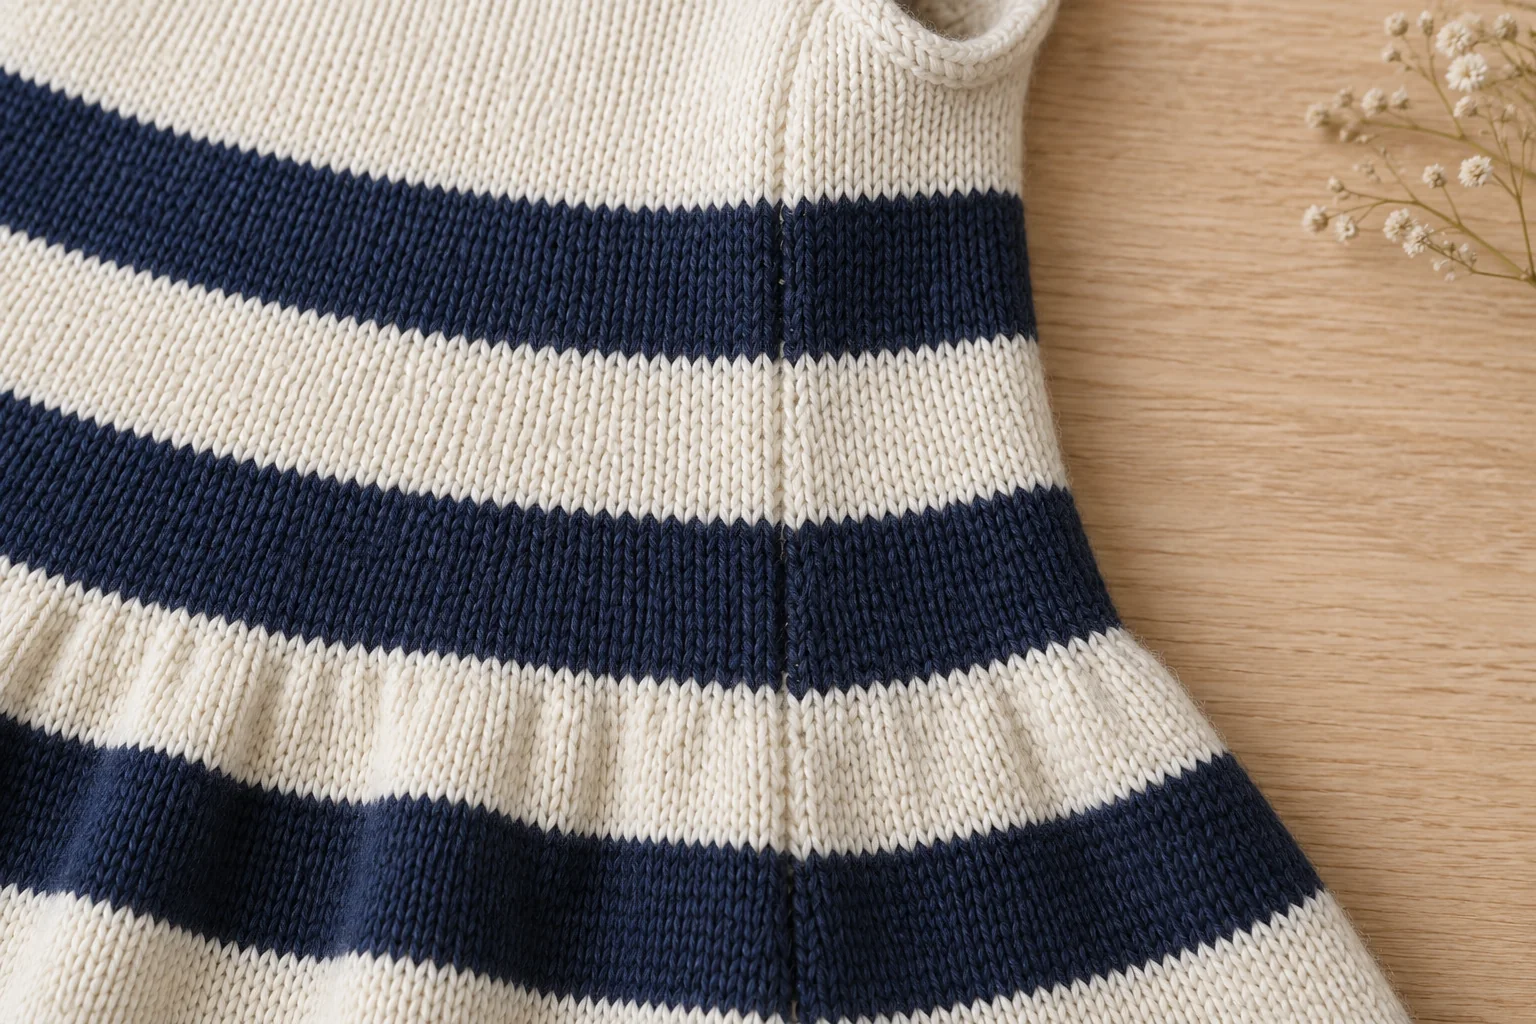
A stripe relationship can look different at the cut or knitted edge and at the finished seam. Ask the supplier to show the joining reference used in the proposal. The buyer needs to assess the visible garment after assembly, not only two loose panels placed together on a table.
Where the design uses shaped or curved joins, compare the required landmarks on the actual sample. If all requested matches cannot coexist with the intended fit, ask for an explicit design decision. Do not conceal the conflict by stretching one panel into alignment for a photograph.
Does the mismatch begin in a panel or at assembly?
Compare loose-panel evidence with the joined garment
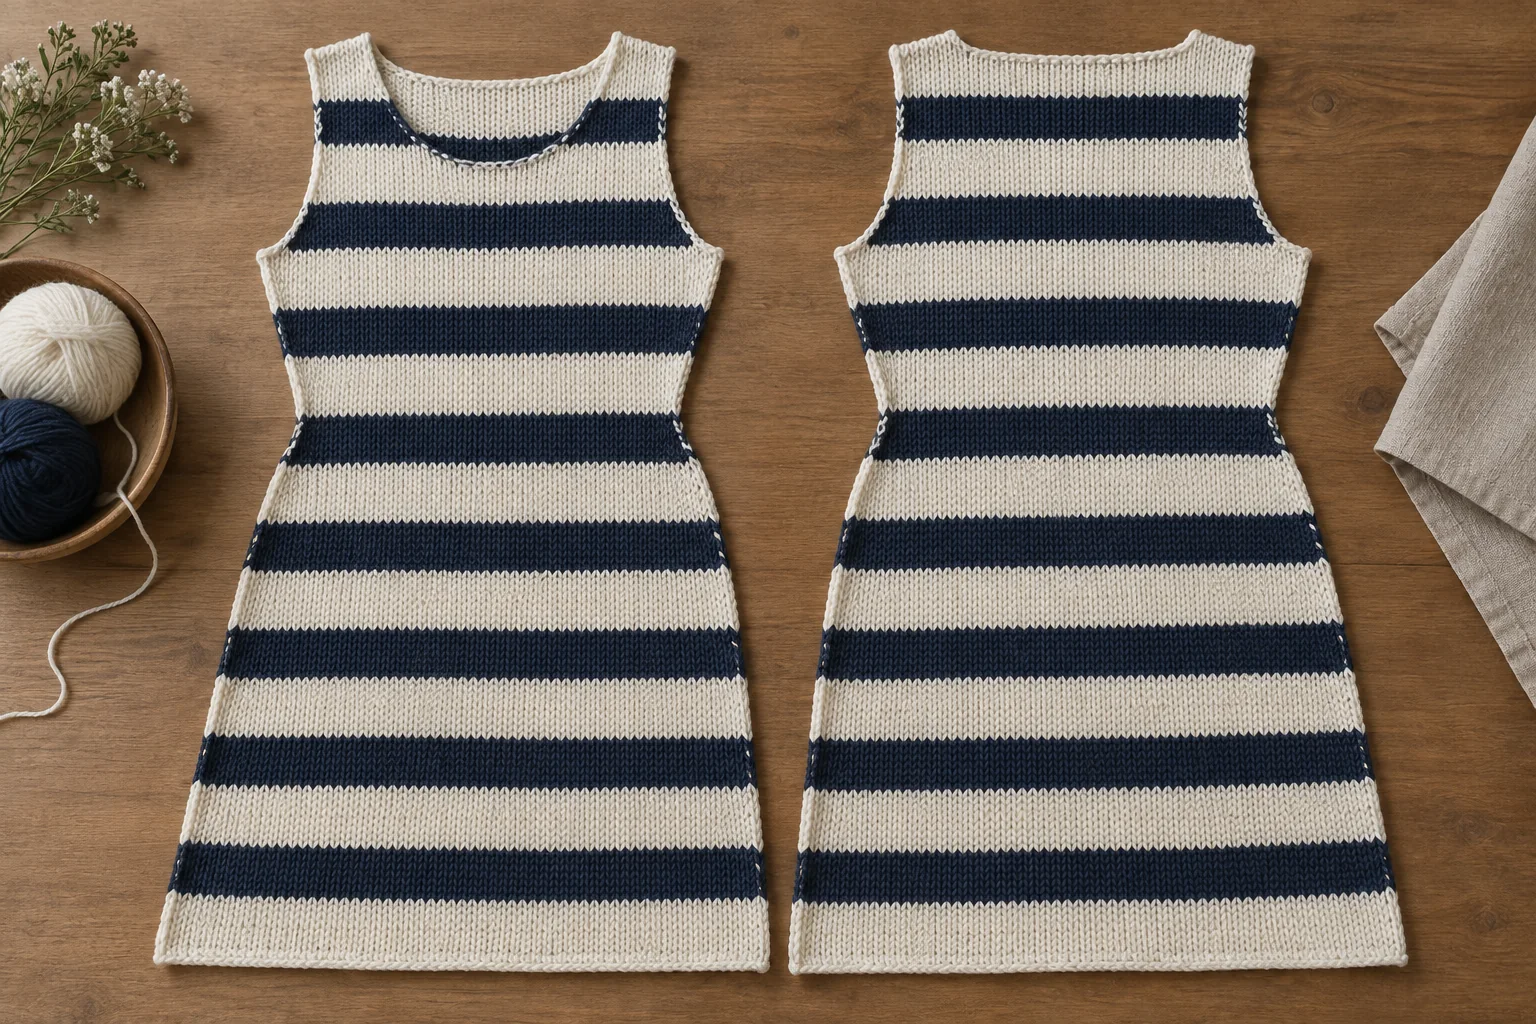
Request the information that can locate the discrepancy. A labelled panel image can show the sequence before assembly. A seam close-up shows the joined relationship. A complete garment view shows whether the dress itself has been positioned correctly for assessment. Each answers a different part of the question.
If the loose panels already use different sequence positions at the specified landmark, inspect their programme and production identities. If their intended references agree but the joined result differs, review orientation, matching marks and assembly. Keep the loose-panel and joined-garment records together while the technician investigates the difference.
When a sample has been reworked, record which seam or component changed. A corrected side seam on one garment does not establish that the original programme and assembly instructions have both been updated.
A proposal may intentionally change the sequence to preserve a priority match. Ask the designer to approve the new relationship and update the reference image. A technician’s workable solution should not become the commercial artwork by accident.
Do not average visible discrepancies into one general pattern score. Record the affected seam and landmark. A consistent step at the waist can require a different action from one isolated join that does not follow the approved matching mark.
Which garment states should be used for matching review?
Separate flat matching from the wearing appearance
Lay the striped knit dress in the agreed state without pulling one side into line. Record the centre, hem and seam positions before comparing the stripes. If the garment lies twisted, a visual step may partly reflect its arrangement rather than the actual panel relationship.
ISO 18890 provides garment-measurement references. Add the selected stripe landmarks and their measurement paths to the product file. A placement requirement needs a defined point and state before the buyer can discuss a dimensional allowance.
Review the dress on the intended wearer or form as well. Body shaping can change the visible path of a stripe, and the buyer may have a specific requirement at the waist or hip. Keep that wearing appearance separate from the seam’s flat matching record so the team knows which relationship a comment concerns.
A styled pose or a belt can conceal a discrepancy. Retain an unadjusted garment view when those styling elements are used. The inspection reference should show the product relationship the buyer expects to receive.
Check the striped knit dress after care
Retain the sample identity, material references and care history. AATCC TM150 addresses laundering-related dimensions for applicable garments. A formal dimensional result does not by itself approve the stripe appearance; the buyer still needs the relevant matched views.
Compare the same seam landmarks before and after care. Record any change in panel dimensions alongside the stripe relationship. A colour boundary that moves relative to the waist reference and a step that develops at a join should remain separate observations.
Which stripe features stay fixed across sizes?
Choose what remains fixed and what may change
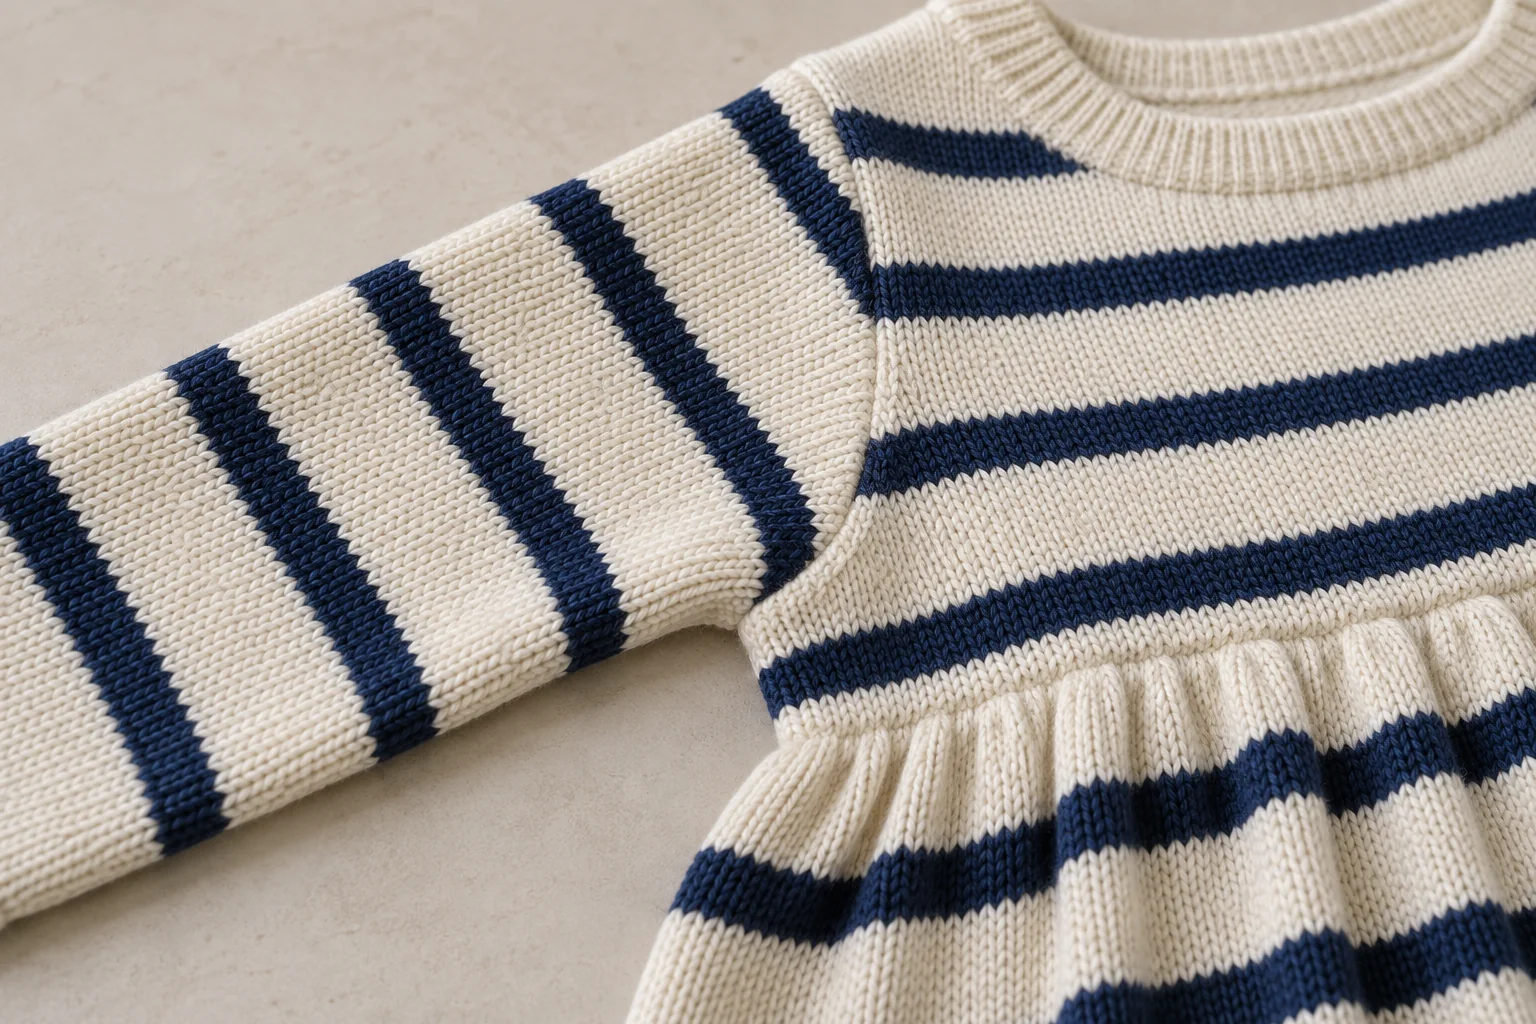
The designer should identify whether stripe width, placement anchors or repeat count has priority as the garment changes size. Those choices can lead to different programmes. Do not let a general instruction to grade the dress decide them implicitly.
For irregular stripes, retain the complete sequence for each represented version. A new size should not be developed by stretching the artwork image until it fills the outline. Ask the technician to show how the intended appearance connects to the proposed programme.
Identify any transition where a repeat is added, removed or deliberately interrupted. The size set should include evidence for that decision. An exception accepted at one transition must be recorded as such, rather than left for inspection to infer.
Agree allowances without disguising an artwork change
Discuss measurement and placement tolerances after agreeing the landmarks and sample state. Separate ordinary manufacturing variation from a planned sequence change. A different starting colour is an artwork decision, not merely a wider tolerance.
Which mismatch requires which next action?
Make the next comparison specific to the finding
Use the table to identify the relevant record and the decision needed to close a stripe comment.
| Observed mismatch | Evidence to inspect | Buyer or technical decision | Required closing record |
|---|---|---|---|
| Front and back start in different phases | Panel-start references and programme identities | Correct or intentionally revise the sequence | Updated panel map and sample comparison |
| One priority seam has a colour step | Joining marks, orientation and loose-panel views | Investigate assembly against the approved map | Joined sample with the required landmark visible |
| Waist anchor moves between versions | Body dimensions and stripe-placement rule | Choose the intended size relationship | Size-specific drawing and wearing view |
| Hem ends on an unwanted partial band | Length and complete repeat sequence | Approve a revised ending | Updated hem reference and programme scope |
| Matching changes after care | Same sample dimensions and seam views | Review the affected construction or process | Matched care-state record |
| A graded transition cannot retain all priorities | Alternative programmes and fit requirements | Select the acceptable trade-off | Explicit exception with representative sample evidence |
Update the knitwear tech pack with the accepted sequence, panel starts, matching hierarchy and size transitions. Keep the programme and assembly references on that same revision. A new drawing paired with an older matching instruction can reproduce the original discrepancy.
For a development discussion with CNSweaters, attach the complete stripe reference, marked seam views and unresolved sample comment when you send your striped knit dress brief.
Frequently Asked Questions
Must every stripe meet continuously around the body?
The design brief should identify the required continuity and any deliberate interruptions. Compare the proposed relationship at named seams and landmarks. If shaping or construction creates conflicting priorities, the buyer needs to choose and record the accepted arrangement before production instructions are finalised.
Is a colour sequence enough for the sample room?
It identifies the order of bands, but not their placement on each panel. Add widths or programme references, starting positions, garment landmarks and the required seam relationships. Irregular or placement stripes need the complete intended sequence rather than a cropped section of the reference.
Can the factory stretch one panel to make the stripes meet?
Any proposed assembly handling needs review against the garment’s dimensions, shape and later state. A temporarily aligned seam photograph does not establish an acceptable result after rest or care. Ask the technician to explain the method and provide the relevant joined-sample evidence.
Does a digital rendering approve matching across sizes?
It can show the proposed visual rule, but the actual knit and assembly still need the appropriate sample comparison. Retain the programme identity behind the rendering and review the transition sizes that represent its decisions. A resized image alone cannot establish production matching.
What should inspection receive for an intentional break?
Provide the marked seam or panel location, the accepted stripe relationship, the relevant size group and a sample image. State how the intentional break differs from a defect. This gives the inspection team a defined reference instead of an informal explanation after production has begun.