 CN Sweaters
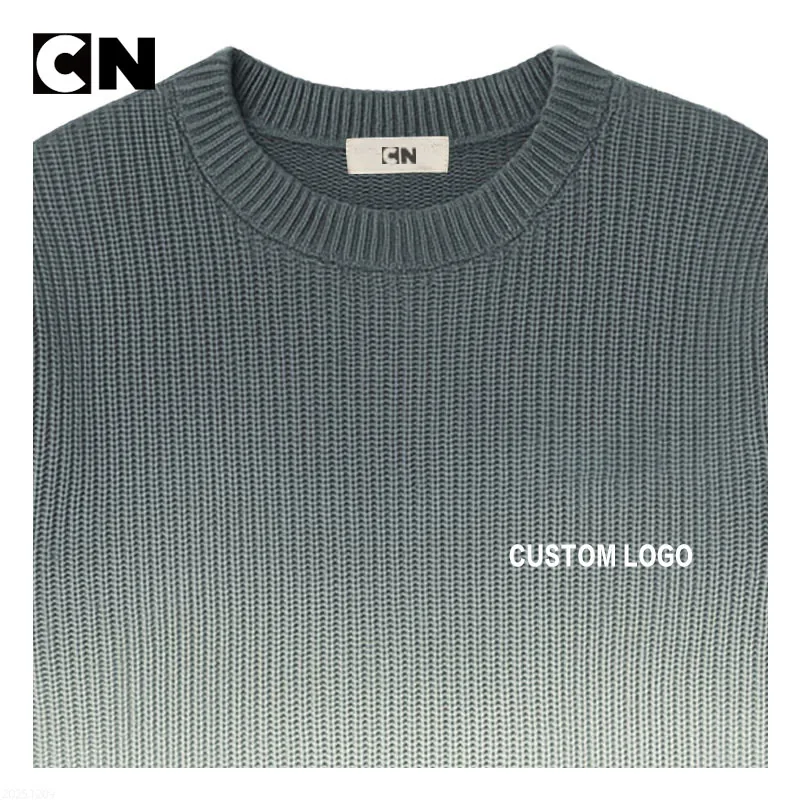
For designer clothing brands, private label teams, knitwear procurement managers, boutique buyers, team wear buyers, and bulk custom buyers, selecting the right embellishment technique is a pivotal decision that directly impacts brand equity and product longevity. Embellishing knitwear is fundamentally different from decorating woven fabrics or standard t-shirts. With the inherent stretch, drape, and loop structure of a knitted garment, custom embroidered sweaters require a delicate balance between visual prestige and mechanical integrity.
From a factory perspective, when custom embroidery is executed with precision, it adds a tactile dimension of luxury, elevates perceived brand value, and justifies premium retail price points. However, when applied incorrectly, embroidery acts as a rigid anchor on a flexible canvas, causing puckering, fabric distortion, and premature structural failure. The key to success lies in understanding how the physical properties of the yarn, the gauge of the knit, and the technical parameters of the embroidery machine interact.
In high-end fashion and corporate apparel, custom embroidered sweaters serve as powerful brand ambassadors. A crisp, perfectly tensioned embroidered logo or graphic communicates attention to detail, heritage, and quality. Conversely, a warped or bubbling embroidery design immediately cheapens even the finest merino wool or cashmere blend. To avoid these costly production mistakes, buyers and product developers must dive deep into the mechanics of knitwear embroidery, establishing a clear synergy between fabric selection, backing materials, design parameters, and manufacturing realities.
How Custom Embroidered Sweaters Affect Knitwear Integrity
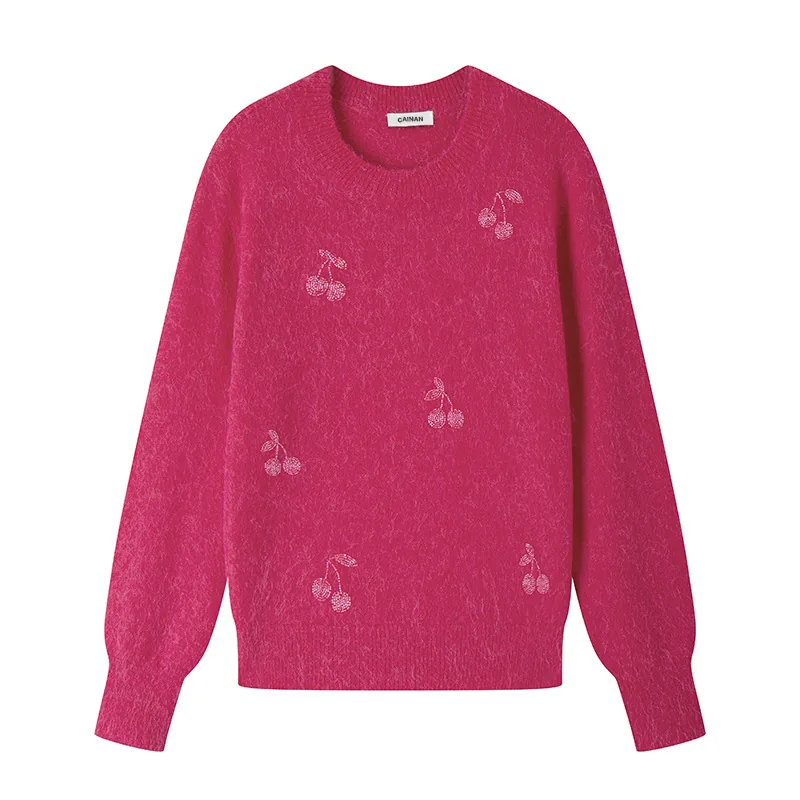
To successfully execute custom embroidery on knitwear, we must first analyze the mechanical properties of knitted fabrics. Unlike woven textiles, which feature stable, intersecting warp and weft threads, knitted fabrics are constructed from continuous interlocking loops of yarn. This looped structure provides knitwear with its characteristic stretch, recovery, and fluid drape. Introducing embroidery introduces a highly stable, non-stretching element into this dynamic system, which can cause severe structural conflicts if not managed properly.
How Yarn and Thread Tension Shape Custom Embroidered Sweaters
The fundamental challenge in embroidery lies in the tension discrepancy between the knitting yarn and the embroidery thread. Knitted garments are designed to expand and contract with the wearer’s movements. Embroidery threads, typically made of high-tensile polyester or rayon, possess almost zero elasticity.
When the embroidery machine punches thousands of lockstitches into a flexible knit fabric, it binds the loops together, creating a localized zone of rigidity. If the tension of the embroidery machine is set too high, or if the garment is stretched excessively during the hooping process, the surrounding knit will pull inward once released. This mechanical mismatch leads to puckering and distortion that cannot be pressed out during final finishing.
Why Fabric Gauge Shapes Density Options for Custom Embroidered Sweaters
The gauge of a sweater—representing the number of needles per inch on the knitting machine—is the single most important factor in determining allowable embroidery density. A fine-gauge garment, such as a 12-gauge (12gg) or 14-gauge (14gg) lightweight merino wool sweater, features small, tightly packed loops. These fine knits offer a relatively smooth surface that can support finer, high-definition embroidery stitches, but they are also highly sensitive to needle damage and puckering.
In contrast, medium-gauge (7gg to 9gg) and heavy-gauge (3gg to 5gg) sweaters use thick, lofty yarns with large, open loop structures. Attempting to embroider detailed, high-density designs directly onto a heavy 3gg knit is mechanically problematic, as the embroidery stitches will sink into the gaps between the yarns, resulting in a distorted, illegible design. Designers must align their artwork complexity with the physical boundaries of CottonWorks knit textile design principles to ensure structural compatibility.
The Impact of High Stitch Counts on Delicate Knit Scales
High stitch counts represent a major risk factor when decorating delicate knits. Each needle penetration slightly displaces or cuts the surrounding yarn loops. If a design requires a high stitch density—such as a large solid fill—the concentrated cluster of needle punctures can severely weaken the fabric substrate.
Over time, the weight of the dense embroidery thread combined with the weakened knit structure will cause the fabric to sag and tear around the perimeter of the design. From our factory viewpoint, we advise keeping stitch counts as low as possible on delicate knits, utilizing outline designs, open fill patterns, or applique techniques to minimize needle penetrations while achieving the desired visual impact.
Single Jersey Versus Double-Knit Bases
The knit structure under the logo matters as much as the gauge. Single jersey has a distinct face and back, stretches readily across the width and tends to curl at the edges. When a dense motif is stitched onto it, the surrounding loops pull in toward the rigid embroidery and leave a rippled ring around the logo.
Double-knit structures such as Milano rib, interlock or full cardigan stitch are knitted on two needle beds. They curl far less and resist stretching in several directions, so they give a flatter, steadier base for filled logos. If a design needs solid fills, ask at the development stage whether the body or the logo panel can be knitted in a double-knit structure rather than relying on backing alone.
How Fiber Content Affects Custom Embroidered Sweaters
Yarns with different recovery respond differently to needle penetration and to the fixed length of embroidery thread:
- Cotton yarns recover slowly. Loops that are pushed aside or stretched during stitching may not spring back, which can leave a visible halo or distortion around the design.
- Merino wool and acrylic blends recover well, but that recovery works against the non-stretch thread. The knit around the logo tries to contract and bunches up unless a suitable stabilizer holds it.
- Elastane-plated ribs at cuffs and hems are high-risk zones. Needles can break the elastane filaments, and the rib then loses its grip and may show fiber ends on the surface.
How Backings Match Yarn Weight in Custom Embroidered Sweaters
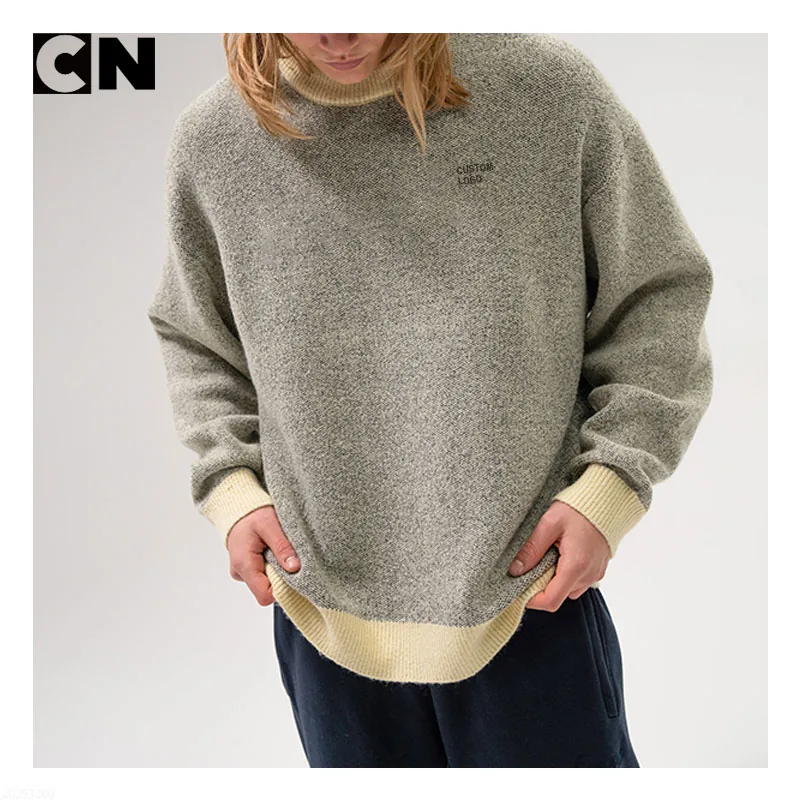
To establish a stable foundation for branding, we must analyze how different knit constructions interact with stabilizers and backing materials to prevent structural failure. Choosing the correct backing is not merely an afterthought; it is a critical structural component that remains with the garment to support the embroidery throughout its lifecycle.
The following table outlines the technical relationships between yarn weights, embroidery backing methods, and structural risk levels during production:
| Knit Gauge & Yarn Weight | Fabric Composition | Recommended Backing Method | Embroidery Stitch Limit | Primary Structural Risk Level |
|---|---|---|---|---|
| 3gg – 5gg Heavyweight | Chunky Cotton, Wool, Acrylic | Heavy Cut-Away (Non-Woven) | Low (< 4,000 stitches) | High Risk |
| 7gg – 9gg Midweight | Medium Cotton, Acrylic Blends | Medium Cut-Away + Soluble Topping | Moderate (< 6,000 stitches) | Medium Risk |
| 12gg Lightweight | Fine Merino Wool, Cotton | Light Cut-Away + Tear-Away | High (< 8,500 stitches) | Low-Med Risk |
| 14gg – 16gg Ultra-Fine | Cashmere, Silk-Cotton Blends | Water-Soluble Backing + Soft-Touch Fusible | Low-Moderate (< 5,000 stitches) | High Risk |
As demonstrated in the comparison table, heavier yarn weights naturally tolerate greater structural risk but require robust backings, whereas ultra-fine gauges demand minimal stitch density and soluble stabilizers to preserve their delicate handfeel.
Matching Fine Gauges with Light Soluble Stabilizers
For ultra-fine gauges, such as 14gg or 16gg cashmere and silk-cotton blends, standard heavy backings are unacceptable because they ruin the luxurious draping qualities of the sweater. In these premium applications, we utilize light, water-soluble stabilizers on the reverse side of the fabric during the embroidery process.
These stabilizers provide the temporary structural rigidity needed to prevent the knit loops from shifting while the embroidery machine is running. Once the embroidery is complete, the stabilizer is dissolved, leaving behind a soft, clean finish. To prevent long-term friction wear, we often back the completed embroidery with a lightweight, flexible heat-activated fusible tricot fabric. This provides permanent, soft-touch protection against skin irritation without stiffening the custom knit sweaters.
Selecting Tear-Away and Cut-Away Backings for Custom Embroidered Sweaters
For medium to heavy-gauge sweaters (3gg to 9gg), soluble backings do not provide sufficient structural support. These heavy-knit structures require permanent cut-away stabilizers. Cut-away backings remain attached to the garment forever, acting as a permanent foundation that prevents the embroidery from stretching out of shape during wear and laundering.
Knit Fabric Integration Stack:
[Knit Fabric Surface] │ ├─► [Water-Soluble Topping] (Prevents stitches from sinking) ├─► [Embroidery Thread Layer] (The actual design) ├─► [Knit Yarn Loops] (The flexible substrate) └─► [Cut-Away Non-Woven Stabilizer] (The permanent foundation)
Tear-away stabilizers, while easier and faster to process in bulk production, are generally unsuitable for knits. The physical force required to tear the backing away can stretch out the delicate knit loops around the design edges, causing permanent distortion before the garment even leaves the factory floor.
Managing the Tactile Handfeel of Interior Knit Backings
A common complaint from end consumers is that embroidered logos on sweaters feel scratchy or stiff against the skin. This issue is particularly acute in premium knitwear, where next-to-skin comfort is a major selling point. To solve this problem, we recommend applying a post-production fusible backing, often referred to as “comfort backing” or “soft-touch backing.”
This ultra-thin, polyester tricot layer is heat-pressed over the backside of the embroidery, sealing the rough thread ends and stabilizer edges. This process not only improves wearer comfort but also protects the embroidery threads from catching on undergarments, ensuring the logo remains structurally sound over years of use.
What Risks Affect Custom Embroidered Sweaters?
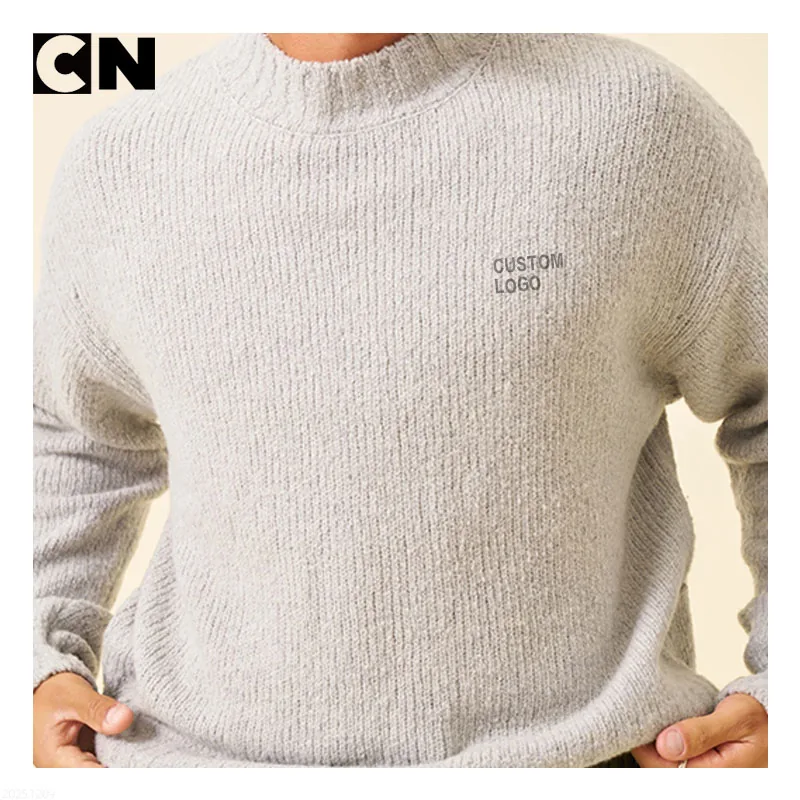
Embroidering on knitwear presents several technical risks that do not occur when working with woven fabrics. Understanding these risks is essential for procurement managers who must establish strict quality control guidelines with their manufacturing partners.
Preventing Puckering and Tension-Induced Distortion
Puckering is the most frequent quality defect in sweater embroidery. It occurs when the embroidery stitches pull the surrounding knit fabric inward, creating unsightly ripples around the design. This defect is usually caused by incorrect thread tension, improper hooping techniques, or a failure to match the embroidery design’s stitch direction with the knit wale.
To prevent puckering, our technicians calibrate embroidery machines specifically for knitwear, reducing upper thread tension and utilizing specialty hoops that hold the sweater secure without stretching the fabric. The embroidery program itself must also be digitized with proper “underlay” stitching, which secures the knit fabric to the backing before the satin or fill stitches are applied.
Resolving Needle Cutting and Fiber Ruptures in Delicate Knits
Needle cutting occurs when a sharp embroidery needle slices through the yarn fibers of a sweater rather than sliding between them. When a knit yarn is cut, the tension of the loop is released, which can lead to unraveling, holes, and runs—similar to a ladder in a stocking. To prevent this destructive failure, we use ballpoint needles (specifically FFG or light ballpoint profiles) for all sweater embroidery.
Instead of cutting the fibers, the rounded tip of a ballpoint needle gently pushes the knit loops aside as it penetrates the fabric, preserving the physical integrity of the yarn. Additionally, we verify fabric strength and resistance to needle damage by adhering to rigorous Intertek apparel testing standards during the product development phase.
Needle Mechanical Action Comparison:
Sharp Needle vs. Ballpoint Needle Action: [Sharp Needle] ──► || (Cuts yarn fibers, causing unraveling) [Ballpoint Needle] ──► () (Pushes yarn loops aside, preserving integrity)
Addressing Post-Wash Shrinkage Discrepancies
Sweaters made from natural fibers like cotton, wool, or cashmere are prone to relaxation shrinkage when washed. On the other hand, synthetic polyester embroidery threads do not shrink. If a sweater shrinks even 2% to 3% after washing, the unyielding embroidery design will bubble and warp, ruining the garment’s appearance.
To mitigate this risk, we strongly advise using pre-shrunk yarns for knitwear manufacturing or adjusting the washing instructions to gentle dry-clean or cold hand-wash only. Pre-production wash testing is a vital step in our quality assurance protocol to ensure that the dimensional stability of the knit matches the performance of the embroidery thread over time.
How Embroidery Position Affects Drape in Custom Embroidered Sweaters
The drape of a sweater—the way it flows and conforms to the human body—is one of its most desirable aesthetic characteristics. Placing a rigid embroidered element on a fluid knit fabric will inherently alter this drape. Therefore, carefully planning the position and scale of the design is critical to maintaining garment comfort and visual appeal.
Limits of Large Center-Chest Placements on Custom Embroidered Sweaters
Large center-chest embroidery designs, while popular in casual streetwear, present severe engineering challenges on high-quality knitwear. A large, solid-filled embroidered graphic creates a rigid, shield-like plate across the wearer’s chest. This plate prevents the sweater from draping naturally, causing the fabric below and above the design to fold and bulge awkwardly.
This issue is amplified in sleeveless styles, such as Vest & Sleeveless Knitwear, where the lack of sleeves already alters the weight distribution of the garment. For large front graphics, we recommend utilizing intarsia or jacquard knitting patterns during the fabric fabrication stage, rather than relying on heavy post-production embroidery.
Optimizing Small-Scale Sleeve and Left-Chest Branding
For premium branding, small-scale placements are both technically safer and aesthetically superior. Classic left-chest logos, sleeve cuffs, and back-neck placements are highly effective because they sit on relatively stable, flat areas of the body.
Recommended Placement Zones:
┌───────────────────────────┐ │ [Back Neck] │ ◄── High stability, excellent drape preservation │ [Left Chest] │ ◄── Classic placement, minimal distortion │ (Max 60mm) │ │ │ │ [Sleeve Cuff] │ ◄── Low stretch zone, highly durable └───────────────────────────┘
A left-chest logo should ideally be restricted to 50mm to 60mm in width and utilize open, low-density stitching. Placements near the sleeve cuffs are also highly stable, as the ribbing or double-layer hem provides inherent reinforcement that resists puckering and handles embroidery beautifully.
Designing for Shoulder and Yoke Structural Support Areas
The shoulders and back yoke of a sweater are some of the best locations for custom embroidery. These areas are naturally supported by the wearer’s skeletal frame and often feature interior seam tapes or reinforced knit constructions.
By placing embroidery designs across the yoke or along the shoulder line, the weight of the embellishment is distributed across a structurally stable zone. This prevents the garment from sagging or warping over time, ensuring that the sweater maintains its professional silhouette even after long-term wear.
Keeping Cardigan Plackets and Ribbed Hems Flat
On custom cardigans, the button placket and the ribbed hem are functional edges, and embroidery placed too close to them causes two typical defects. The first is a wavy placket: machine tension compresses the vertical placket stitches, and once the garment comes out of the hoop the embroidered area stays compressed while the rest of the body relaxes, so the front edge ripples. The second is hem flare: stitching into or just above a 1×1 or 2×2 rib locks the rib loops open, so the hem loses its grip at the waist.
- Keep a clear margin between the design and the placket seam, and confirm that margin on the approved sample.
- Digitize the design to stitch from the center outward so any excess fabric is pushed away from the placket edge instead of trapped against it.
- Hoop the front with even tension across the button band, and never stretch the rib to fit the hoop.
- If branding must sit near the hem, use a flexible stitch type and a soft backing that does not permanently bind the rib.
Supporting Large Back-Panel Designs
A large back design adds noticeable weight to the upper back. On a hanger or on the body, that weight drags the shoulder seams backward, lifts the front and can open a gap at the back neck. Two construction steps help. First, tape the shoulder seams during assembly so they cannot stretch under the load. Second, extend the cut-away stabilizer well beyond the edge of the design so the load is spread over a wider area of the knit.
Digitizing matters as much as backing. Replace large tatami fills with satin outlines, use applique patches of felt, twill or velvet held down by low-density satin borders, and when a fill is unavoidable, choose an open grid or light geometric fill that lets the knit flex underneath.
Sourcing and Production Practices for Custom Embroidered Sweaters
For procurement managers, translating a design concept into a flawless production run requires a systematic approach to sourcing and quality control. Working with a manufacturer who understands the technical intersections of knitwear construction and decoration is the first step toward safeguarding your brand’s reputation.
MOQ Planning for Custom Embroidered Sweaters
Minimum Order Quantities (MOQs) for custom knitwear are typically higher than those for standard cut-and-sew apparel. This is because flat-bed knitting machines must be programmed specifically for each garment size, and yarns must be dyed in bulk dye-lots to ensure color consistency.
When planning a custom embroidered sweater program, buyers must balance their target quantities with these manufacturing realities. At our facility, we work closely with brands to offer manageable MOQs by utilizing stock yarn programs or combining embroidery production runs across multiple sweater styles that share the same base fabric composition.
Implementing a Multi-Stage Sampling Approval Protocol
To ensure a smooth transition from design to bulk production, we utilize a strict multi-stage sampling protocol based on the Maker’s Row apparel manufacturing guide. This process prevents costly errors by requiring physical sign-offs at critical milestones:
- Digital Digitizing Review: The brand approves the digital embroidery file (DST format) showing stitch paths, density, and estimated stitch counts.
- Flat Strike-Off: The embroidery design is stitched onto a flat, scrap piece of the actual production knit fabric. This step tests needle compatibility, backing stiffness, and color matching.
- Full Prototype Sample: A complete pre-production sweater is knitted, assembled, and embroidered in the final design position. This sample undergoes washing and fit tests to evaluate post-wash shrinkage and drape.
- Bulk Golden Sample: The first production run sample is kept as a quality benchmark against which all subsequent production pieces are measured.
Workflow Sequence:
[Digital File] ──► [Flat Strike-Off] ──► [Full Prototype] ──► [Bulk Production]
This structured workflow ensures that all technical challenges—such as tension settings and stabilizer choices—are resolved before we begin high-speed bulk production.
Ensuring Bulk Consistency from Prototype to Final Shipment
Maintaining consistency across a bulk run of thousands of sweaters requires precise machine calibration and strict environmental controls. Knitted yarns are sensitive to humidity and temperature fluctuations, which can alter fabric tension.
Our factory utilizes multi-head computerized embroidery machines where each head is independently calibrated. We conduct hourly tension checks and inspect needle tips frequently to replace worn or damaged needles before they cause fabric runs. Every finished sweater undergoes a meticulous manual inspection under high-intensity lighting to verify that the embroidery is perfectly centered, free of loose threads, and completely free of puckering.
Standardizing Hooping Across Multi-Head Machines
A sample made on a single-head machine is embroidered under closely controlled conditions. In bulk, every head on a multi-head machine must reproduce it, and faster running increases heat and friction on both thread and knit. Before bulk starts, agree on the running speed for delicate yarns and use standardized hoops with consistent clamping pressure. Hand-tightened hoops give each head a slightly different tension, which shows up as skewed or unevenly sized logos across the batch.
Wash and Colorfastness Checks Before Bulk Approval
Sign off wash tests on the finished embroidered garment, not on a flat swatch. A practical pre-bulk test set covers:
- Dimensional stability (for example, washing to ISO 6330): measure the knit body and the embroidered zone before and after several wash cycles to catch uneven shrinkage.
- Colorfastness to laundering (for example, ISO 105-C06): confirm that high-contrast threads, such as red on an ivory cardigan, do not bleed into the body.
- Pilling resistance (for example, ISO 12945-2): check whether the backing or needle friction causes early pilling around the logo.
We keep the washed approval sample with the golden sample, so that bulk pieces are compared against how the logo looks after laundering as well as when new.
How Can Brands Balance Aesthetics and Budgets for Custom Embroidered Sweaters?
Creating a high-value custom embroidered sweater does not require an unlimited budget. By understanding how embroidery costs are calculated, brands can make smart design adjustments that lower production costs without compromising on visual impact or quality.
Optimizing Thread Color Counts for Manufacturing Efficiency
Embroidery machines operate by switching between different thread needles. Each time a design transitions to a new color, the machine must stop, cut the active thread, move the hoop, and thread the new needle. This process—known as a color change—takes time and increases the overall production cycle.
By limiting the number of thread colors in a design to three or four, brands can drastically cut production run times and lower their unit costs. Simple, high-contrast color palettes often look cleaner, more professional, and carry a stronger luxury appeal than busy, multi-colored designs.
Color Shift Mechanics:
Production Time Breakdown: ───────────────────────────────────────────────────────────── [Color 1 Stitching] ──► [Trim/Jump] ──► [Color 2 Stitching] (Adds 15-30 seconds per garment) ─────────────────────────────────────────────────────────────
Mitigating Production Mismatch Risks with Clear Artwork Files
A common cause of production delays is poor communication regarding digital artwork. If a buyer provides low-resolution files, the embroidery digitizer must guess the fine details, which often results in a final prototype that does not match the designer’s original vision.
To prevent these issues, brands should provide clean vector files (AI, EPS, or high-resolution PDF formats) along with precise Pantone PMS color codes. Providing clear, exact specifications allows our digitizers to map out the stitch paths with extreme accuracy, ensuring that the final embroidered product matches your digital designs perfectly on the first try.
Calculating Total Cost Impact of High-Density Branding
The total cost of a custom embroidered sweater is calculated using a combination of the base knit fabric cost, sewing construction, embroidery stitch count, and finishing treatments. High-density designs with tens of thousands of stitches take longer to run and require premium backings, which increases both material and labor costs.
Technical Valuation Equation:
Total Unit Cost = Base Knitwear Cost + (Stitch Count × Machine Rate) + Backing Material Cost + Finishing/Inspecting
By working closely with our design team, brands can find creative ways to reduce stitch counts. For example, utilizing negative space in a design or switching to an elegant, low-density outline stitch can cut stitch counts in half while maintaining an incredibly clean, high-end retail look.
Conclusion
Custom embroidered sweaters are an exceptional vehicle for building brand value, offering a premium blend of texture, durability, and classic style. However, achieving retail-ready quality requires a deep understanding of the mechanical relationship between flexible knit structures and rigid embroidery stitches. By choosing the correct backing materials, optimizing design scale and placement, and partnering with an experienced factory, brands can consistently produce stunning, long-lasting knitwear that stands out in the competitive marketplace.
Initiate Your Feasibility Assessment
We invite you to collaborate with our engineering and production teams to bring your design vision to life with complete technical confidence. Please submit your sweater artwork, desired logo positioning, target order quantity, fabric preferences, and target delivery date to our team. We will conduct a thorough feasibility analysis and provide detailed recommendations before you begin the sampling process.
Feasibility Request CTA
Send your sweater artwork, logo position, and target quantity to check embroidery feasibility before sampling.
Frequently Asked Questions
What is the minimum order quantity (MOQ) for custom embroidered sweaters?
Our standard MOQ for custom knitwear programs typically starts at 100 to 300 units per style, depending on the complexity of the knit gauge, yarn availability, and custom color requirements. Using stock yarns allows us to offer lower MOQs for qualified projects.
How long does the prototype and sampling process take?
The initial flat strike-off sample of your embroidery design is usually completed within 3 to 5 business days. Creating a full custom-knitted and embroidered prototype sweater typically takes 10 to 15 business days, allowing time for precise machine programming and yarn sourcing.
Which file formats do you require for embroidery digitizing?
We require high-resolution vector files in `.AI`, `.EPS`, `.SVG`, or vector `.PDF` formats. Please include Pantone Matching System (PMS) color codes to ensure exact thread color matching during production.
Can you embroider on very lightweight 100% cashmere sweaters?
Yes, but it requires highly specialized techniques. We use low-density, open-stitch designs combined with water-soluble stabilizers and soft-touch fusible backings. This approach protects the delicate cashmere fibers, prevents puckering, and ensures a soft feel against the skin.
Can you embroider close to a cardigan button placket?
Yes, with care. We keep a clear margin between the design and the placket seam, digitize the design to stitch from the center outward, and hoop the button band with even tension. Stitching too close to the edge is the main cause of a wavy front placket.
What are the main causes of embroidery puckering after washing?
Puckering after washing is typically caused by a mismatch in shrinkage between the sweater yarn and the polyester embroidery thread. It can also occur if the fabric was stretched during the hooping process or if the thread tension was set too high. We mitigate this by using pre-shrunk yarns and calibrating our machines specifically for knitwear.