 CN Sweaters
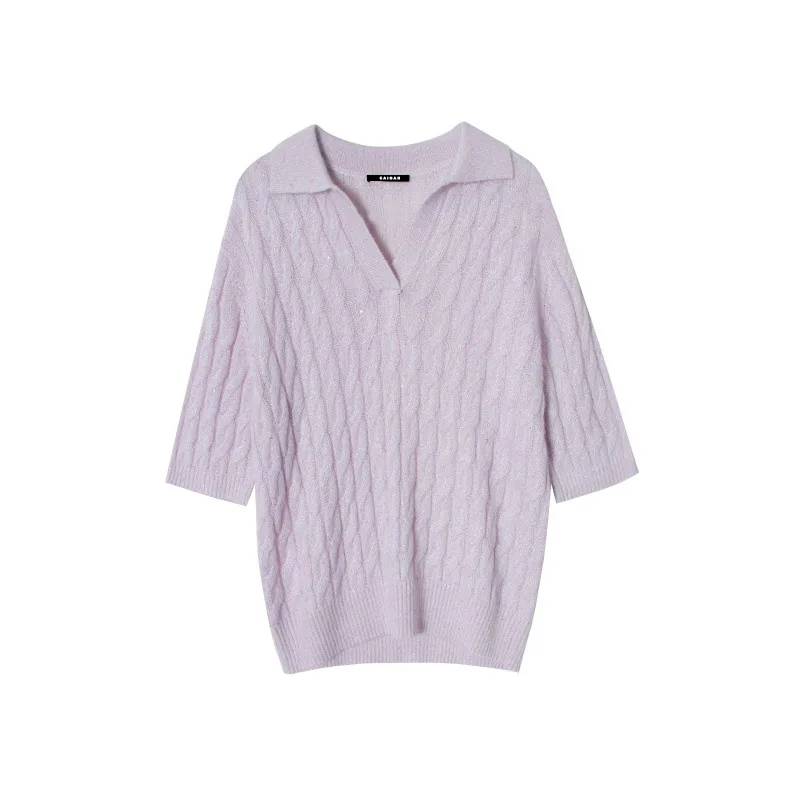
A cable knit polo mixes two parts that behave very differently. The cables pull the fabric in and add thickness, while the placket and collar need a flat, stable front. Where the two meet, small errors show quickly. The front can wave, a buttonhole can crowd a cable, or the collar points can sit uneven.
Keep the cable map, transition stitches and collar joint on the same front-opening drawing. Compare the proposed clearance in the assembled sample before using it in production. For more polo and pullover styles, see our sweater collection.
Why the cable knit polo placket needs clearance
A cable crosses stitches over each other. As a result, a cable panel is narrower and thicker than plain knit with the same stitch count. It also has a direction, because each twist leans left or right. A placket, by contrast, is a flat band that must stay straight and hold buttons.
If a cable ends right next to the placket, its pull works against the band. Consequently, the placket can bow, the buttonholes can tilt, and the fabric below the opening can pucker. We solve this with a small zone of calmer stitches between the two. We call that space the clearance.
There is no single correct width for it. The right clearance depends on the cable size, the yarn, the gauge and the placket type. So we set it style by style and then prove it on the sample.
Mapping the cables around a cable knit polo opening
A sketch that just says “cable at front” is not enough. First, we need the cable chart and the repeat. Next, we need the center line and where each cable panel starts and stops. Then we mark the first full repeat beside and below the opening.
Partial repeats need a clear decision. For example, a cable that stops halfway through a twist looks cut off at the base of the placket. Choose whether the repeat finishes at the placket or ends lower, then record the intended termination. Either way, the choice goes on the sketch.
Symmetric or asymmetric fronts
Most cable polos mirror the cables on each side of the opening. Some designs, however, place a single cable to one side. In that case, we note which side is correct and how it aligns with the placket. Otherwise an inspector could “fix” a deliberate offset, or accept an accidental one as style.
Sleeves, back and collar
Cables often continue onto the sleeves or the back. Those areas can share the design, but they do not share the same ending rule. In particular, a cable collar adds bulk exactly where the placket top has to turn and lie flat. So we map each area on its own and state which map controls the center front.
Designing the cable knit polo transition zone
The transition zone is the strip of plain or low-relief stitch between the last cable and the placket edge. Common choices include plain jersey, a narrow rib, a moss stitch or a purl column. Each one takes up the cable pull in a different way.
- Plain jersey looks clean but can roll if the strip is narrow.
- A narrow rib grips well and frames the placket.
- Moss stitch lies flat and adds texture without twist.
- A purl column sets the cable off like a shadow line.
Gauge changes the picture as well. Compare clearance in the actual cable scale, yarn, gauge and placket construction rather than setting its width from gauge alone. Our 70 computerized flat knitting machines cover 3G to 14G. Ask the sample room to compare proposed clearance widths in the selected yarn before the first full sample.
Placket type and buttons on a cable knit polo
A full button placket, a short two-button opening and a zip front each need their own clearance. For that reason, we never reuse a button-polo result to approve a zip version. Button size and weight also matter. A heavy button pulls harder on a band that sits next to a thick cable.
Getting the cable knit polo collar joint right
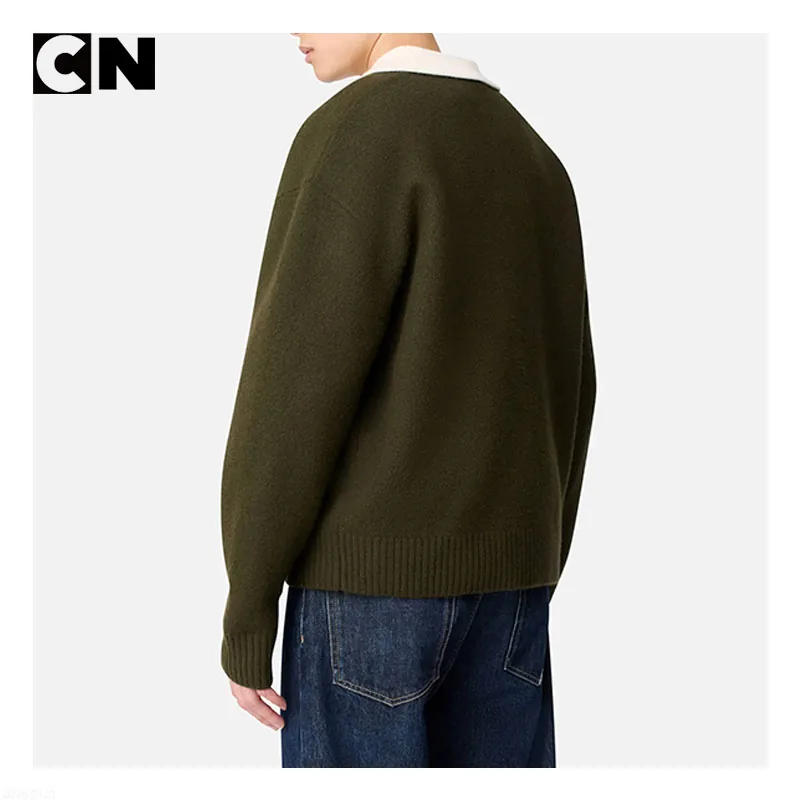
The collar joint is where the placket top, the neckline and the collar all meet. On a cabled front, this spot often carries the most bulk. If the cables run up into the neckline, the collar can lift or the collar points can sit at different heights.
We look at three things here. First, the placket must turn flat at the top without a bump. Second, the collar points must sit level when the polo is buttoned. Third, the neckline must not pull when the collar is worn raised or open.
Our linking team joins the collar loop by loop, which keeps the tension even through the thick area. After that, the pressing team sets the collar roll by the agreed steam settings. Carry the approved linking and finishing records from the sample into the bulk instructions.
Checking the cable knit polo sample
We review the sample open, partly buttoned and fully buttoned. In each state, we check placket straightness, clearance width on both sides, buttonhole position, collar points and the lower end of the opening. We also take front, side and inside photos so both teams compare the same views.
Next, we wash and press the sample by the agreed care method and let it rest. Cables often relax or tighten after washing. As a result, a clearance that looked fine on a steamed sample can close up after care. Test methods from AATCC give a shared way to check dimensional change after laundering, and we can follow the method a buyer names.
Measure left and right
An average clearance can hide a problem on one side. So we measure the clearance to the left and right of the placket at the top, middle and bottom of the opening. We record placket width and length in the same way. In addition, we note the cable repeat count across the front, since a missing stitch can shift the whole map.
Cable knit polo grading and bulk control
Cables do not grade like plain knit. Record the cable repeat and compare its finished width in the selected yarn, stitch settings and sizes; stitch count alone does not prove an unchanged physical width. Meanwhile, the body gets wider. Consequently, the extra width has to go somewhere, either into the clearance, the side panels or an extra repeat.
We agree that rule before grading. For instance, we might keep the clearance fixed and add width at the sides. We then make a size set in the smallest, base and largest sizes to confirm the result. Our OEM/ODM process page shows where the size set sits in the full timeline.
Once the size set passes, we lock the yarn lot, programs, trims and pressing settings. During production, the inline QC desk checks clearance and placket width on pieces from each lot. Include the buttoned front and collar joint in the agreed final-inspection plan. For more inline checks, read our knit polo quality control guide.
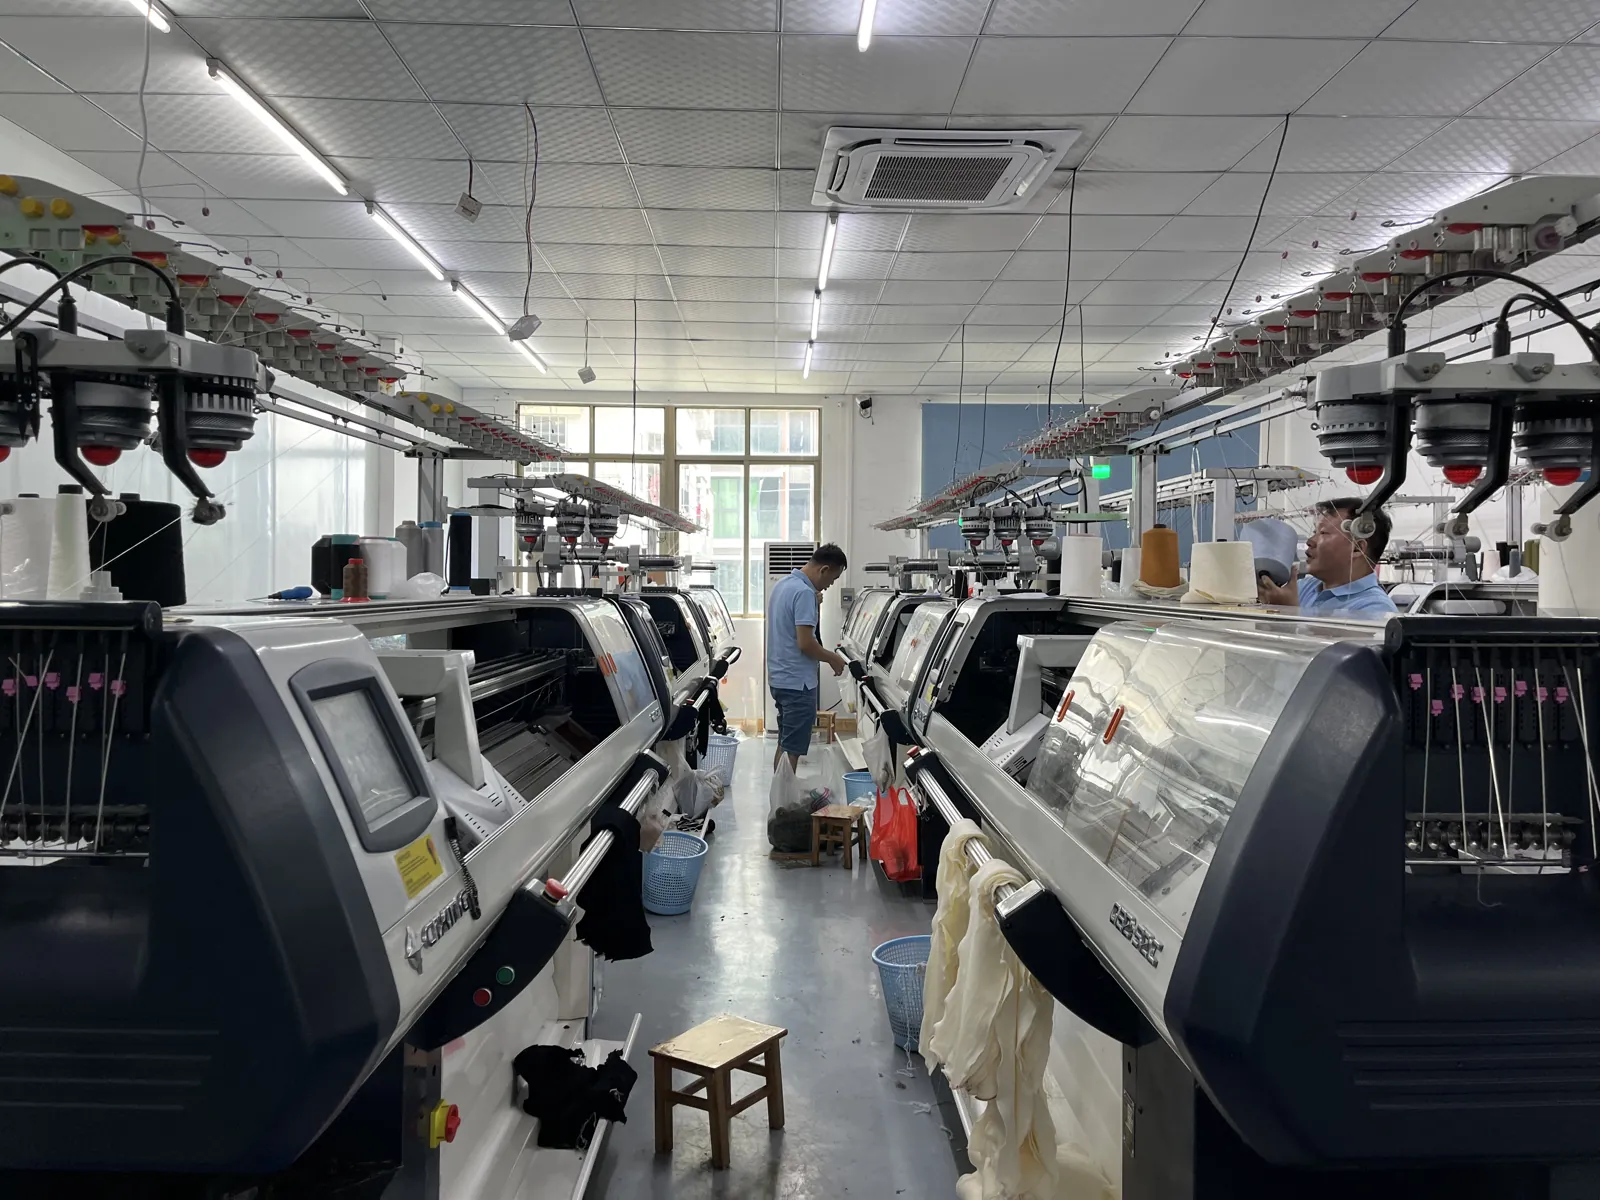
Standard samples typically take 3 to 7 days, and bulk usually runs 15 to 45 days. Cable styles tend to sit toward the longer end because they knit more slowly. If cost is a concern, our article on cable knit cost and lead time explains the main drivers.
Conclusion
Keep the cable knit polo’s accepted left and right clearances, repeat endings and collar-joint views with the program revision. A new yarn, placket or repeat needs a check of the affected interface before it inherits the earlier approval.
FAQ
How wide should the gap between cable and placket be?
There is no fixed number. It depends on cable size, yarn and gauge. Compare the proposed widths in swatches and in the assembled placket after the agreed care route.
Can cables run into the collar?
Yes, but they add bulk at the collar joint. Compare a rib or plain-knit transition with a separate knitted collar in the proposed assembly.
Which yarns work best for a cable knit polo?
Cotton, cotton blends and merino all show cables well. We carry more than 100 yarns and over 200 color cards, so we can suggest options for your season and price point.
What is your MOQ for a custom cable knit polo?
The published starting MOQ is 50 pieces per color per size. Check the yarn minimum and the chosen cable programme for the specific colour and size split before treating that number as a firm cable-polo quote.
Working on a cable polo? Share your sketch with our team and we will suggest a cable map and sample plan.