 CN Sweaters
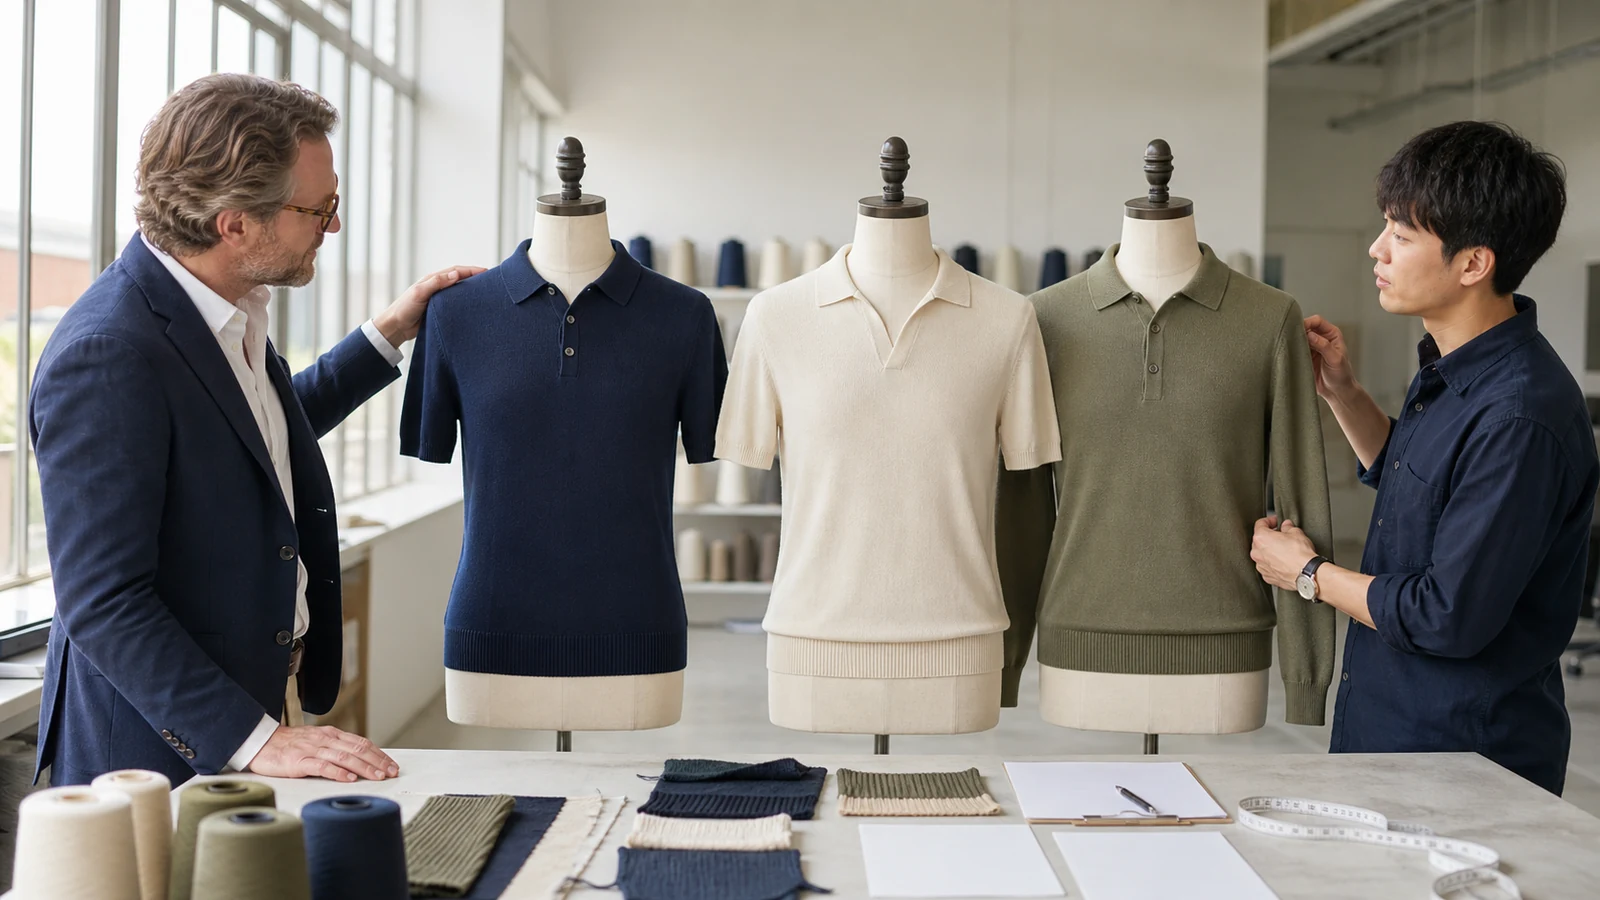
A cotton sweater polo sits between a conventional polo shirt and a lightweight sweater. It brings the collar and buttoned opening of a polo into a fully fashioned knitwear system, where yarn, gauge, collar, placket, body and trims influence one another.
That combination makes the style commercially useful for smart-casual collections, but it also creates production risks. A collar can look balanced before washing and curl afterward. A placket can pull against the elastic body. Fine-gauge cotton can feel refined while exposing transparency, growth or recovery problems. The approved sample can still drift in bulk when yarn lots, machines, sizes and finishing batches change.
For brands developing a mens knit polo sweater or a unisex collared knit, the goal is not simply to copy a reference image. The goal is to define a repeatable product system. This guide explains the controls to build with a custom knitwear manufacturer.
Define the Product and Commercial Role
The brief should begin with the customer and use case, not the collar shape alone.
Separate a sweater polo from a cut-and-sew polo
A fully fashioned sweater polo is built from shaped knitted panels and knitwear assembly methods. A cut-and-sew polo is normally cut from knitted yardage such as piqué or jersey and sewn like a shirt.
The two products can occupy the same smart-casual category, but their seams, elasticity, surface, cost structure and development route are different. State the intended construction route in the tech pack. If the design is fully fashioned, specify knitted body panels, collar construction, placket method, linking or seaming and the finishing route.
This distinction also affects measurements. A sweater body may relax after linking, washing and steaming, while a cut-and-sew body is controlled through fabric width, marker and sewing operations. Do not use a shirt specification without adapting it to the knitted garment.
Define wearer, season and layering
Record the target customer, market, selling season, climate, retail channel, intended underlayer and price position. Decide whether the polo is a breathable warm-weather top, a transitional office layer or a longer-sleeve autumn knit.
For a short-sleeve cotton sweater polo, confirm whether it will be worn directly against the skin. That decision affects yarn hairiness, inner-face comfort, seam finish, label placement and opacity. For a long-sleeve version, define whether it must fit under a blazer or work as a standalone sweater.
Smart-casual is a styling direction, not a measurable specification. Translate it into collar stance, placket depth, body ease, sleeve length, hem position, surface texture and finished weight.
Choose the neckline and opening concept
Decide between a classic turn-down collar, open Johnny collar, zip polo, buttoned placket or another approved opening. A buttoned style needs placket length, width, overlap, button count and spacing. An open collar needs enough neckline stability to hold its intended shape without fastening.
Approve front and side views with the top button open and closed where applicable. State whether collar points should lie flat, roll softly or hold a sharper line. These visual decisions must be sealed on the physical sample.
Build the Yarn and Weight System
The yarn and stitch structure determine whether the polo feels crisp, fluid, dry, soft, cool or substantial.
Select cotton for the intended handfeel
Cotton is a common direction for sweater polos because it can support breathable, transitional and everyday positioning. However, “100% cotton” does not define the yarn count, twist, ply, mercerization, hairiness, color method, softness or finished behavior.
Compare candidate yarns in the intended gauge and stitch. Review dry hand, surface clarity, luster, pilling risk, snag sensitivity, stretch, recovery and care. If a blend is considered, define the commercial reason: added recovery, lower weight, easier care, warmth, drape or cost.
The private-label knitwear yarn planning guide connects fiber choice with gauge, handfeel, MOQ, color approvals and reorder risk. Do not approve a yarn from a cone alone; approve it as a finished knit-down.
Match gauge and density to opacity
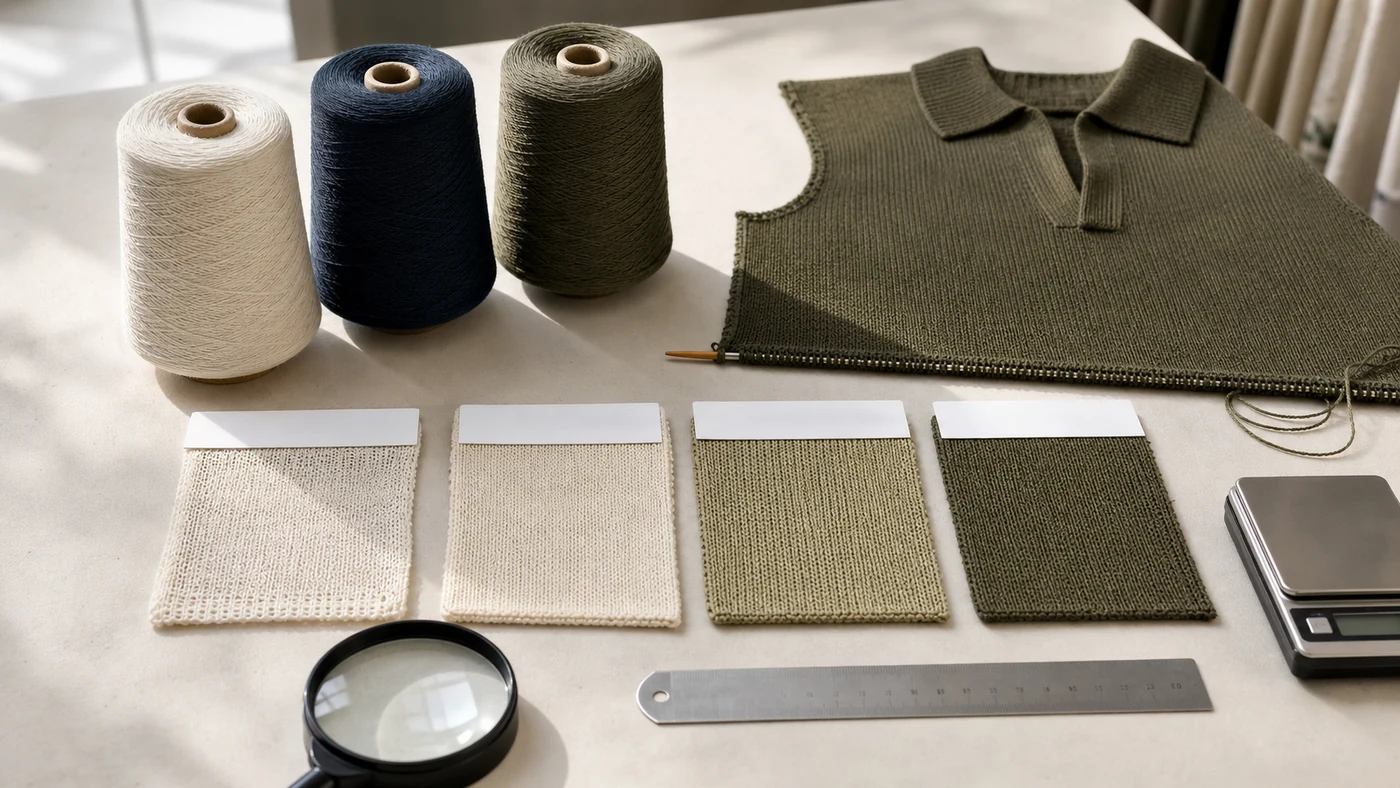
Fine gauge can create a refined surface and comfortable layering weight, but it can also expose transparency, seam show-through or weak recovery. A heavier gauge may provide more body while changing drape, collar scale and seasonal use.
Ask for labeled knit-downs in the proposed yarn, gauge, stitch and finishing route. Review them against light and on the intended body color. Check wale and course regularity, stitch density, stretch, recovery, edge curling and how the surface behaves when lightly tensioned.
Do not treat gauge as a quality grade. The correct gauge is the one that supports the design, yarn, target weight, opacity and production capability.
Record finished weight in a defined state
Record the weight of the approved garment size after the agreed finishing and relaxation period. State whether buttons, labels and other trims are included. If mass per unit area is used for panels or knitted material, keep the method consistent; ASTM D3776/D3776M covers fabric mass per unit area.
Weight is a control signal, not a complete quality definition. Two polos can weigh the same while differing in density, collar stability, placket balance or dimensions. Use weight together with measurements, stitch references and the sealed sample.
Engineer the Polo Collar
The collar is the strongest visual signal in a sweater polo and one of the first areas a customer notices.
Define collar geometry and construction
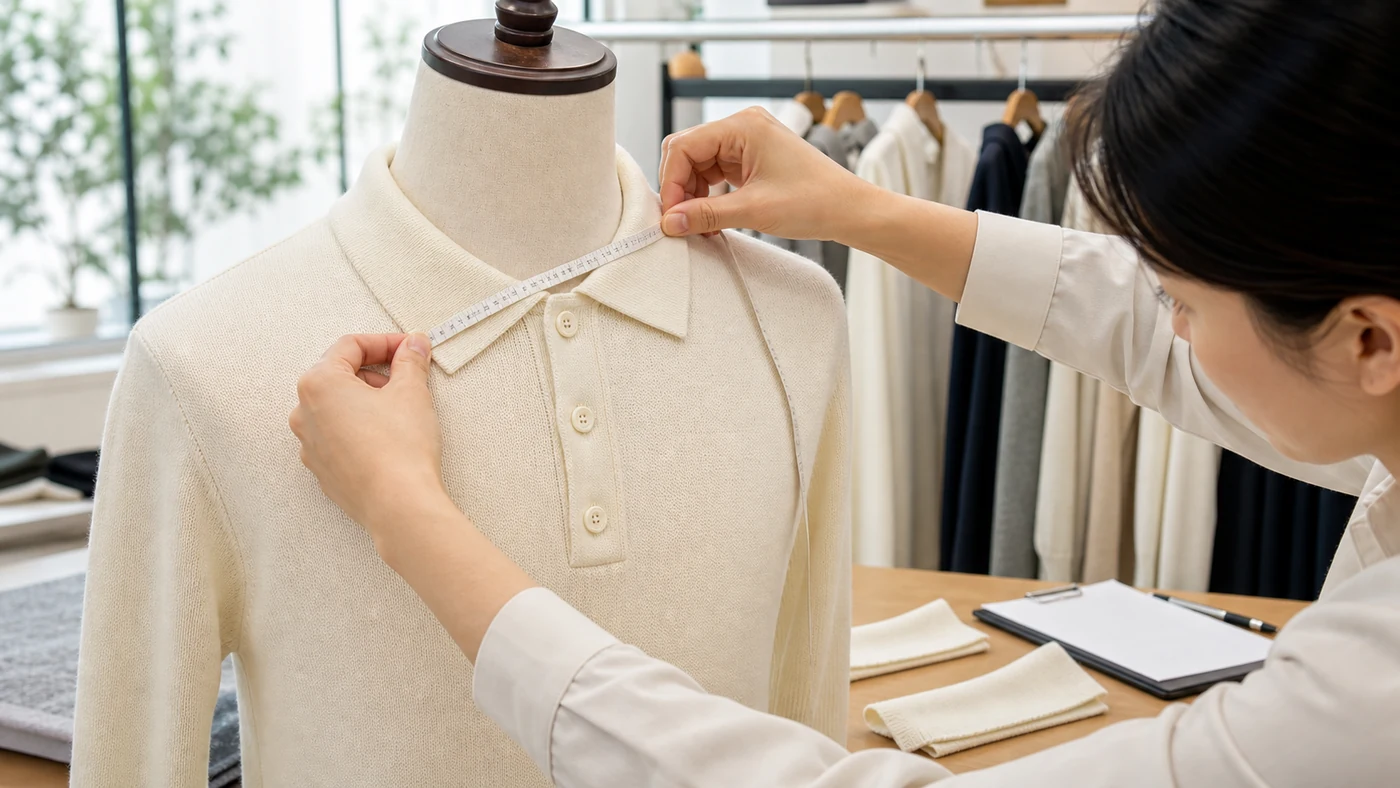
Specify collar stand or neckline attachment, collar depth, point length, spread, outer-edge structure, number of layers and stitch direction. Record whether the collar is knitted to shape, folded, doubled or supported by another approved construction.
The collar must be proportionate to the shoulder width, neck opening and placket. A collar that looks correct on the base size may become too small on the largest size if grading is not planned. Seal measurements and clear front, side and back photographs.
If stripes, tipping or jacquard details are included, define alignment at center back, collar points and neckline join. Approve the color and pattern on the actual collar, not only on artwork.
Control collar points and edge recovery
Review the collar flat, worn and after the agreed wash procedure. Check whether both points match in length, angle and curl. Lightly manipulate the edge and confirm that it returns sufficiently for the intended appearance.
Do not solve every curling problem with aggressive pressing. Pressing can temporarily flatten an unstable edge and hide the issue until the customer washes the garment. The approved result should depend on the yarn, structure, dimensions and finishing recipe working together.
Balance the collar with the neckline
The collar attachment should sit smoothly without holes, ridges, skipped loops or uneven easing. Inspect the neckline from inside and outside while relaxed and lightly stretched.
The linking-quality guide explains why loop matching and equipment choice affect knitted seams. For a polo, seal a close-up standard for the center back, shoulder area and both ends of the collar join.
Check the garment with the collar open and fastened. Look for neckline distortion, front lift, shoulder drag and unequal collar roll.
Control the Placket, Buttons and Buttonholes
The placket places relatively stable components into an elastic knitted front, so it must be developed as one assembly.
Specify the knitted placket
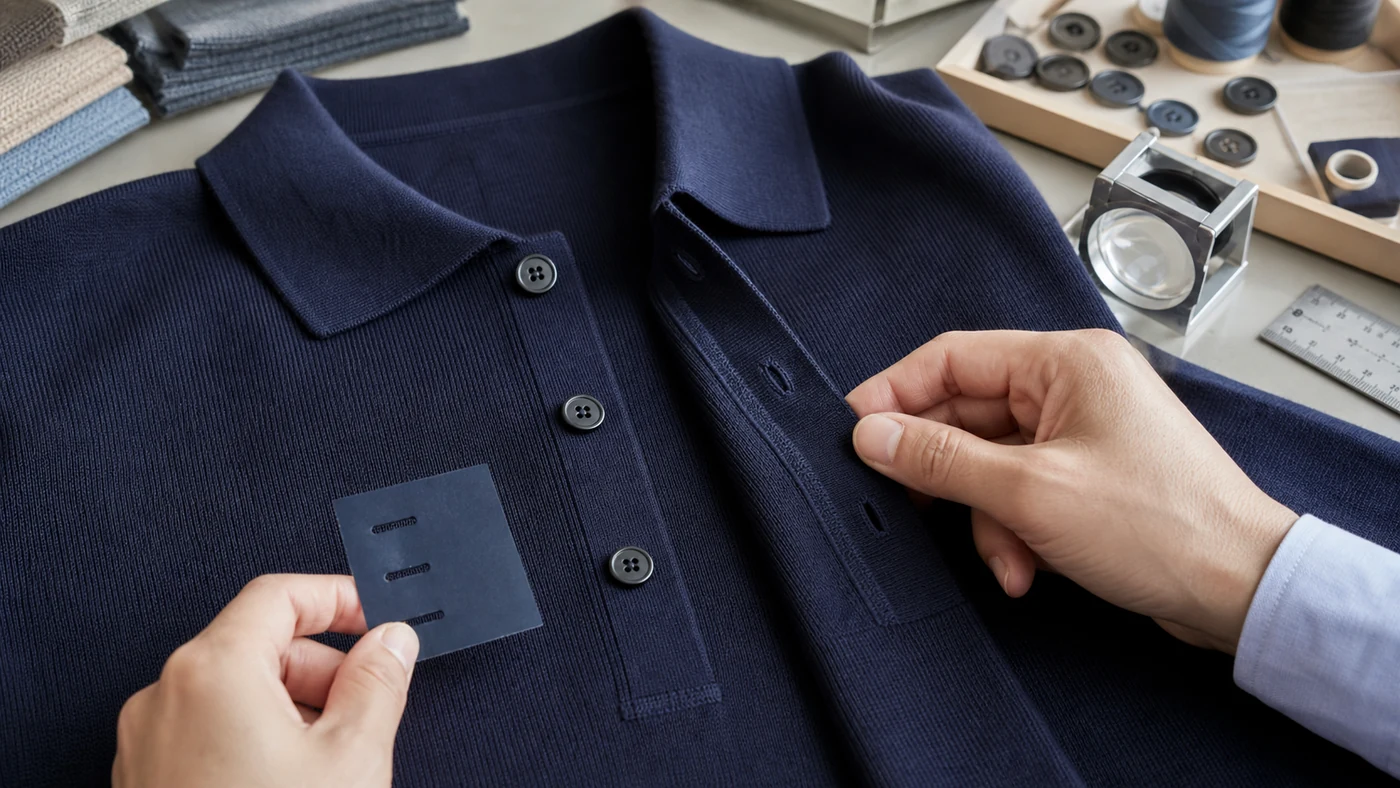
Define finished length, width, overlap direction, number of layers, stitch structure, reinforcement, bottom shape and neckline intersection. Mark the center front and the position of the placket end.
Lay the polo flat with the placket open and closed. Check for waves, twisting, diagonal pull, gaping and mismatch at the neckline. The bottom of the opening should sit cleanly without a hole or hard lump.
If the placket is knitted separately and attached, approve the attachment method and seam appearance. If it is integrated into the front panel, control the transition from body stitch to placket structure.
Approve buttons as functional trims
Specify button diameter, thickness, material, color, finish, shank or hole type, logo orientation and sewing method. Confirm whether spare buttons are required and where they are packed.
Test buttons through the approved buttonholes using normal hand force. They should not feel dangerously tight, fall open too easily or distort the placket. Inspect button attachment from both sides and define thread color and acceptable thread tails.
Button spacing should support the intended wearing state. Review the top button open and closed, then move, sit and bend to see whether the front gaps.
Stabilize buttonholes without making them rigid
Define buttonhole orientation, length, reinforcement and edge finish. A knitted buttonhole must work with the button while preserving the soft character of the garment.
Cycle each button through the hole several times during development. Look for stretching, broken yarns, fraying, ladders and permanent distortion. Repeat the check after washing.
Do not approve a buttonhole only by its unstressed appearance. Function, recovery and wash behavior belong in the PP standard.
Develop Fit and Size Grading
A refined polo needs enough ease for movement without losing the clean line expected from smart-casual knitwear.
Build a garment-specific measurement chart
ISO 18890:2018 defines principal garment measurement points and allows additional points by agreement. Add diagrams for neck width, collar depth and point, placket length and width, shoulder, chest, body length, sleeve, cuff or opening and hem.
State whether the garment is measured flat without tension, buttoned or open, after how much relaxation and before or after washing. Use the same state for sample and bulk.
Separate grade rules from tolerances. Grade rules define intended changes between sizes; tolerances control manufacturing variation around each target.
Fit the polo in intended wearing states
Fit the base size directly on the body and over any intended underlayer. Review front, side and back while standing, reaching, sitting and turning.
Check neckline comfort, collar position, shoulder balance, chest ease, armhole movement, sleeve opening, hem and placket gaping. For direct-to-skin wear, also review seam comfort, label contact and show-through.
Photograph the top button open and closed. Written comments should identify the exact problem, requested change and affected measurement.
Approve a representative size set
Select lower, base and upper sizes that expose grading risk. Measure and fit them after the approved finish.
Check collar proportion, neck opening, placket length, button spacing, shoulder, chest, sleeve and body length. The collar and placket may need controlled grade rules rather than scaling in the same proportion as the body.
Compare garment weight and visual density across sizes where useful. A stable size set provides evidence that the fit concept survives the range before bulk begins.
Validate Washing and Appearance
The care route must protect dimensions, collar shape, placket balance and surface appearance.
Use a defined wash and drying procedure
ISO 6330:2021 specifies domestic washing and drying procedures for textile testing. ISO 5077:2007 covers determining dimensional change after washing and drying.
Select the procedure and number of cycles that match the intended care claim. Measure the complete polo before and after the agreed route. Check body and sleeve dimensions, neck opening, collar, placket, button spacing, ribs and hem.
Do not rely on a swatch alone. The complete garment combines different structures, seams and trims that can react differently.
Assess collar, placket and component appearance
ISO 15487:2018 covers assessment of apparel appearance after washing and drying, including smoothness, seams and damage to components.
For a sweater polo, inspect collar-point curl, unequal spread, neckline puckering, placket waves, button damage, buttonhole distortion, pilling, fuzzing and shade change. Compare with the sealed PP sample under consistent lighting.
Record the acceptable appearance with photographs. “Looks good after wash” is not precise enough for repeat orders.
Lock the finishing recipe
Document washing, softening, drying, steaming, pressing and relaxation. Cotton can respond noticeably to moisture, heat and mechanical handling. Excess pressing may create temporary sharpness in the collar while flattening the body or marking the placket.
Compare batches after equal rest time. If the yarn lot or finish changes, approve a confirmation sample before the remaining bulk proceeds.
Plan Colors, Branding and MOQ
Commercial planning should connect the assortment with yarn and trim realities.
Approve every bulk color on the knitted surface
Approve lab dips or yarn standards, then review finished knit-downs in each bulk color. Fine-gauge surfaces, collar layers and placket structures can make one shade appear different across the garment.
Check body, collar, placket, buttons, sewing thread, labels and any tipping under the agreed light source. Define acceptable shade continuity between components.
Plan quantities by style, color and size. Custom-dyed yarn, logo buttons, unusual trims and small color splits can each create separate minimums or lead times. There is no universal MOQ for every sweater polo.
Integrate labels and branding before PP approval
Specify main label, size label, care label, hangtag, barcode, sticker, folding and packaging. Confirm label dimensions, fiber content, care wording, country-of-origin requirements and placement for the target market.
Labels at the neck can affect comfort in a direct-to-skin polo. Test the chosen material and attachment. If embroidery or jacquard branding is used, approve its effect on stretch, reverse-side comfort and garment balance.
The OEM knitwear manufacturing service outlines the project inputs needed to move a branded product from specifications into sampling and bulk.
Transfer the Approved Polo Into Bulk
The bulk handoff should convert the approved product into measurable controls.
Build a complete PP control pack
Include the sealed polo, finished knit-down, yarn and shade references, current tech pack, graded measurements, collar and placket diagrams, button and buttonhole approvals, finishing route, labels, packing method, defect examples and inspection plan.
Confirm that all teams use the same revision. A previous collar measurement, button spacing or placket construction can produce an attractive but unapproved garment.
The bulk knit consistency guide provides a broader framework for transferring sample approval into repeatable production.
Inspect first-off units before the full run
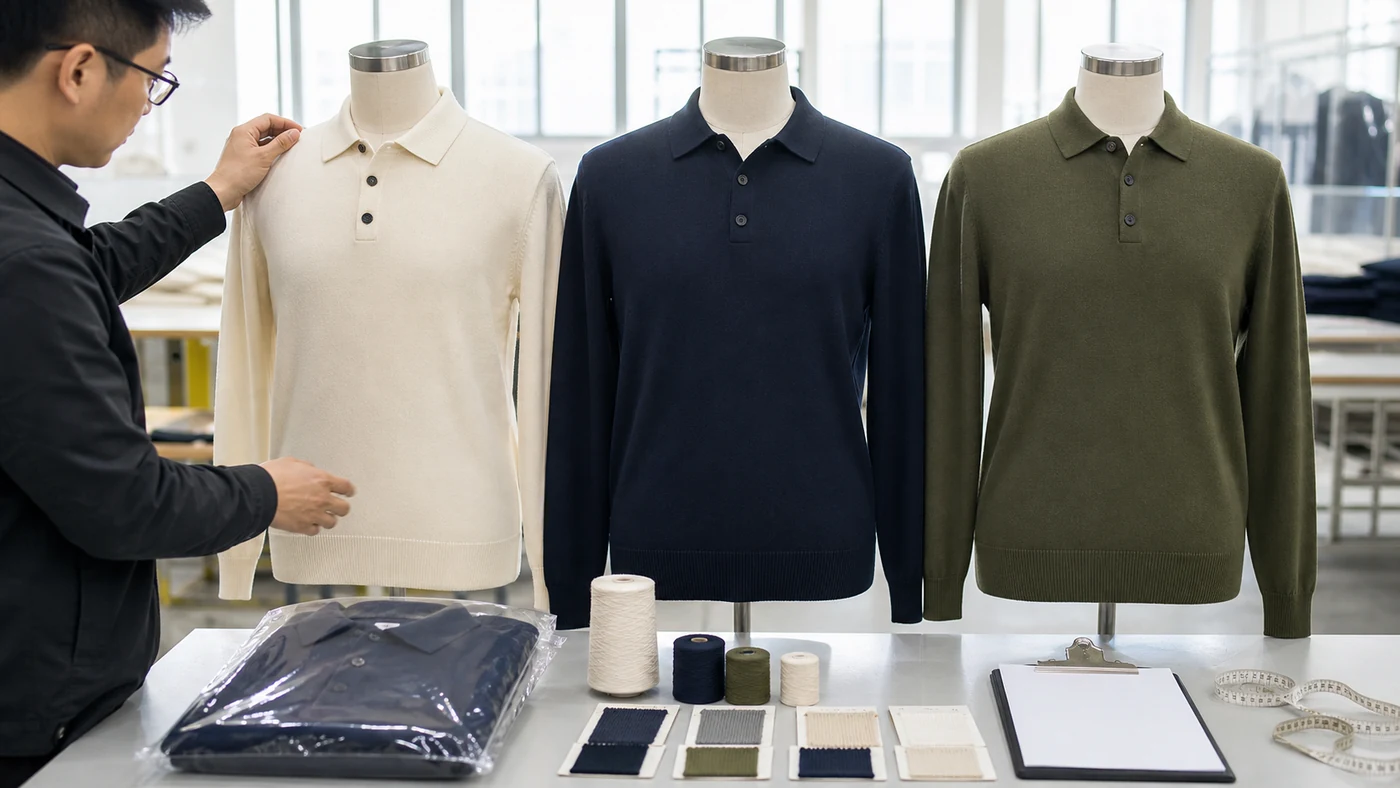
Check first-off panels, collars, plackets and complete polos before releasing full production. Then inspect representative units by machine, yarn lot, color, size and finishing batch.
| Stage | Primary checks | Evidence |
|---|---|---|
| Yarn and knit-down | composition, shade, density, handfeel, weight | approved yarn and finished swatch |
| Panels | dimensions, stitch regularity, opacity, defects | panel records by machine and lot |
| Assembly | collar symmetry, linking, placket, buttons, buttonholes | first-off and inline checks |
| Finish | measurements, collar shape, placket balance, surface, shade | sealed PP comparison by batch |
| Packing | labels, fold, collar support, barcode, carton count | approved packing trial and photos |
Use the CNSweaters quality-control checklist to connect pre-production, inline and final controls. Final inspection should confirm a controlled run, not discover a repeated collar or placket problem after packing.
Preserve the record for reorders
Archive specifications, physical standards, yarn lots, machine groups, program versions, finishing records, component suppliers, inspection data and shipment samples.
Before a reorder, identify changes in yarn, buttons, labels, machines or finishing. A confirmation sample may be necessary even when the design artwork is unchanged.
For continuity-focused menswear programs, the wholesale mens knitwear sourcing guide explains why repeatability, sampling discipline and reorder records matter alongside price.
Conclusion
A reliable cotton sweater polo starts by treating the collar, placket, yarn, fit and finish as one knitted system.
Define the construction route and commercial use first. Approve the actual yarn, gauge, opacity and weight, then engineer the collar and placket on the complete garment. Validate representative sizes and wash the finished polo using the intended care route.
Finally, seal a complete PP pack and inspect first-off production before defects spread. That process protects the smart-casual appearance from sample through bulk and makes future replenishment more predictable.
Related CNSweaters Resources
- Professional Sweater Manufacturing
- Private Label Knitwear Yarn Planning
- Why Linking Quality Matters
- Bulk Knit Consistency From Sample to Production
- Knitwear Quality Control Checklist
Developing a Sweater Polo?
Send the target customer, market, season, construction route, yarn direction, gauge, collar and placket reference, buttons, size range, colors, quantities, branding, care route, packaging and delivery date. The team can review a practical sampling and bulk-control path.
FAQ
Is a sweater polo the same as a cotton piqué polo shirt?
Not necessarily. A fully fashioned sweater polo uses shaped knitted panels and knitwear assembly, while a conventional piqué polo is usually cut and sewn from knitted yardage. State the construction route in the brief.
Why do sweater polo collars curl after washing?
Collar curling can result from yarn behavior, edge structure, dimensions, stitch density, attachment balance or finishing. Approve the complete collar after the intended wash route rather than relying on pressing.
How should a knitted placket be controlled?
Specify its length, width, overlap, structure, reinforcement, button spacing and buttonhole construction. Check it open, closed, worn and washed for waves, gaping, twist and recovery.
Is fine gauge always better for a smart-casual polo?
No. Fine gauge can look refined, but the correct gauge must also support opacity, recovery, weight, durability and factory repeatability in the selected yarn.
Can final inspection prove collar and wash performance?
No. Final inspection cannot replace earlier knit-down review, wash testing, size-set fitting, PP approval and first-off checks. These controls should be completed before the order is packed.