 CN Sweaters
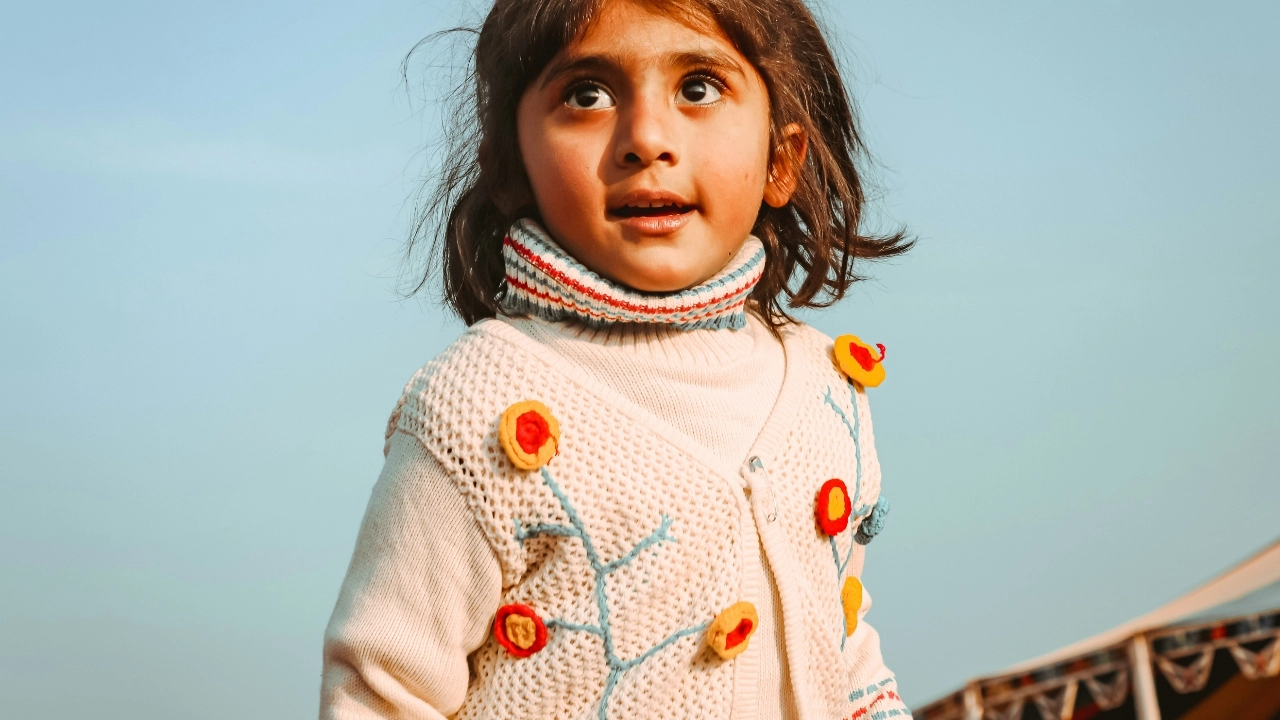
Executing a flawless custom cardigans embroidered program requires balancing aesthetic placement with the physical reality of knit elasticity. When brands prioritize retail-ready visuals over the structural integrity of the knit fabric, bulk production inevitably faces puckering, misaligned plackets, and distorted necklines. Unlike stable woven textiles, knitted structures are composed of interlocking loops that stretch dynamically in multiple directions.
Understanding these physical properties is essential for any product developer or sourcing manager. For instance, the CottonWorks knit basics guidelines explain how loop geometry and yarn elongation dictate fabric behavior under mechanical stress. When an embroidery needle repeatedly punctures a knit structure, it applies localized tension and can sever yarn fibers if not managed correctly. For B2B buyers looking to launch an embroidered cardigan line, selecting the correct combination of backing, stitch density, and decoration placement is the difference between a high-end retail garment and a high-rate bulk defect.
How does knit structure affect custom cardigan embroidery stability?
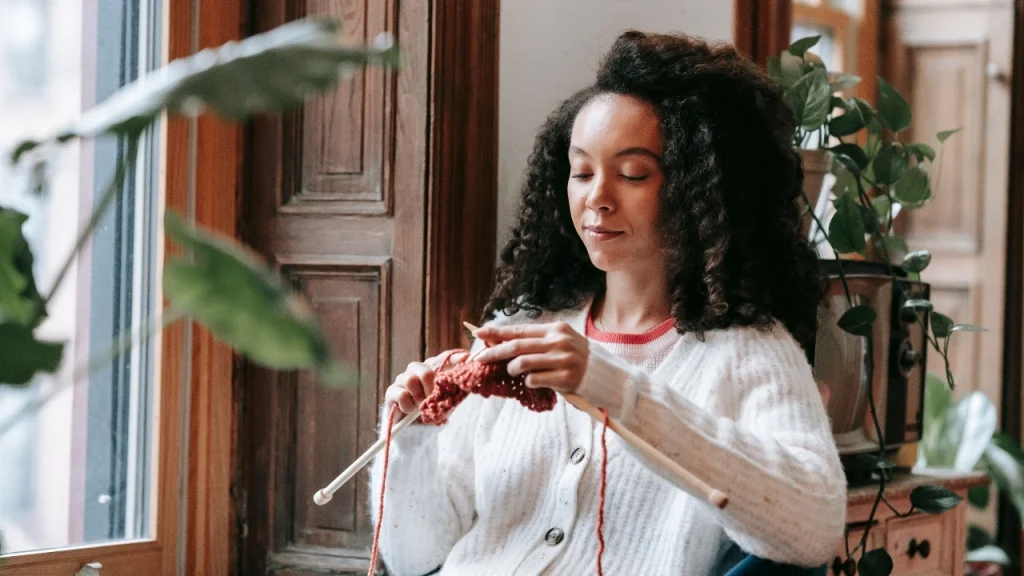
Knit structures are fundamentally dynamic systems. Unlike woven fabrics that resist shifting due to perpendicular warp and weft intersections, knitted fabrics rely on interlooping yarns. This architectural difference means that when designing a custom cardigan , the underlying knit structure directly dictates how the fabric reacts to the high-density needle penetrations of commercial embroidery.
Single Jersey versus Double Knit Stability
Single jersey structures, often utilized for lightweight trans-seasonal cardigans, feature a distinct face and back with inherent curling tendencies. Because single jersey has high horizontal stretch and lower dimensional stability, dense embroidery motifs will easily distort the fabric face. The yarn loops pull inward toward the stiff embroidery design, creating a wave-like puckering around the logo boundary.
In contrast, double-knit structures like Milano rib, interlock, or full cardigan stitch offer significantly higher dimensional stability. These structures utilize two needle beds to interlock loops, neutralizing the curling force and limiting multi-directional elongation. When producing a high-end embroidered cardigan sweater , a double-knit base provides a much flatter, more stable foundation that resists the pulling forces of dense fills, resulting in clean, crisp brand marks.
Yarn Elongation, Recovery, and Fiber Tension
The raw material composition of your yarn plays a critical role in embroidery performance. Wool, cashmere, acrylic, cotton, and blended fibers each have unique elastic recovery profiles:
- 100% Cotton Yarns: Have very low elastic recovery. Once the knit loops are stretched or displaced by embroidery needle penetration, they do not easily bounce back, leading to permanent deformation or “ghosting” around the logo.
- Merino Wool and Acrylic Blends: Exhibit high elasticity and excellent recovery. However, this high recovery means the knit surrounding the embroidery will actively contract, fighting against the rigid, non-stretch embroidery thread. This tension mismatch causes the surrounding fabric to bunch up unless restricted by a robust stabilizer.
- Elastane-Plated Edges: Often added to cuffs and hems for recovery, these areas pose a high risk. Piercing these plated yarns can snap the elastane filaments, leading to localized fiber protrusion and a complete loss of structural recovery in the ribbing.
What are the technical risks of custom logo cardigan placement?
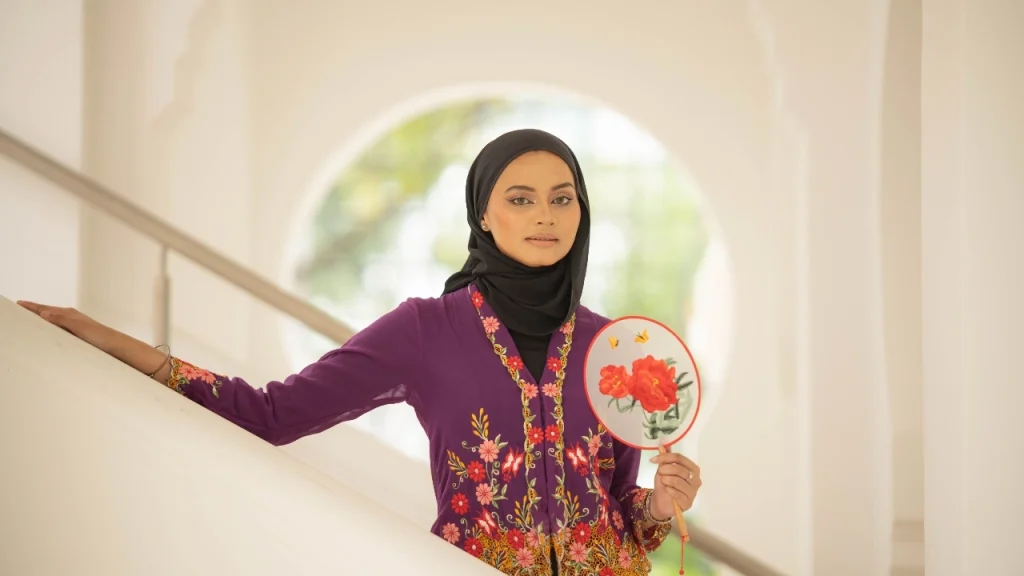
Selecting the placement of a branding element is not merely a marketing decision; it is a complex structural choice. Different zones of a knitted cardigan experience vastly different levels of mechanical tension and shear stress during wear and laundering.
Chest and Left-Breast Placements
The chest area is the most common location for a custom logo cardigan . While this is a relatively stable zone compared to joints, it is highly visible, making even minor alignment errors or puckering instantly noticeable. If a design has high stitch density (above 8,000 stitches for a standard 2-inch logo), it creates a stiff “plate” on the chest. This plate prevents the natural drape of the knit, causing the surrounding fabric to fold awkwardly when the wearer moves or sits.
Cuffs, Sleeves, and High-Flex Zones
Embroidering near the cuff or along the sleeve exposes the decoration to continuous elongation. When a wearer pulls up their sleeves, the cuff ribbing must expand. If the embroidery is executed with a non-stretch polyester thread using standard lockstitches, it will restrict this expansion. The embroidery stitches will either snap, or they will cause the knitted cuff to warp permanently, ruining the garment’s silhouette.
To help product developers evaluate placement risks, the following matrix compares the primary decoration zones of a custom cardigan, analyzing their failure points and structural countermeasures.
Placement Risk Matrix for Sourcing Teams:
| Placement Zone | Primary Mechanical Risk | Max Recommended Stitch Count | Recommended Stabilizer & Thread Method |
|---|---|---|---|
| Left / Right Chest | Fabric puckering, heavy “shield” drape restriction, and localized fabric sagging. | 8,000 (12GG–14GG) 5,000 (5GG–7GG) | 50g/m² non-woven polyester cut-away backing with 40wt viscose rayon thread. |
| Button Placket | “Bacon placket” waving, buttonhole misalignment, and front-edge vertical skewing. | 3,000 (Must run vertically) | Tear-away backing paired with water-soluble topping; low-tension digitizing path. |
| Sleeve Cuffs | Thread breakage under stretch, ribbing deformation, and skin-side scratchiness. | 2,000 (Minimal details) | Poly-mesh soft backing; high-elasticity embroidery setup or chain stitch. |
| Lower Hem Rib | Rib contraction loss, bottom-edge flaring, and localized stitch distortion. | 4,000 (Avoid elastane rows) | Heavy tear-away backing; stitch orientation must match wale direction. |
| Center Back | Heavy shoulder sag, neckline gaping, and back panel bowing. | 25,000 (Low-density fills) | 75g/m² cut-away stabilizer; shoulder-to-shoulder twill tape reinforcement. |
How do gauge and weight dictate embroidered knit cardigan limits?
In the knitwear industry, machine gauge (GG) represents the number of needles per inch. Lower gauges (e.g., 3GG, 5GG) yield chunky, heavy-weight knits with large loop sizes, while higher gauges (e.g., 12GG, 14GG) produce fine, dense, lightweight knits. Each gauge demands a fundamentally different embroidery strategy.
Chunky, Low-Gauge Knits (3GG–5GG)
With coarse, chunky knits, the primary challenge is stitch sinking and needle deflection. Because the gaps between the knitted loops are large, embroidery stitches can easily slip between the yarns and disappear into the interior of the fabric structure.
To prevent this, we must apply a thick, cold-water-soluble topping (such as a 35-micron polyvinyl alcohol film) on the face of the embroidered knit cardigan before stitching. This temporary film acts as a solid platform, keeping the embroidery thread suspended on top of the chunky knit loops until the embroidery process is complete and the garment is washed. Furthermore, low-gauge yarns are thick; standard embroidery needles (75/11 size) will deflect when they hit these thick yarns, causing skipped stitches or broken needles. Sourcing teams must ensure the embroidery facility uses heavier ballpoint needles (typically 80/12 or 90/14 SES) to safely push the heavy knit yarns aside rather than piercing and splitting them.
Fine, High-Gauge Knits (12GG–14GG)
Fine-gauge cardigans have a smooth, dense surface that handles fine-detail logos much better than coarse knits. However, fine-gauge fabrics are highly vulnerable to needle cutting. A sharp needle will easily cut the fine combed cotton or merino wool fibers, creating micro-holes that slowly expand into major runs after the garment is worn and washed.
For high-gauge custom cardigan sweaters , light ballpoint needles (70/10 or 75/11 SES) are mandatory. The stitch density must be carefully managed; if the stitches are placed too close together (a pitch of less than 0.35mm), the repeated needle punches in a concentrated area will shred the fine knit backing.
Optimizing back embroidery for a custom knit cardigan
Large back-panel embroidery is a growing trend for streetwear and contemporary luxury brands. However, executing a massive brand mark on the back of a custom knit cardigan introduces extreme gravitational and structural challenges that do not exist with small chest logos.
Gravitational Sagging and Silhouette Collapse
A dense back embroidery design can easily weigh between 20 to 50 grams due to the sheer volume of thread and backing material. While this sounds negligible, when hung on a hanger or draped over a wearer’s shoulders, this localized weight pulls down on the upper back panel. This gravitational pull forces the shoulder seams backward, causes the front placket to rise, and creates an unsightly gape at the back of the collar.
To mitigate this, we integrate premium stabilization techniques during the sewing process. First, we reinforce the shoulder seams of the cardigan with clear polyurethane tape or woven cotton twill tape during assembly. This ensures the shoulder seams cannot stretch out of shape under the weight of the back panel. Second, we utilize a broad, lightweight cut-away stabilizer (typically 50g/m² to 75g/m² non-woven polyester) that extends at least 2 inches past the embroidery perimeter to distribute the weight across a larger area of the knit.
Digitizing for Weight Reduction
The key to a successful large-scale back design lies in the digitizing process (pattern programming). Traditional solid fill stitches (tatami stitches) must be strictly avoided. Instead, digitizers should employ the following techniques:
- Satin Outline Stitching: Replace large, filled shapes with hollow outlines. This dramatically reduces the stitch count and weight while maintaining a bold visual impact.
- Applique Integration: Utilize pre-cut fabric patches (such as wool felt, cotton twill, or velvet) and secure them to the knit cardigan using low-density satin stitch borders. This covers large surface areas with minimal thread count, keeping the garment lightweight and flexible.
- Low-Density Pattern Fills: If fill is necessary, use open, decorative fill patterns (such as grids or light geometric motifs) that allow the knit fabric to breathe and flex beneath the design.
How to avoid placket and hem distortion during bulk production?
The placket (the front vertical band housing the buttons and buttonholes) and the hem are highly functional zones of a cardigan. Because these areas are subject to pulling, buttoning, and unbuttoning, embroidering near them without rigorous controls will ruin the utility of the garment.
The “Bacon Placket” Phenomenon
One of the most common defects in low-quality custom cardigan sweaters is the “bacon placket”—a vertical wavy, distorted front edge that refuses to lie flat. This occurs when an embroidery design is stitched too close to the placket edge.
The high tension of the embroidery machine pulls the vertical knit stitches of the placket inward. When the garment is removed from the embroidery hoop, the contracted embroidery stitches hold the placket in a compressed state, while the rest of the cardigan body remains relaxed. This tension mismatch creates an ugly, undulating wave.
To prevent this B2B nightmare:
- Keep embroidery designs at least 1.5 to 2 inches away from the placket seam line.
- Program the embroidery path to stitch from the center outward, which pushes any excess fabric wave away from the critical placket edge rather than trapping it.
- Use a heavy-weight tear-away backing that is pinned securely to the hooping system to maintain equalized tension across the button band during stitching.
Hemline Skewing and Rib Contraction Loss
Cardigan hemlines almost always feature ribbed trim (1×1 or 2×2 ribbing) engineered to draw the garment in slightly at the waist. Ribbed structures are highly elastic by design. Embroidering directly onto or immediately above this ribbed trim locks the rib loops in an expanded state.
This leads to “flaring,” where the bottom of the cardigan flutters outward and loses its snug fit. Sourcing teams must ensure that if branding is required near the hem, the design is digitized with a highly flexible stitch pattern and executed using soft, multi-directional tear-away backings that do not permanently bind the rib’s lateral contraction.
Managing sample-to-bulk QC risks for custom cardigan sweaters
Transitioning from a single, hand-crafted pre-production sample to a bulk run of several thousand pieces is where most manufacturing errors occur. A single-head embroidery machine in a sampling room operates under highly controlled conditions, but bulk production involves multi-head, high-speed computerized machinery that amplifies minor structural vulnerabilities.
Multi-Head Speed and Dynamic Tension
In a bulk factory environment, multi-head machines run at speeds ranging from 800 to 1,000 stitches per minute to optimize production efficiency. This high-speed operation creates intense dynamic tension on both the needle thread and the knit fabric. The friction generated by the rapid needle movement can melt synthetic fibers or weaken delicate natural yarns like cashmere.
Therefore, pre-production planning must define the exact machine speed limits for delicate knits. Additionally, the Maker’s Row apparel manufacturing process highlights that consistency across multi-piece setups requires standardized framing. In bulk runs, operators must use standardized hoops with consistent pneumatic pressure; hand-tightened hoops will lead to varying tensions across different heads, resulting in a high rate of skewing and dimensional inconsistency across the batch.
Standardized Wash Testing and Shrinkage Profiling
Before approving a bulk run of a custom logo cardigan , physical wash-testing is a non-negotiable step to verify stability. Knitted garments and embroidery threads often have different shrinkage rates. For example, if a cardigan is knitted from 100% cotton but stitched with polyester embroidery thread, the cotton knit may shrink by 4% to 6% during its first wash, while the polyester thread will experience virtually 0% shrinkage. This differential shrinkage causes severe puckering after wash, rendering the garment unwearable.
To ensure your product meets global commercial standards, we recommend aligning your quality control with Intertek apparel testing standards . These protocols test for dimensional stability, appearance after laundering, and thread colorfastness:
- Dimensional Stability (ISO 6330): Measures the precise shrinkage of both the knit body and the embroidered zone after multiple standardized wash cycles.
- Color Fastness to Laundering (ISO 105-C06): Ensures that high-contrast embroidery threads (e.g., red thread on a white cardigan) do not bleed onto the main body fabric.
- Pilling Resistance (ISO 12945-2): Evaluates if the backing material or friction from the embroidery process causes premature pilling around the decorated area.
By establishing these parameters during the sampling phase, B2B buyers can prevent costly chargebacks, reject shipments, and brand-damaging quality issues before the bulk containers leave our port.
Conclusion
Successfully executing a premium, bulk-scale custom cardigans embroidered program requires a deep understanding of textile physics, precise digitizing, and rigorous quality control. By matching your design’s complexity and placement to the appropriate knit gauge, yarn composition, and stabilizing backing, you can completely eliminate common production defects such as puckering, “bacon plackets,” and structural runs.
Partnering with an experienced, factory-direct custom knitwear manufacturer ensures that these technical trade-offs are calculated and resolved during the early development phase, rather than on the bulk production line. Let us help you transition your design seamlessly from concept to retail-ready reality.
Ready to start your next premium knitwear collection? Send your cardigan artwork, logo position, and target quantity to check embroidery placement before sampling.
Frequently Asked Questions
What is the minimum order quantity (MOQ) for custom cardigans embroidered?
Our standard minimum order quantity for custom embroidered knitwear is 300 pieces per style/colorway, which can be split across multiple standard sizes. This limit is dictated by the setup requirements of commercial knitting looms and multi-head embroidery machines. For premium luxury fibers like 100% cashmere, the MOQ may adjust based on yarn availability and dye lot minimums.
How long does the sampling phase take for an embroidered cardigan sweater?
A standard sampling cycle takes 7 to 10 working days. This timeline includes digitizing your custom logo, programming the knitting looms, producing the initial knit panels, performing the test embroidery, and completing the final garment assembly. If specialized custom-dyed yarns or highly complex applique designs are requested, the sampling lead time can extend to 15 to 20 days.
What file formats and tech pack specifications are required for custom logo cardigan development?
To initiate development, we require high-resolution vector files of your artwork (preferably in .AI , .EPS , or .PDF format) along with a detailed tech pack. Your tech pack should specify the exact Pantone color codes, the desired decoration measurements (width and height), and the precise positioning measurements relative to the shoulder line or center-front seam.
How do you ensure embroidery wash-stability and prevent puckering after domestic laundering?
We prevent post-wash puckering by preshrinking all knit panels before embroidery and using high-quality polyester threads that match the shrinkage profile of the core yarn. Additionally, we permanently secure the backing using a premium cut-away stabilizer rather than a temporary tear-away. This ensures the embroidery zone remains dimensionally stable even after repeated domestic wash cycles.
How does design complexity and stitch count affect cost scaling in bulk production?
Bulk embroidery pricing is determined by stitch count (the total number of needle penetrations per garment) and run-time on the machine. A simple logo under 5,000 stitches has a minimal impact on the unit cost. However, dense designs exceeding 15,000 stitches or complex applique work require significantly slower machine speeds and longer run times, which increases the per-unit cost by 15% to 30% depending on the volume of the order.